1. Overview
The My CA service is available to all registered users of the e-Filing portal who fall under the below categories:
- Individual
- Hindu Undivided Family (HUF)
- Company, Association of Persons (AOP), Body of Individuals (BOI), Artificial Judicial Person (AJP), Trust, Government, Local Authority (LA), Firm
- Tax Deductor and Collector
With this service, registered users will be able to:
- View a listing of their authorized Chartered Accountants (CA)
- Assign forms to a CA
- Withdraw assigned forms
- Activate a CA
- Deactivate a CA
2. Pre-requisites for availing this service
- Registered user of the e-Filing portal with valid user ID and password
- CA should have a valid CA membership number and be registered on the e-Filing portal
- In Case of individual, PAN is linked with Aadhaar number (Recommended)
3. Step-by-Step Guide
3.1 View CA
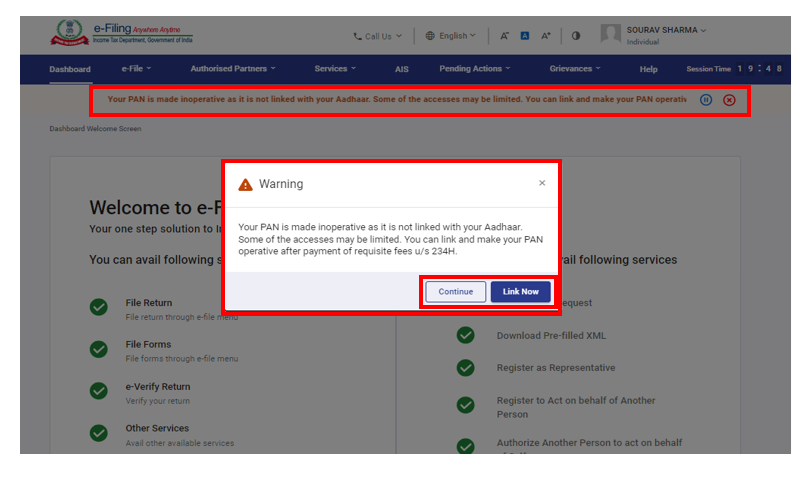
Step 1: Log in to the e-Filing portal using user ID and password.

For Individual users, if PAN is not linked with the Aadhaar you will see a pop-up message that your PAN is made inoperative as it is not linked with your Aadhaar.
To link the PAN with Aadhaar, click on Link Now button else click Continue.
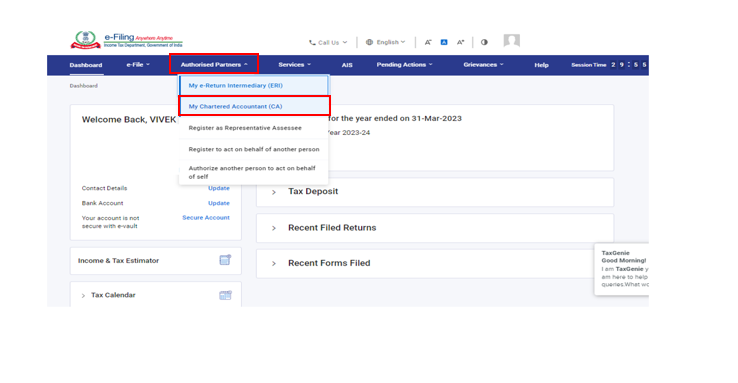
Step 2: Click Authorized Partners > My Chartered Accountant.
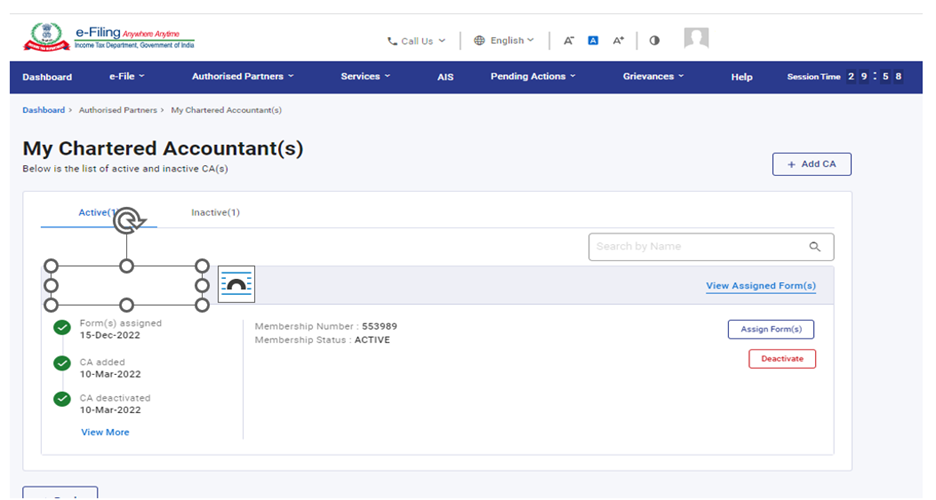
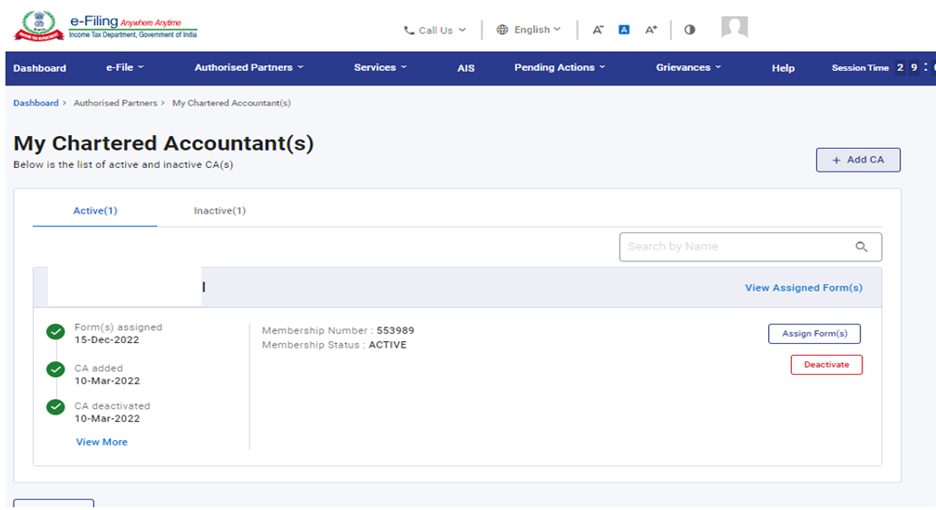
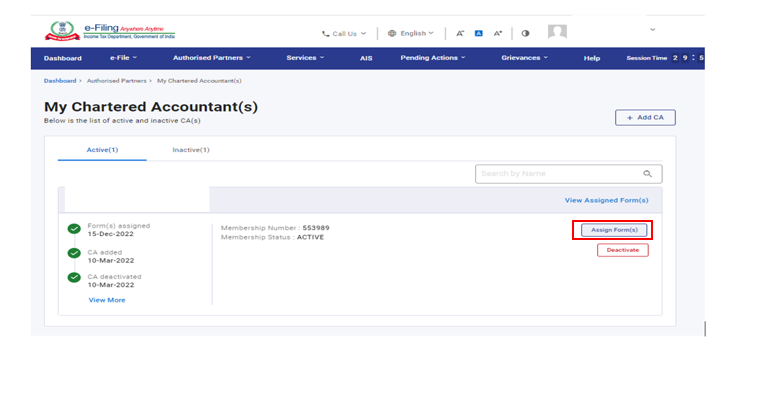
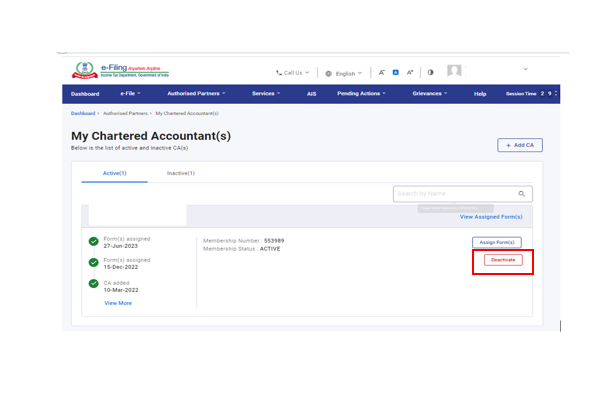
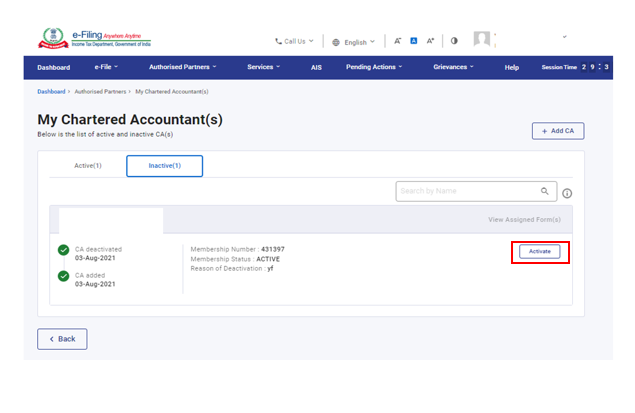
Step 3: The My Chartered Accountant(s) page appears. It displays the active and inactive CAs under the respective tabs.
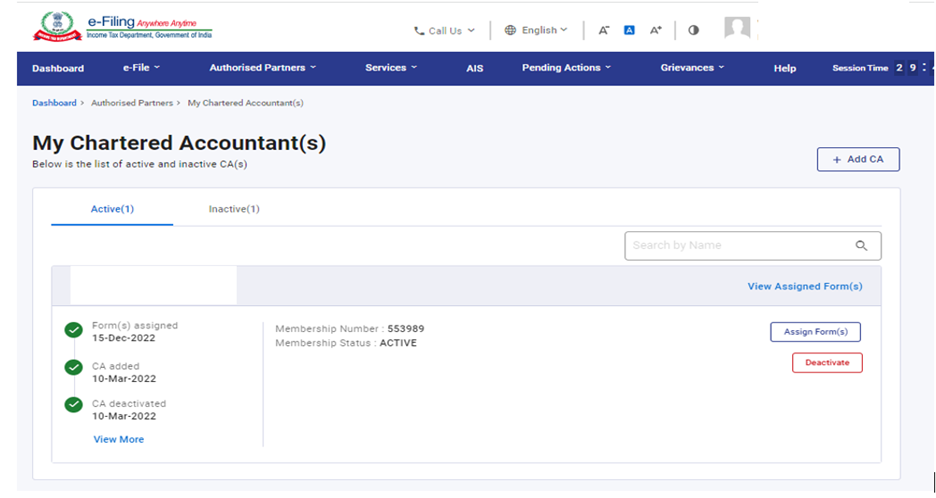
Step 4: Enter name in the Search by Name textbox to view all matching records.
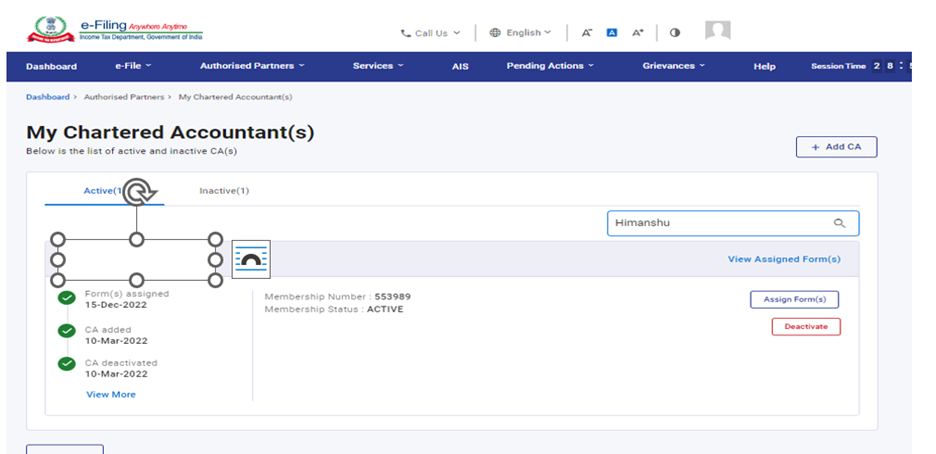
Step 5: Click View Assigned Forms to display the status and details of all forms assigned to a specific CA.
Other actions that you can perform after reaching the My Chartered Accountant(s) page are as follows:
|
Add CA |
Refer to Section 3.2 |
|
Assign Forms to CA |
Refer to Section 3.3 |
|
Deactivate CA |
Refer to Section 3.4 |
|
Activate CA |
Refer to Section 3.5 |
|
Withdraw a Form |
Refer to Section 3.6 |
3.2: Add CA
Step 1: For assigning forms to a CA, the CA must be added and authorized by you in your profile. If you want to add a CA, click Add CA.
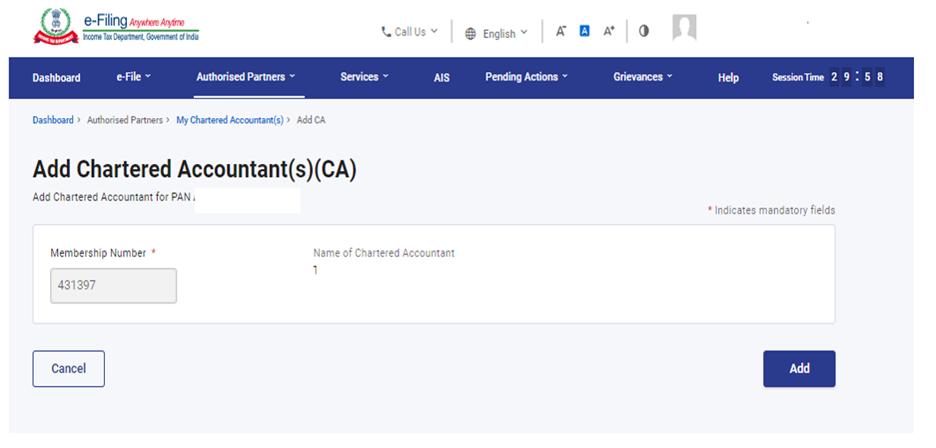
Step 2: The Add Chartered Accountant(s)(CA) page appears. Enter the Membership Number of the CA. The CA name is filled automatically from the database.
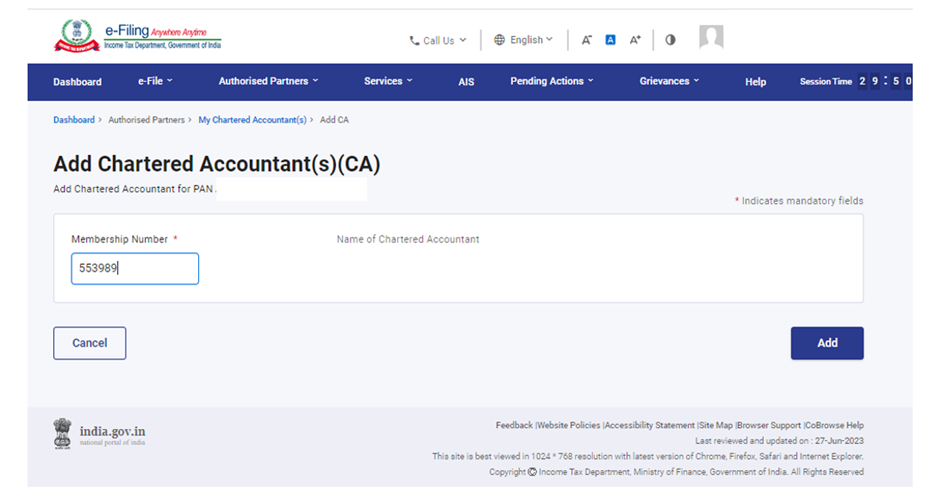
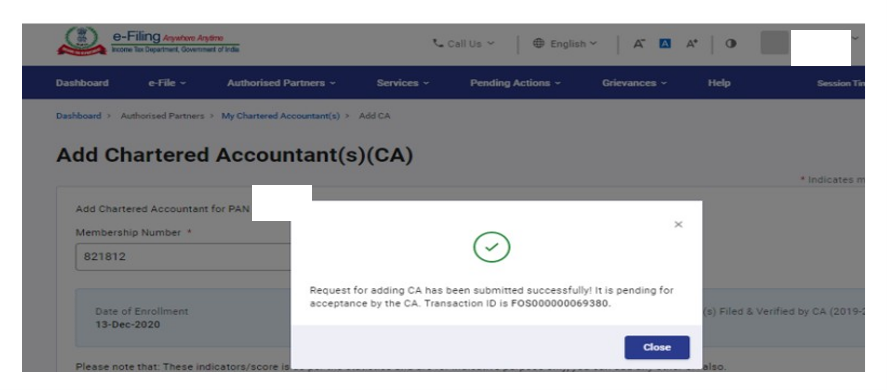
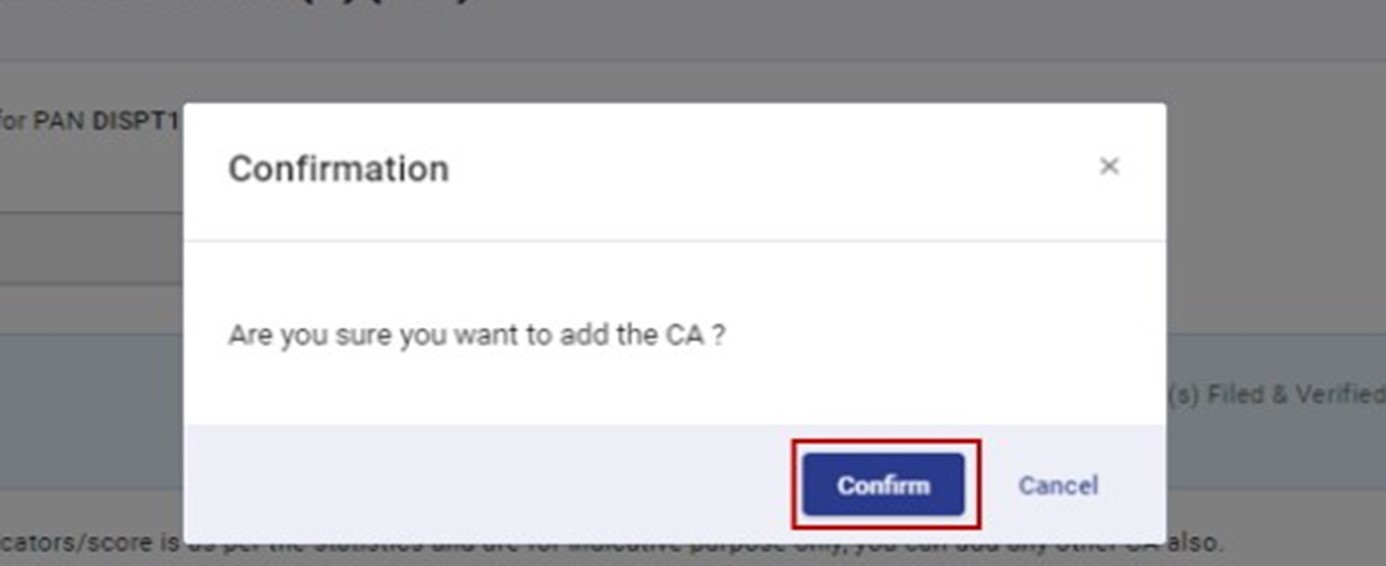
Step 3: Click Confirm to add the CA.

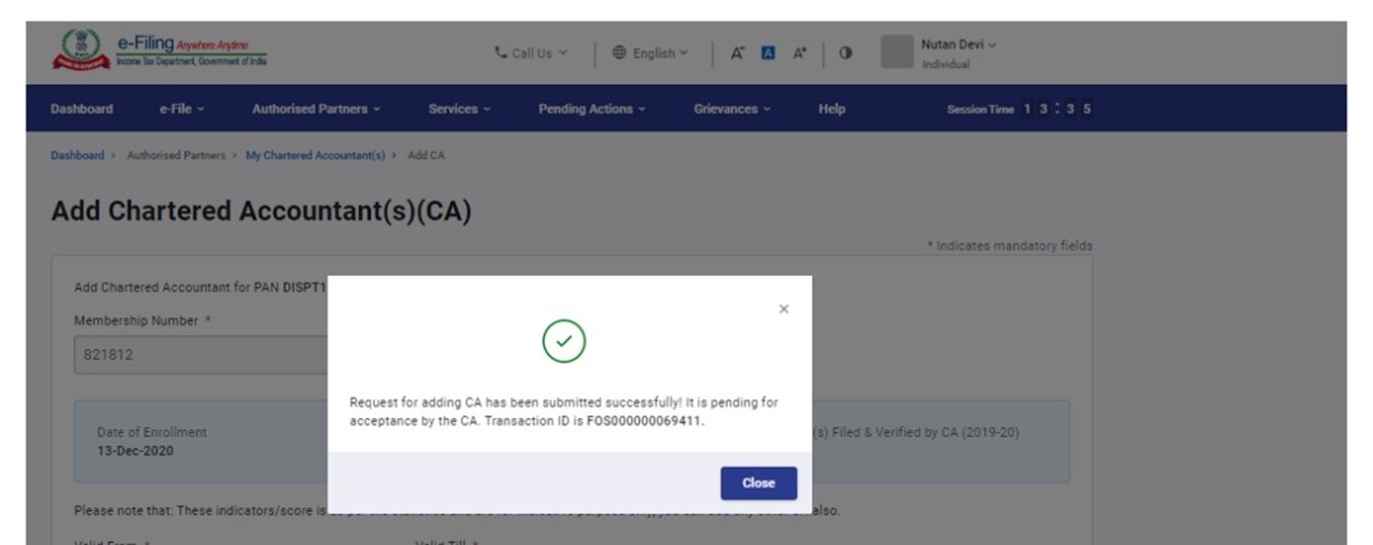
A success message is displayed along with the Transaction ID for future reference.
3.3 Assign Forms to CA
Step 1: In the My Chartered Accountant(s) page, click Assign Form(s) against the required CA in the Active CA tab.
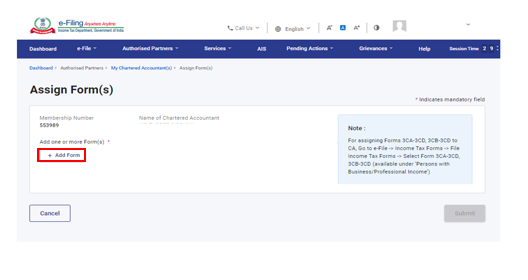
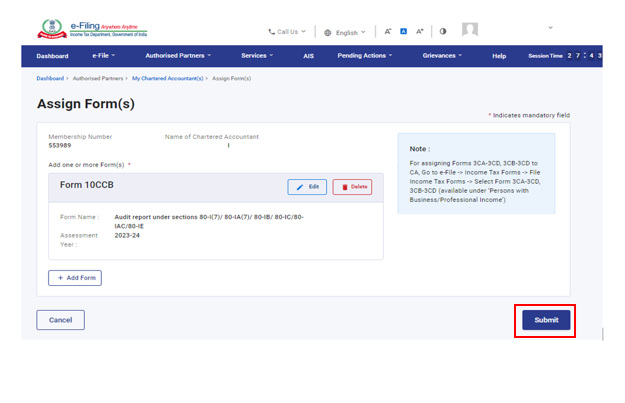
Step 2: Click Add Form on the Assign Form(s) page.
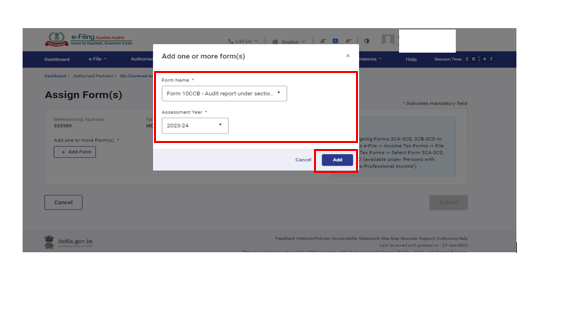
Step 3: Select the required Form Name, Assessment Year and click Add.
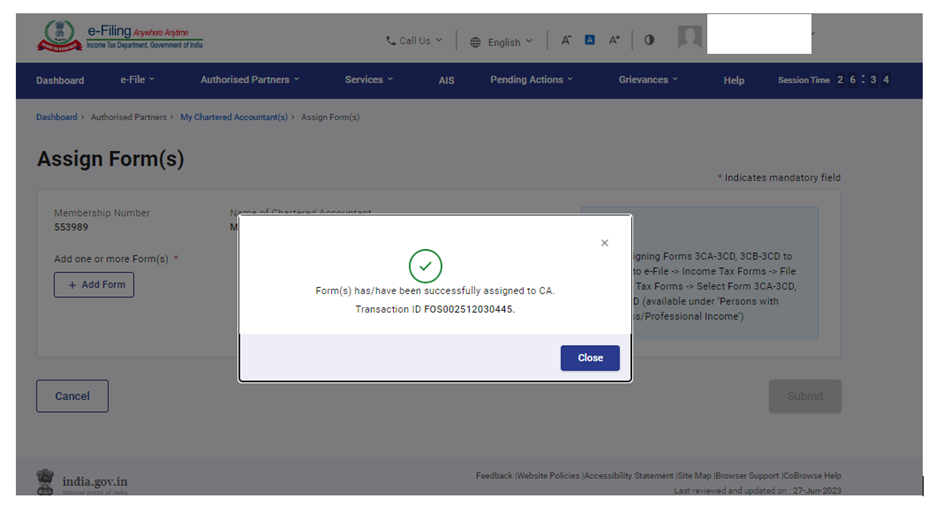
Step 4: The Assign Form(s) page will appear with the selected form added. Review the information displayed and click Submit.
A success message is displayed along with a Transaction ID.
3.4 Deactivate CA
Step 1: On the My Chartered Accountant(s) page, click Deactivate against the required active CA under the Active tab.
Step 2: On the Deactivate CA page, select the reason for deactivation and click Continue.
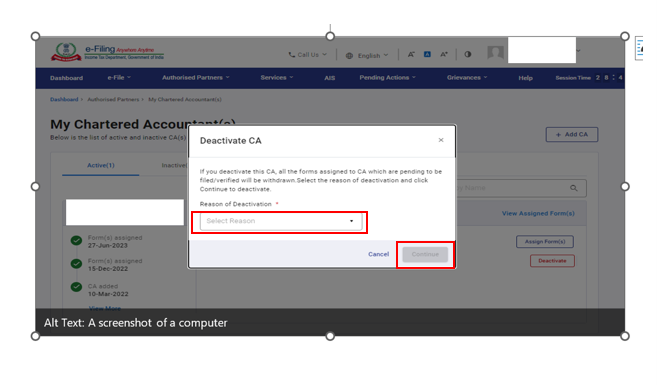
A success message is displayed along with the Transaction ID. Please keep note of the Transaction ID for future reference.

3.5 Activate CA
Step 1: To activate an inactive CA from the My Chartered Accountant(s) page, click Activate against the corresponding CA under the Inactive tab.
Step 2: The Add Chartered Accountant(s) page will appear displaying pre-filled details of the CA to be activated.
Step 3: Click Confirm if the entered details are correct. Else, click Cancel.
A success message is displayed along with the Transaction ID. Please keep note of the Transaction ID for future reference.
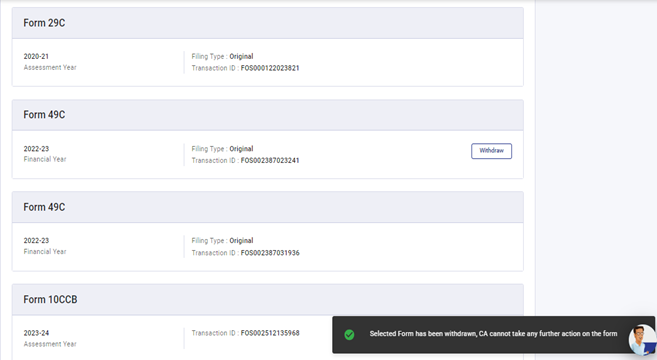
3.6 Withdraw a Form
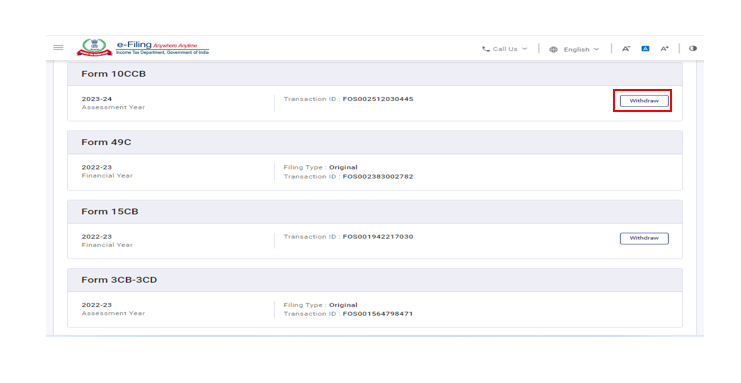
Step 1: Click View Assigned Form(s) under the Active tab.

Step 2: Click Withdraw against the corresponding form to be withdrawn.
Step 3: Click Confirm to withdraw the form.
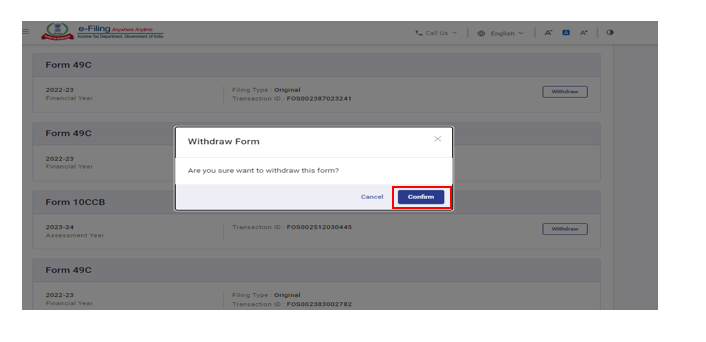
A success message is displayed that the selected Form has been withdrawn, CA can not take any further action on the form.