

Register on the e-Filing Portal: For ERI
Step-by-Step Guide
1.1 Submit ERI Registration Request
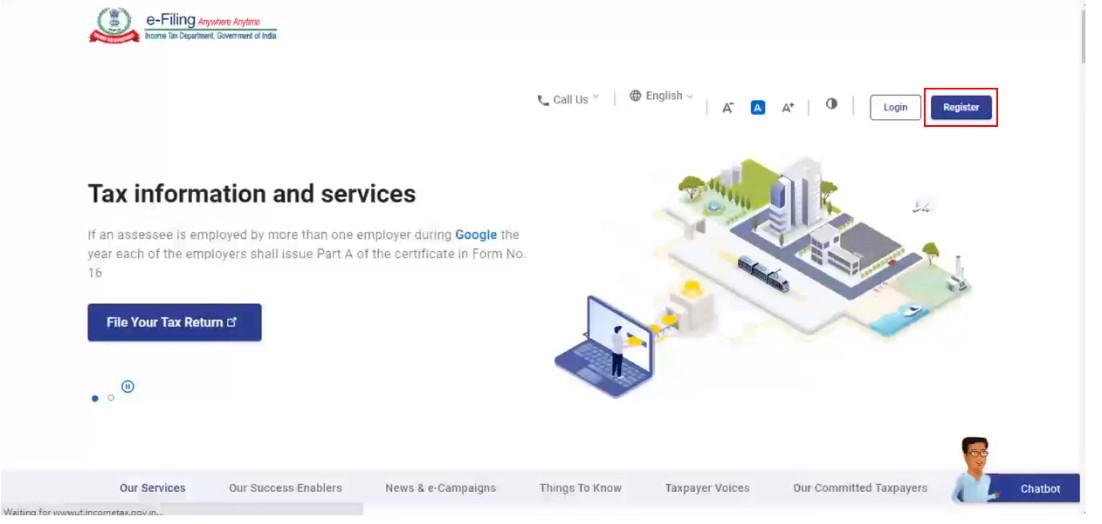
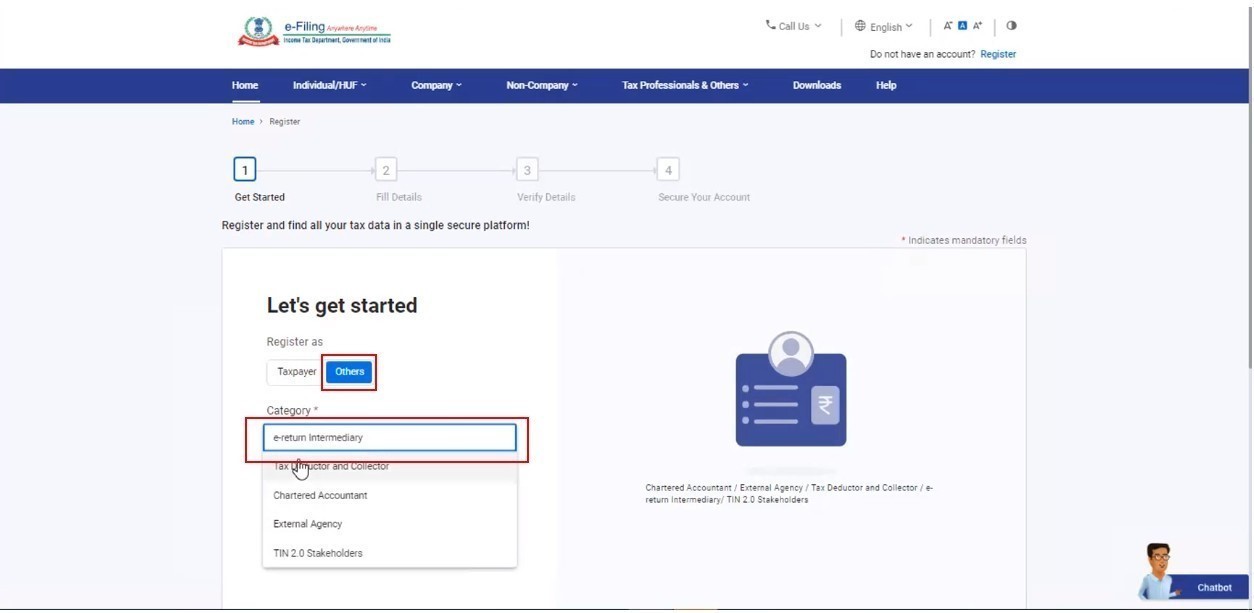
Step 1: Go to the e-Filing portal homepage and click Register.
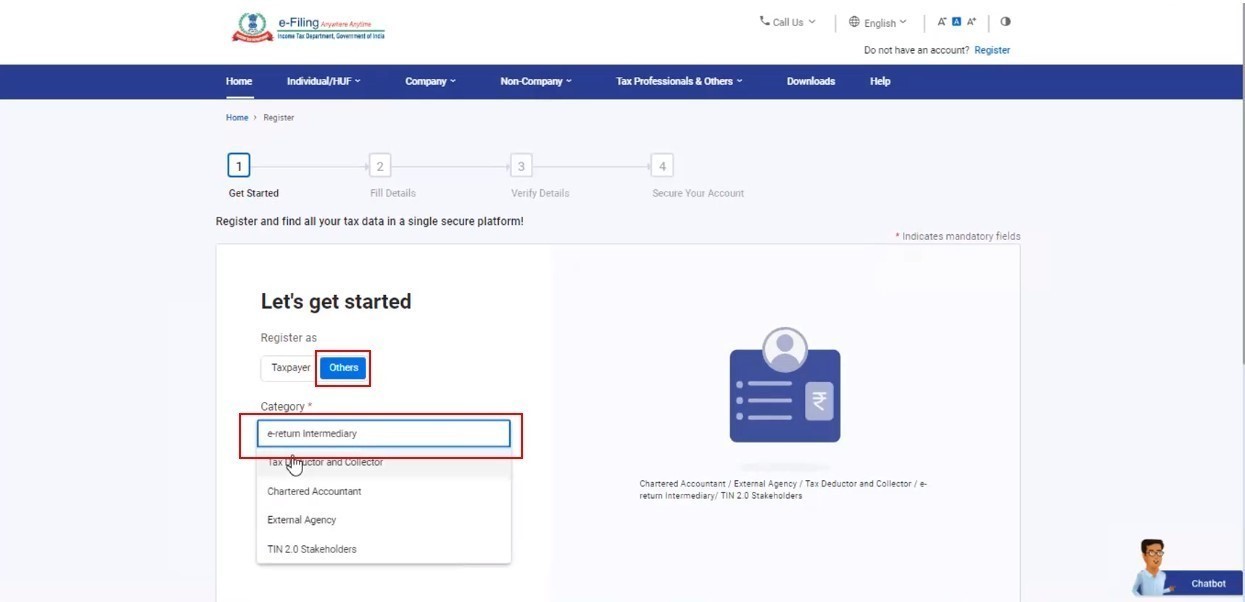
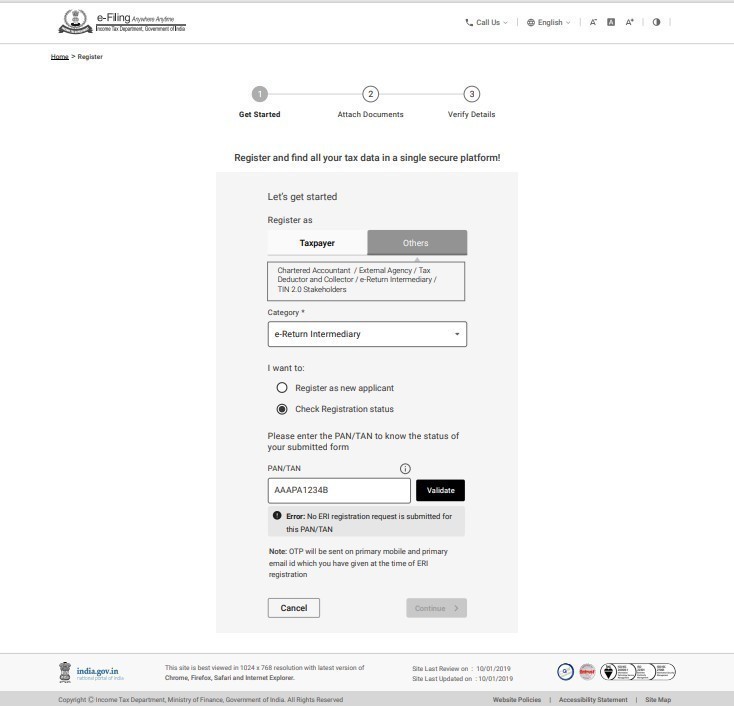
Step 2: In Others tab, select e-Return Intermediary from the Category dropdown.
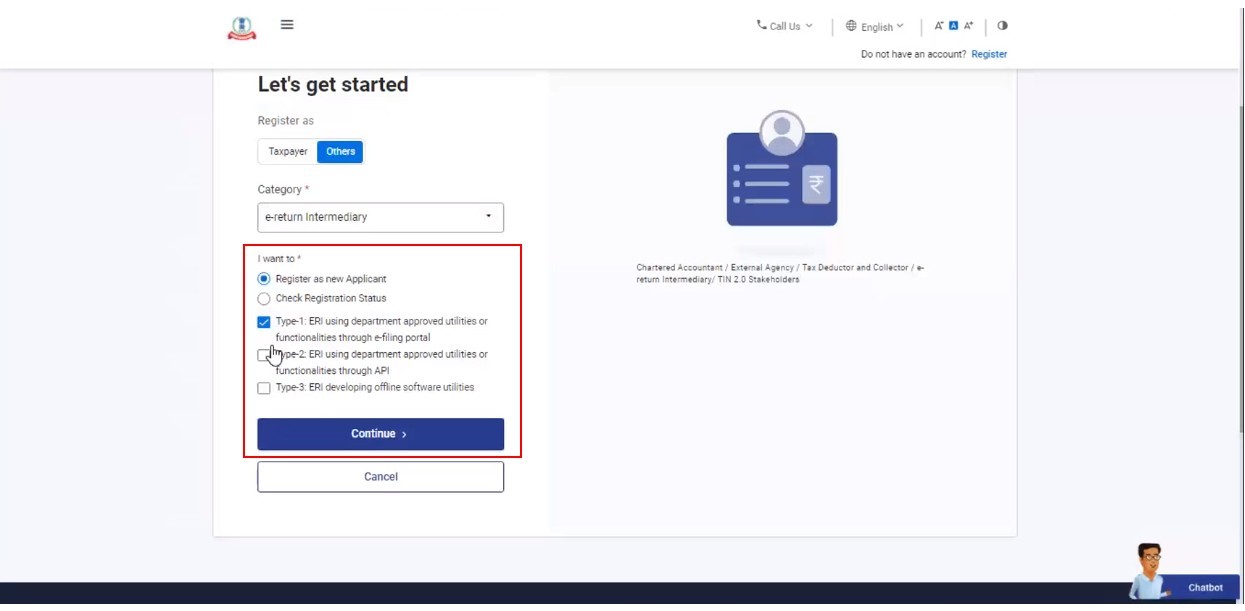
Step 3: Select Register as New Applicant and type of applicable ERI. Click Continue.
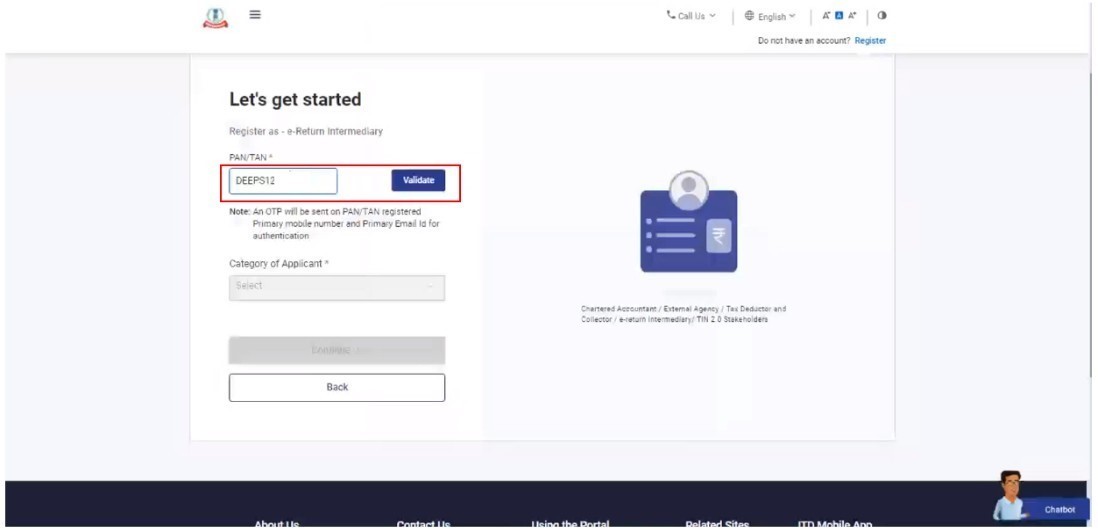
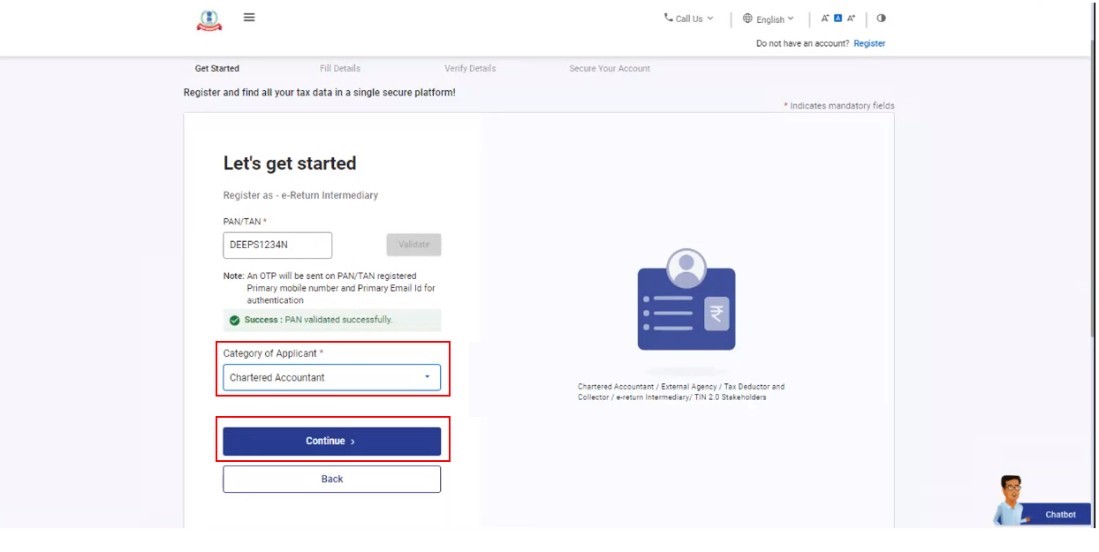
Step 4: On the Register as e-Return Intermediary page, enter PAN / TAN with which you want to register as ERI and click Validate.
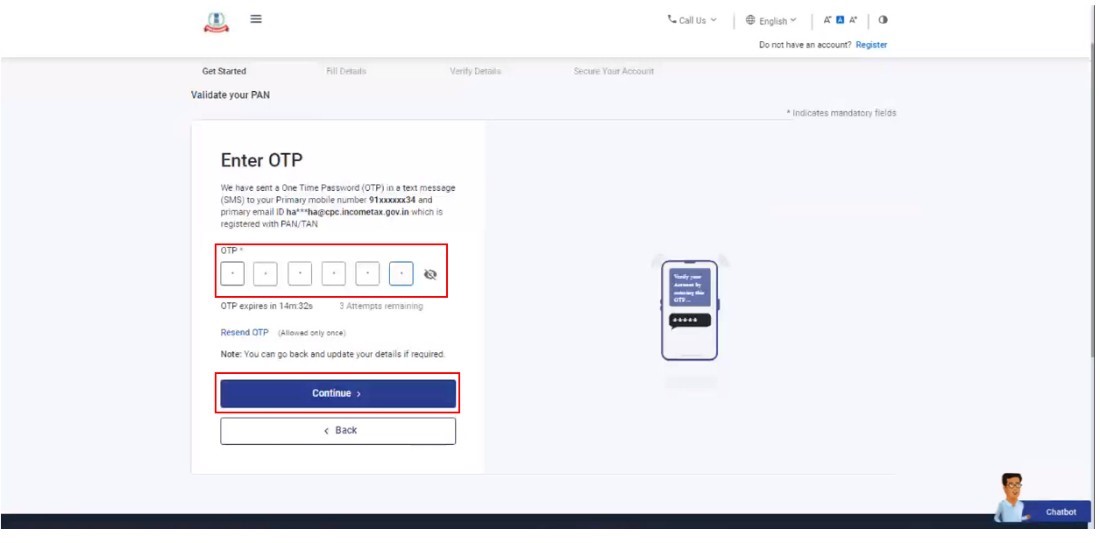
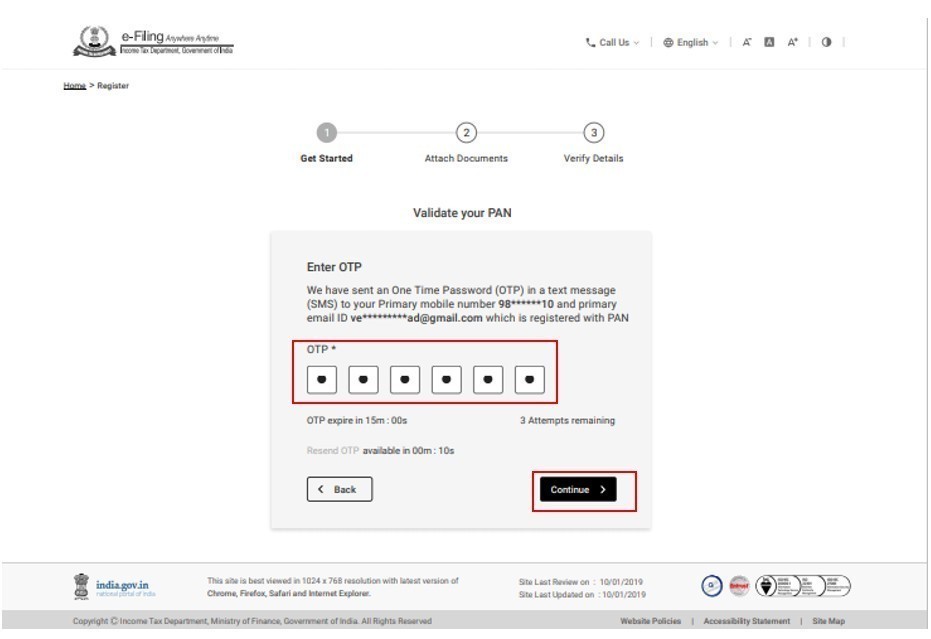
Step 5: On successful validation, 6-digit OTP will be sent to the registered mobile number of the entered PAN / TAN (the PAN / TAN should already be registered on the e-Filing portal). Enter OTP and click Continue.
Note:
- OTP will be valid for 15 minutes only
- You have 3 attempts to enter the correct OTP
- The OTP expiry countdown timer on screen tells you when the OTP will expire
- On clicking Resend OTP, a new OTP will be generated
Step 6: Select the category of applicant and click Continue.
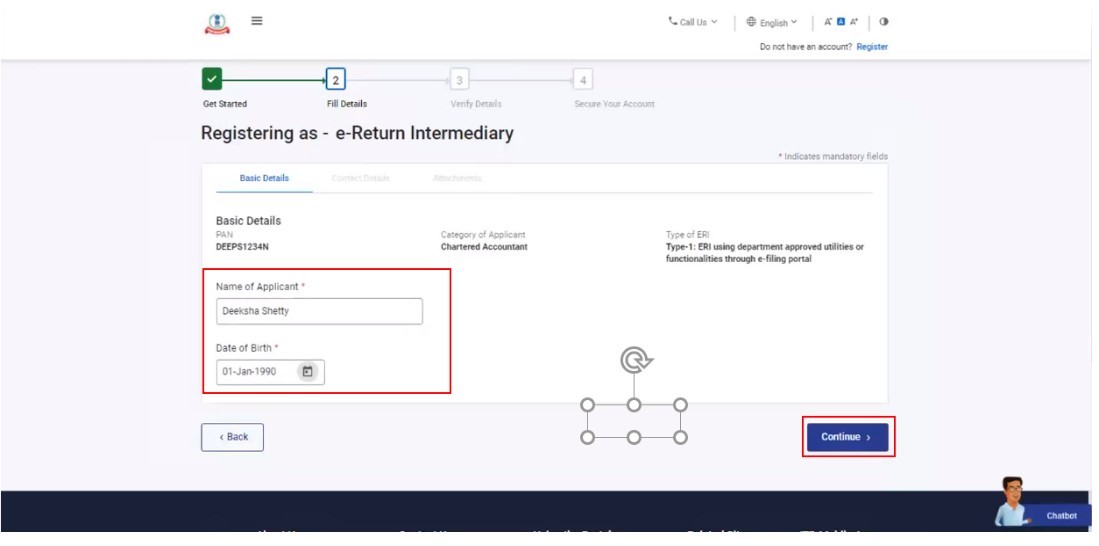
Step 7: Enter the basic details (Name and DOB for individual user; Name of Organization and DOI for Company / Firm; Name of Organization and Date of Allotment of TAN for DDO) and click Continue.
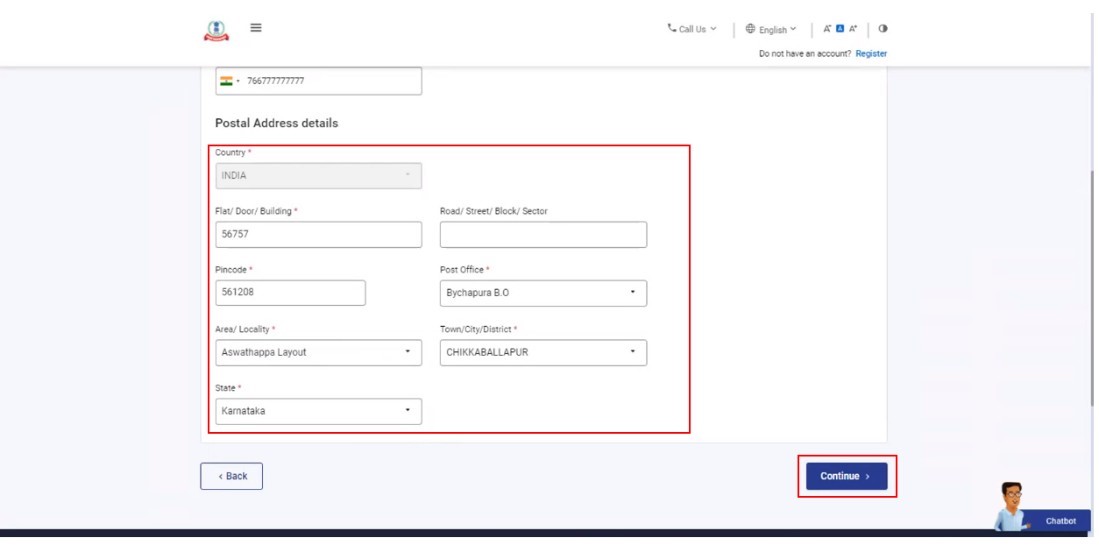
Step 8: On successful validation, you will be taken to the Principal Contact Details page or the Contact Details screen in case of individuals. Enter the contact details of the Principal contact and click Continue.
Step 9: You will receive a 6-digit OTP on the mobile number and the email ID entered in step 8. Enter the 6-digit OTP received on your mobile number and email ID and click Continue.

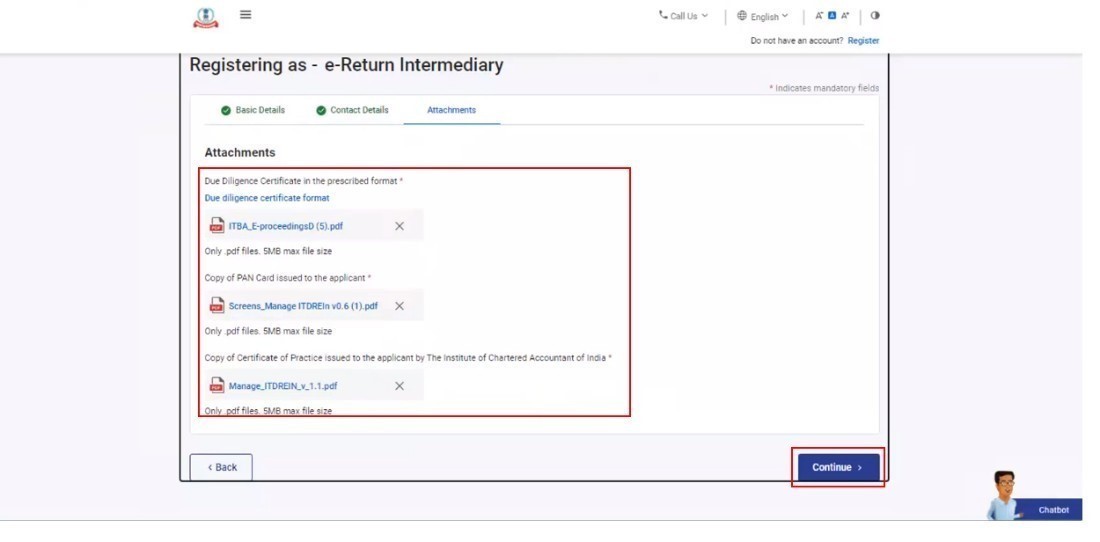
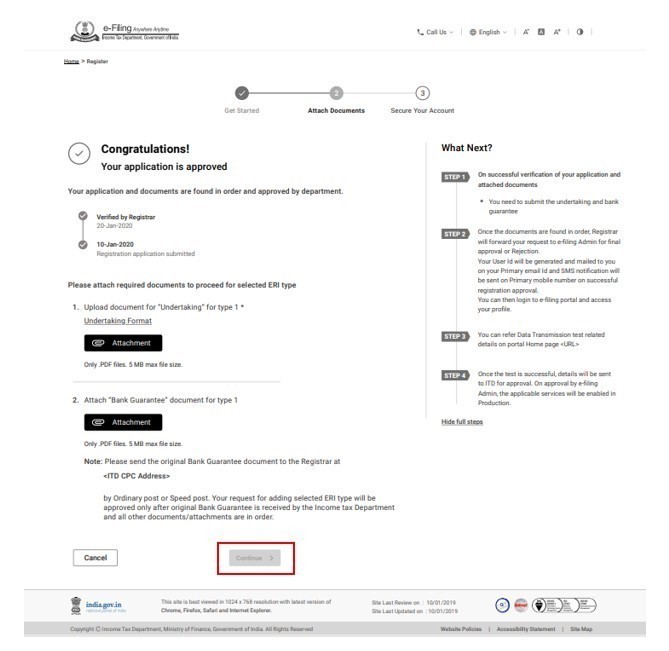
Step 10: In the Attachments tab, upload documents based on applicant category.
For Type 1 ERI
- Undertaking
- Bank Guarantee
For Type 2 and 3 ERI
- Undertaking
- Bank Guarantee
- Audit Report
Note: The maximum size of a single attachment should be 5 MB.
Step 11: Edit the details if required in the Verify your details page. Click Confirm.
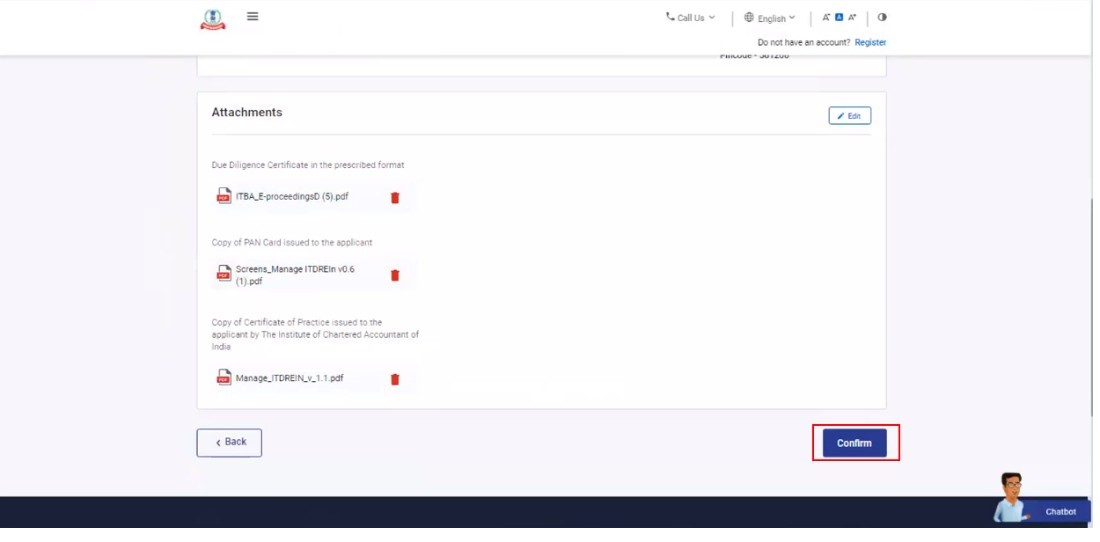
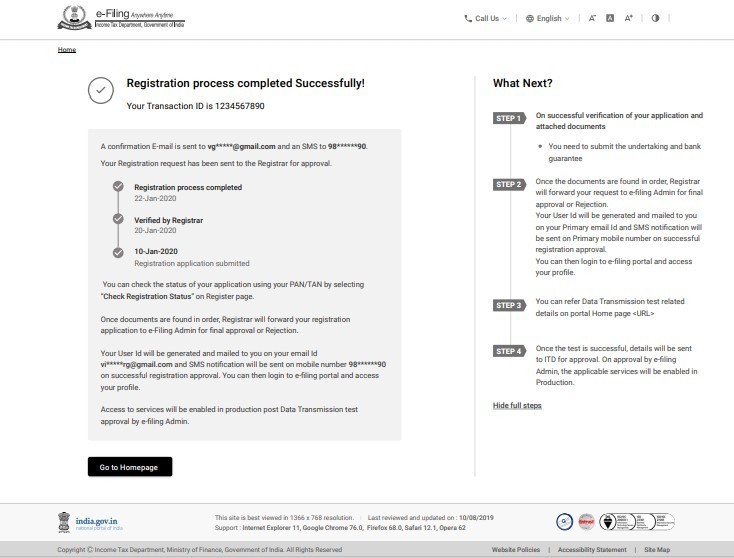
A success message is displayed and your registration request is submitted for approval.

1.2 Post Request Submission Stage:
Once the ERI Registration Request is submitted, one of the following scenarios emerge:
| Section | Case |
| A | When Registration Application is approved by Registrar |
| B | When Registration Request has defects |
| C | When Registration Request is rejected |
| D | When Registration Request is pending with Registrar |
Follow steps 1-5 and then follow as per the case applicable.
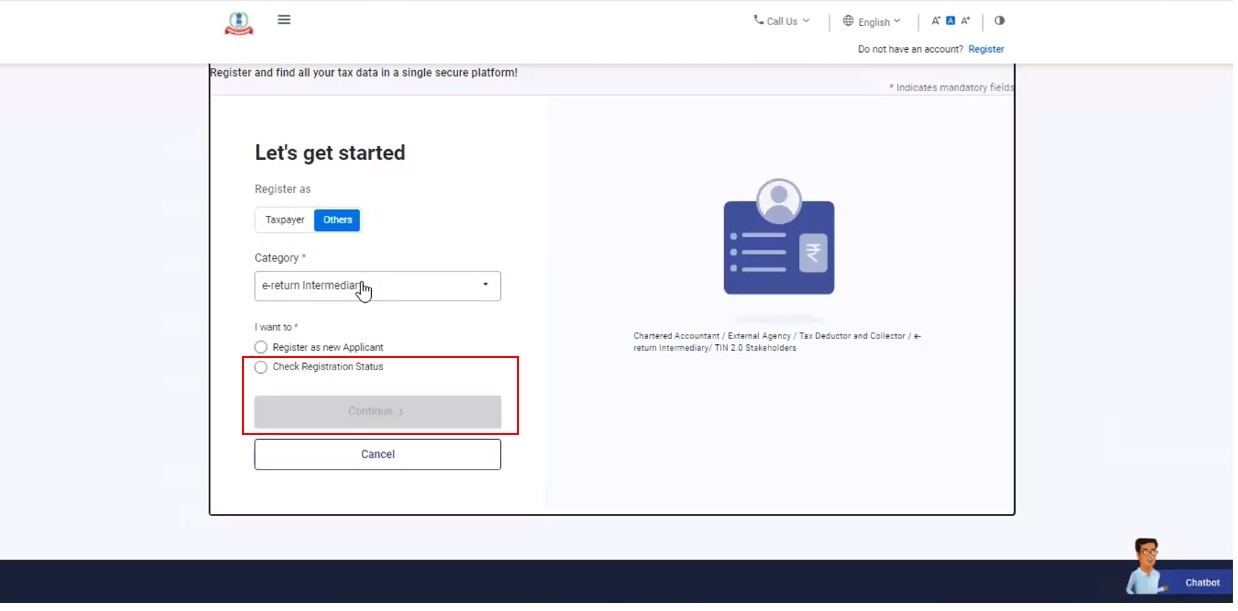
Step 1: Go to the e-Filing portal homepage and click Register.

Step 2: In Others tab, select e-Return Intermediary from the Category dropdown.
Step 3: Select Check Registration Status.
Step 4: Enter your PAN / TAN and click Validate.
Step 5: A 6-digit OTP is sent to the mobile number provided at the time of submitting the registration request.
Note:
- OTP will be valid for 15 minutes only
- You have 3 attempts to enter the correct OTP
- The OTP expiry countdown timer on screen tells you when the OTP will expire
- On clicking Resend OTP, a new OTP will be generated
A. When Registration Application is Approved by Registrar
Step 1: On successful validation of the 6-digit OTP, the Application Approved screen is displayed. Click Continue.
Step 2: On the Set Password page, enter your desired password in both Set Password and Confirm Password textboxes and click Register.
Note:
Do not click Refresh or Back.
While entering your new password, be careful of the password policy:
- It should be at least 8 characters and at most 14 characters
- It should include both uppercase and lowercase letters
- It should contain a number
- It should have a special character (e.g., @#$%)

The registration is complete and you will be taken to the Registration Process Completed page.
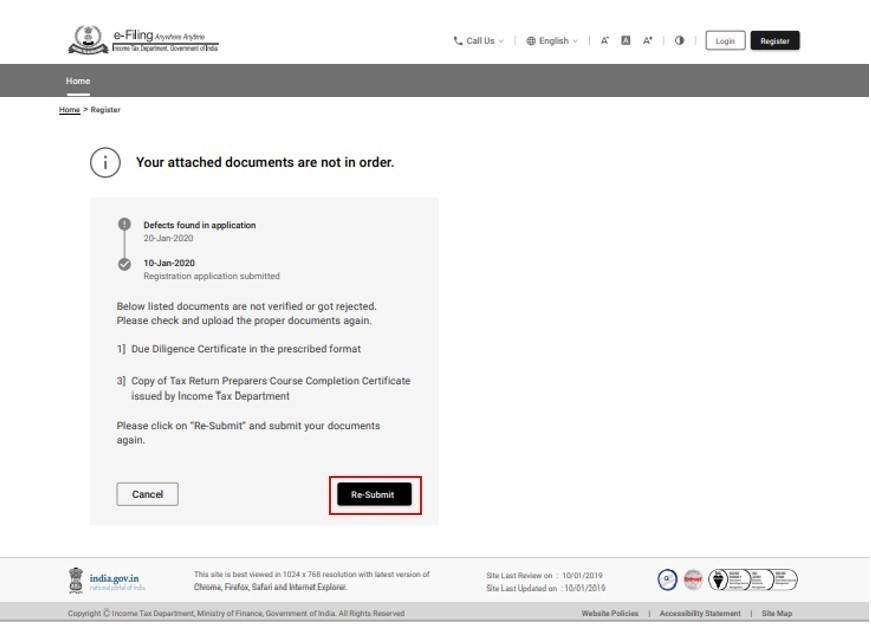
B. When Registration Request has Defects
Step 1: On successful validation of the OTP, a list of documents with defects is displayed. Click Re-Submit to attach the list of documents that have not been verified.
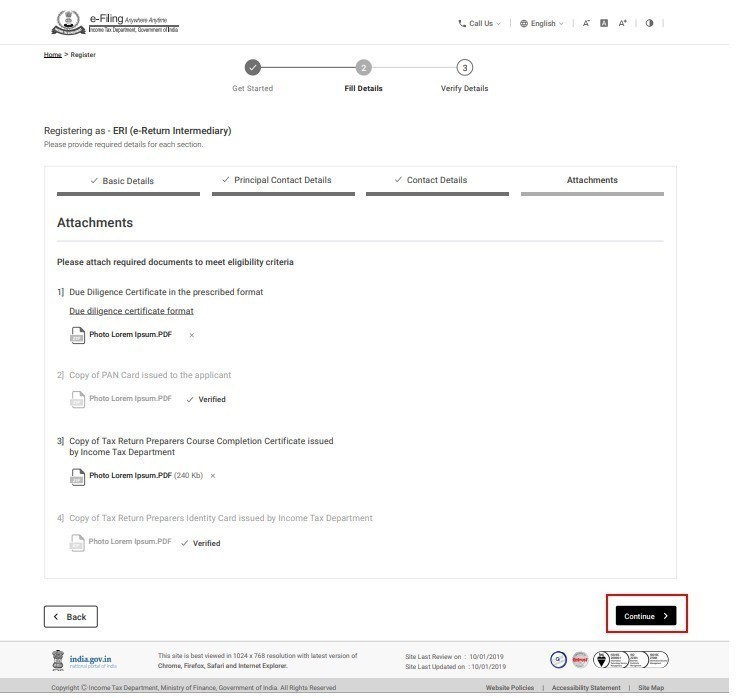
Step 2: Once the documents that are uploaded, click Continue.
Note: The maximum size of a single attachment should be 5 MB.
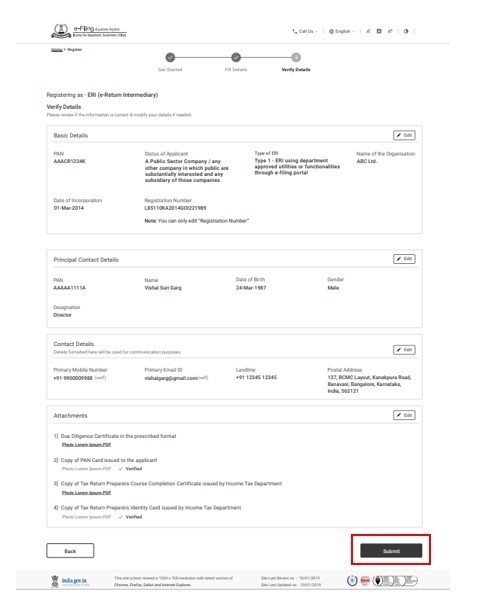
Step 3: Verify the details and click Submit.
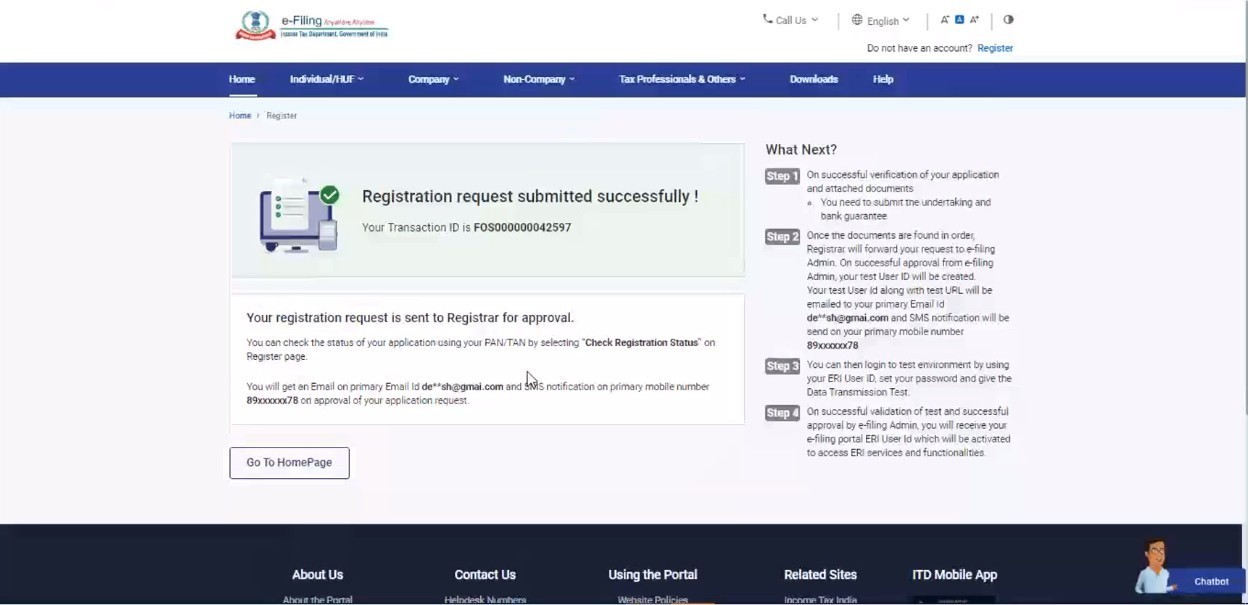
The Registration Request Submitted page is displayed.
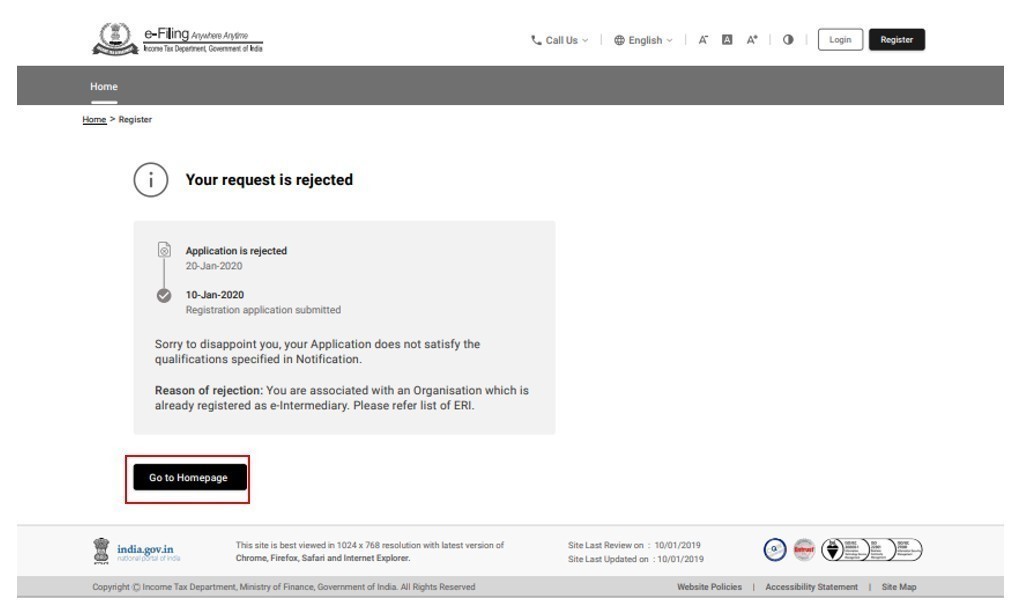
C. When Registration Request is rejected
Step 1: On validation of the OTP entered, the reason for rejection will be displayed to you. Click Go to Homepage and submit the registration request if you want to reapply for registration as ERI.
D. When Registration Request is pending with Registrar
Step 1: On validation of the OTP, a following message is displayed: Pending for Approval.


