

1. Overview
The e-Proceedings service is available to all registered users to view and submit a response to the notices / intimations / letters issued by Assessing Officer, CPC or any other Income Tax Authority. Following notices / intimations / letters can be viewed and responded to, using the e-Proceedings service:
- Defective Notice u/s 139(9)
- Intimation u/s 245 – Adjustment against Demand
- Prima Facie Adjustment u/s 143(1)(a)
- Suo-moto Rectification u/s 154
- Notices issued by Assessing Officer or any other Income Tax Authority
- Seek for Clarification communication
Additionally, a registered user can also add or withdraw an Authorized Representative to respond to any of the above listed notice / intimations / letters.
2. Prerequisites to Avail This Service
- Registered user on e-Filing portal with a valid user ID and password
- Active PAN
- Notice / intimation / letter from the Department (AO / CPC / Any other Income Tax Authority)
- Authorized to act as Authorized Representative (in case Authorized Representative wants to respond on behalf of taxpayer)
- Active TAN (in case of TAN proceedings)
3.Step-by-Step Guide
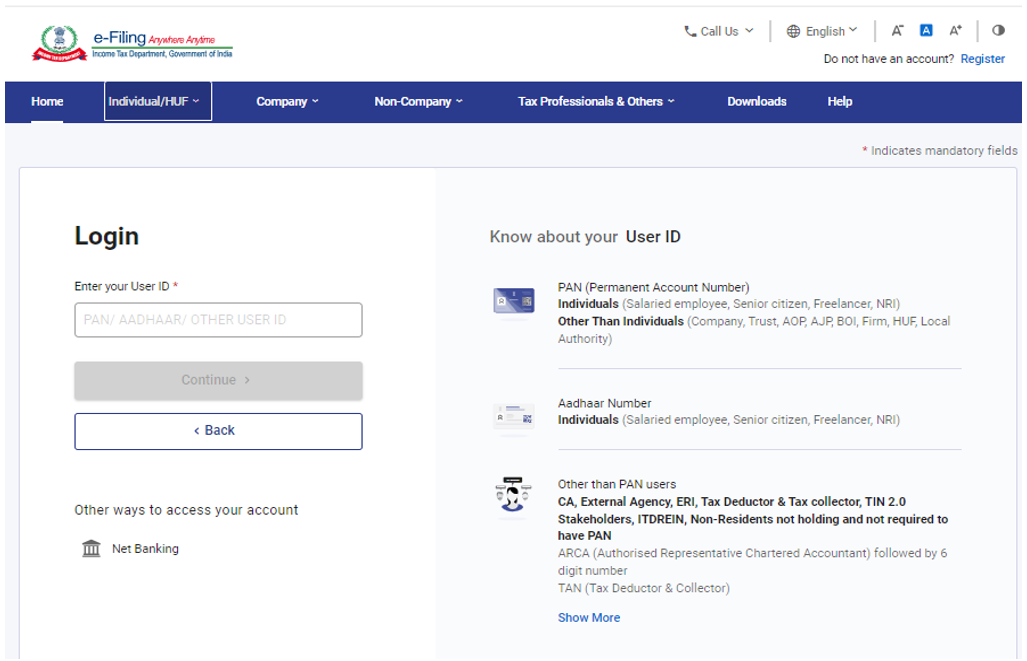
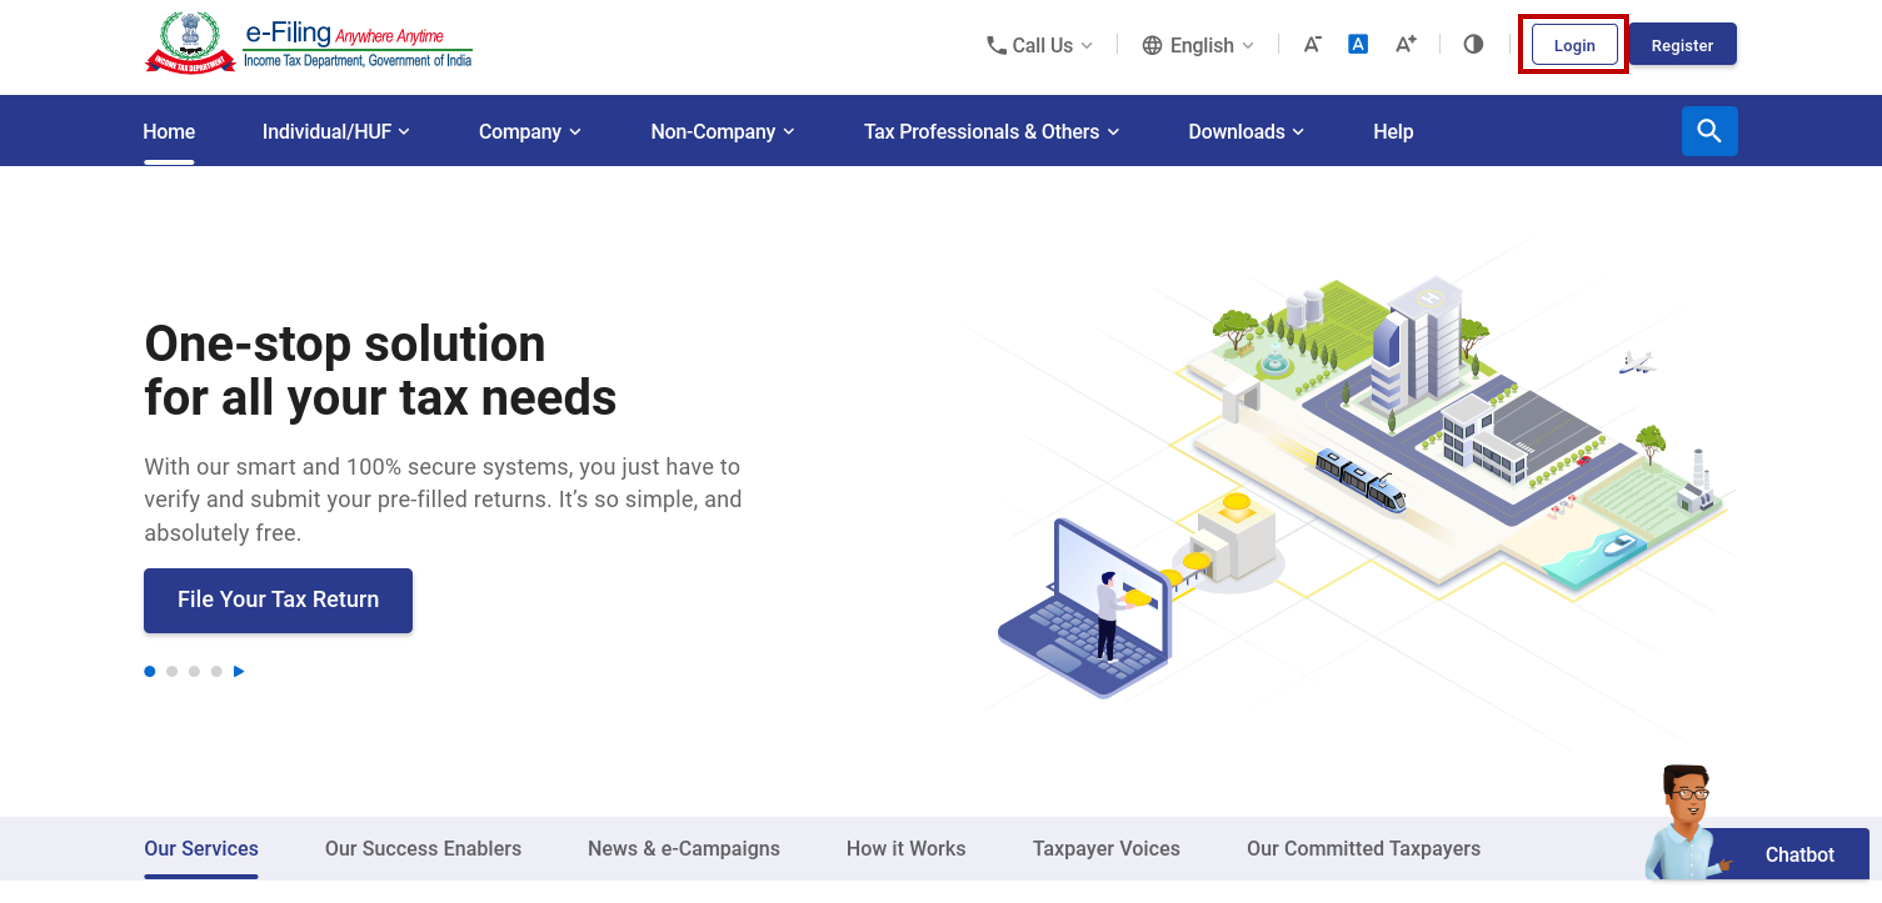
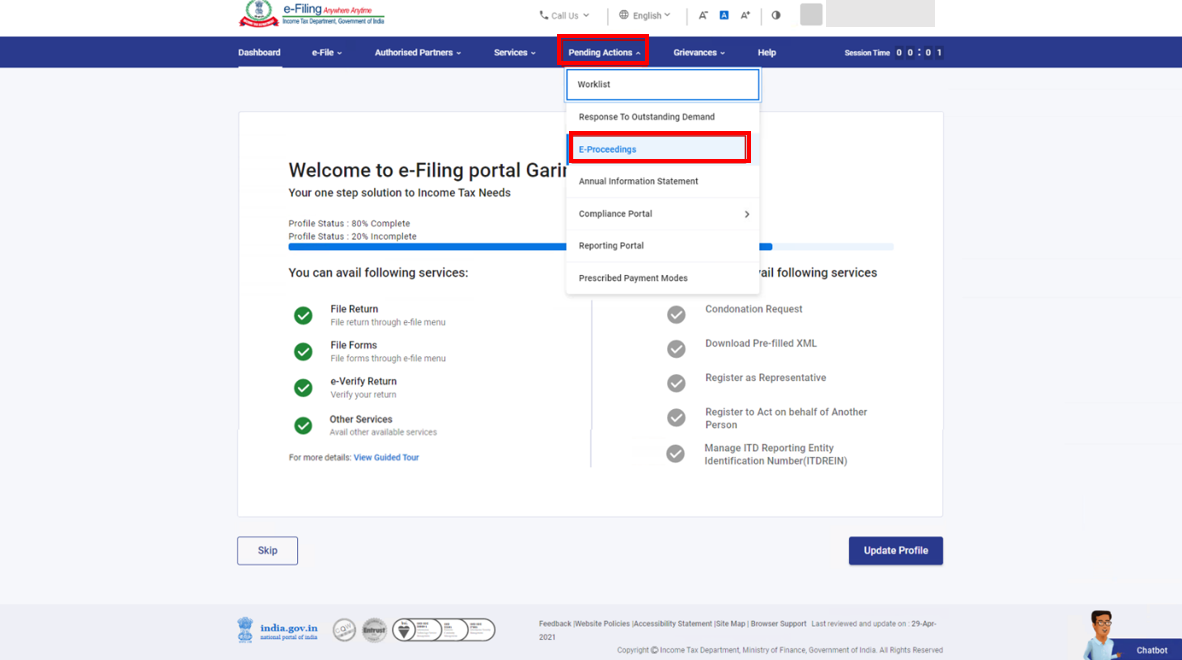
Step 1: Log in to the e-Filing portal using your user ID and password.
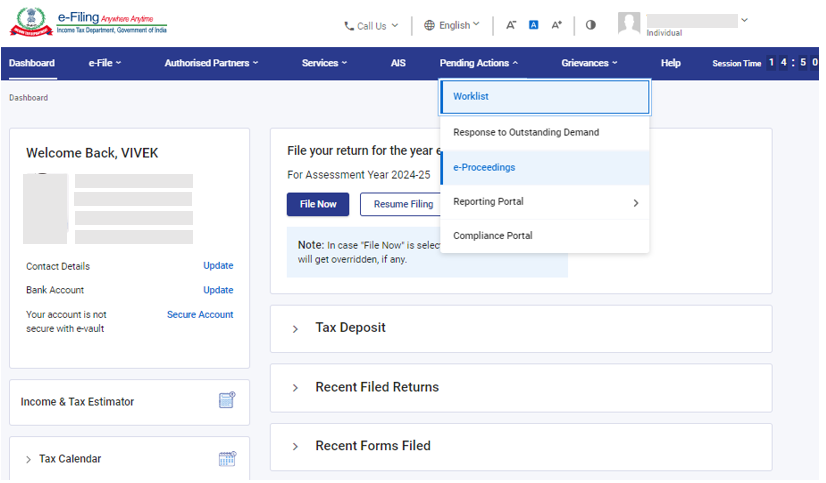
Step 2: On your Dashboard, click Pending Actions > e-Proceedings.
Step 3: On the e-Proceedings page, click Self.
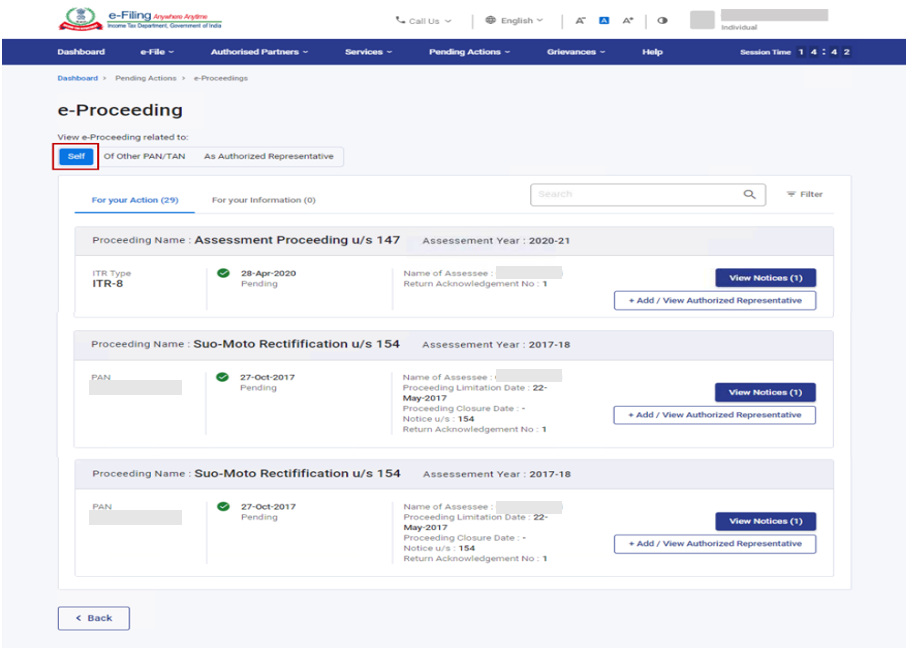
Note:
- If you log in as an Authorized Representative, click As Authorized Representative, and you will be able to view details of the notice.
- If you required to respond to a notice that has been issued as part of compliance under notice section 133(6) or 131 to self -PAN/TAN, click Of Other PAN/TAN.
| Defective Notice u/s 139(9) | Refer to Section 3.1 |
| Prima Facie Adjustment u/s 143(1)(a) | Refer to Section 3.2 |
| Suo-moto Rectification u/s 154 | Refer to Section 3.3 |
| Notices issued by Assessing Officer or any other Income Tax Authority | Refer to Section 3.4 |
| Seek for Clarification Communication | Refer to Section 3.5 |
| To add/withdraw Authorized Representative | Refer to Section 3.6 |
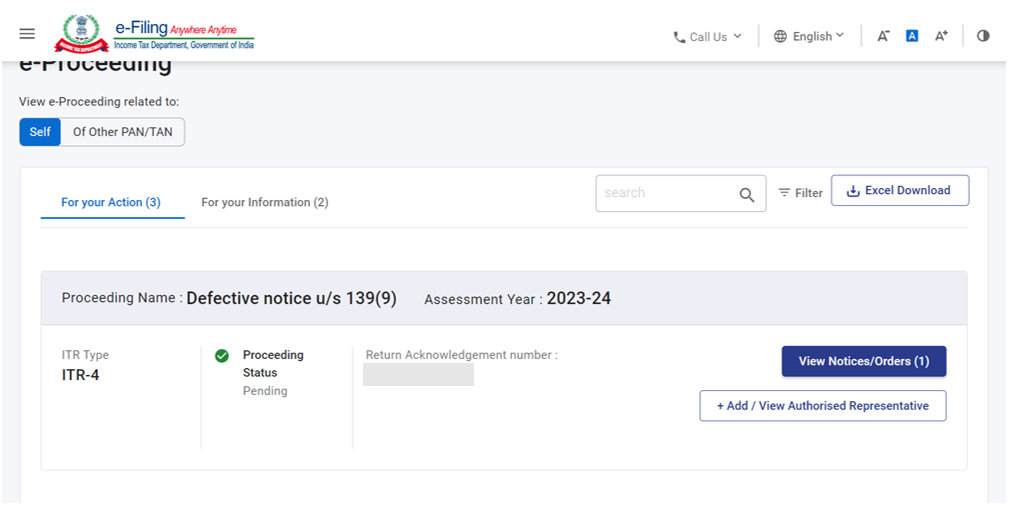
3.1. To view and submit response to Defective Notice u/s 139(9):
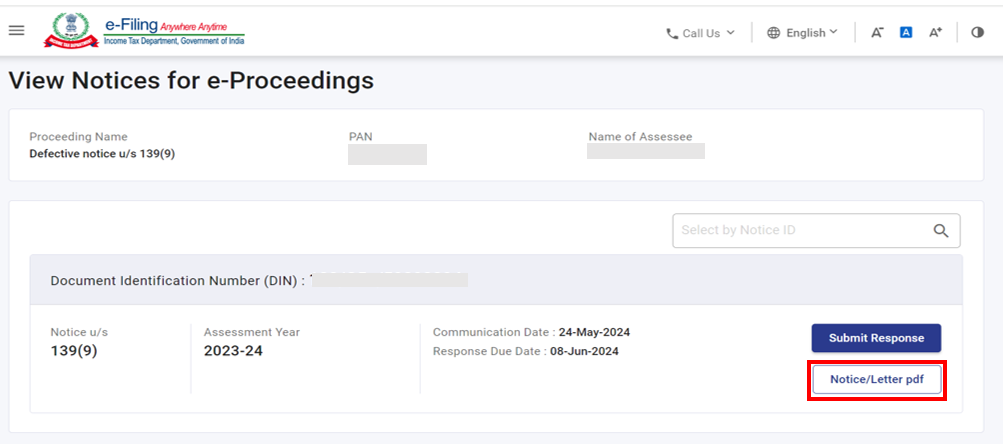
Step 1: Click View Notice corresponding to the Defective Notice u/s 139(9) and you can:
| View and Download Notice | Follow Step 2 and Step 3 |
| Submit Response | Follow Step 4 to Step 7 |
To View and Download Notice
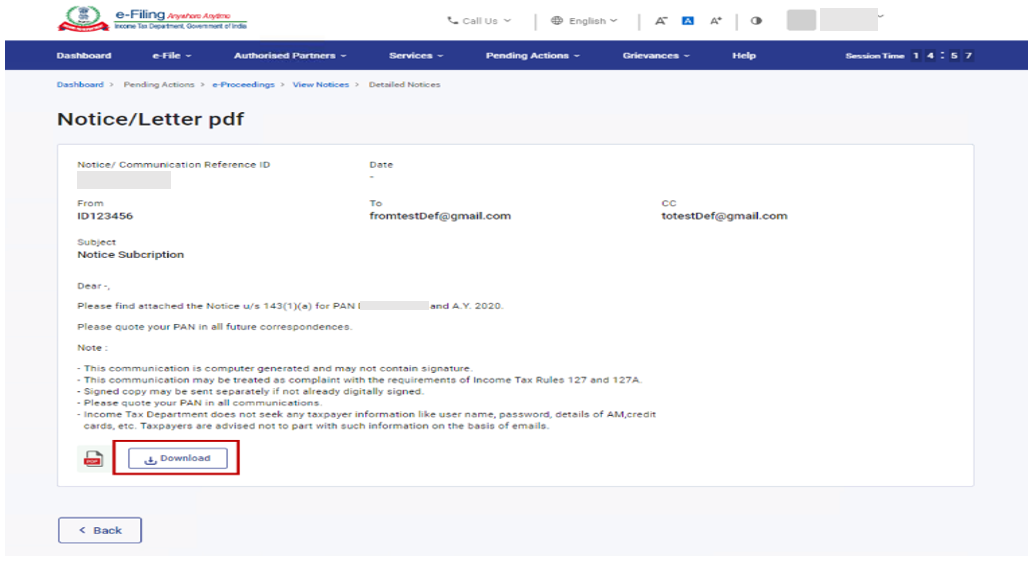
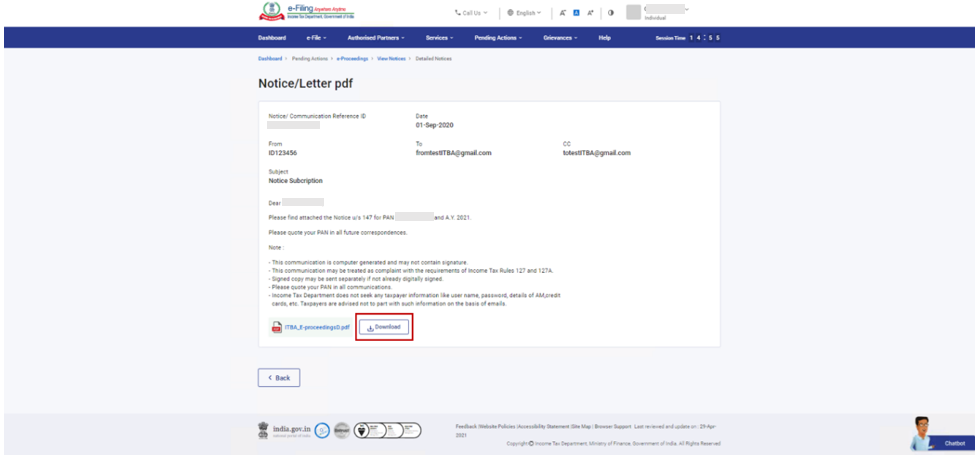
Step 2: Click Notice/Letter pdf.
Step 3: You will be able to view the notice issued to you. If you wish to download the notice, click Download.
To Submit Response
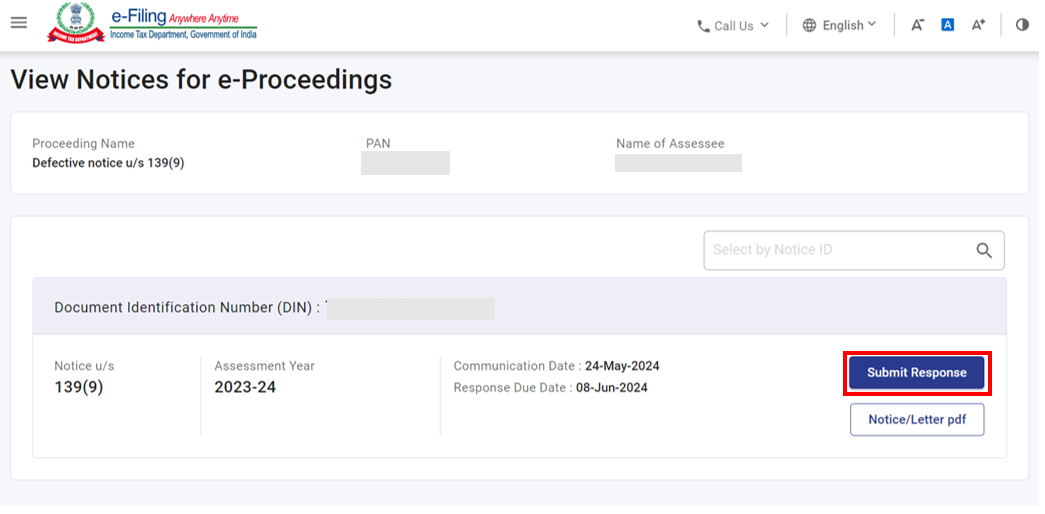
Step 4: Click Submit Response.
Step 5: You can either select Agree or Disagree.
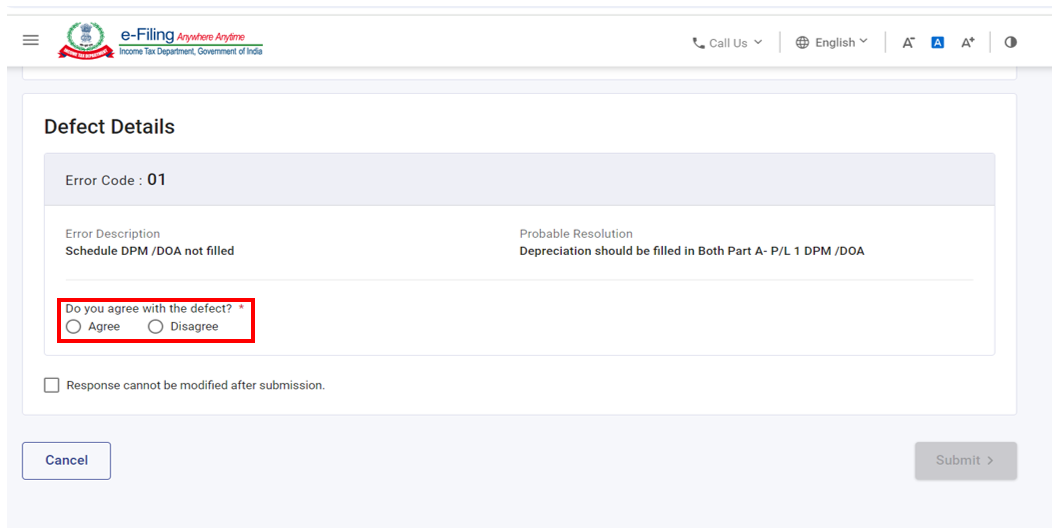
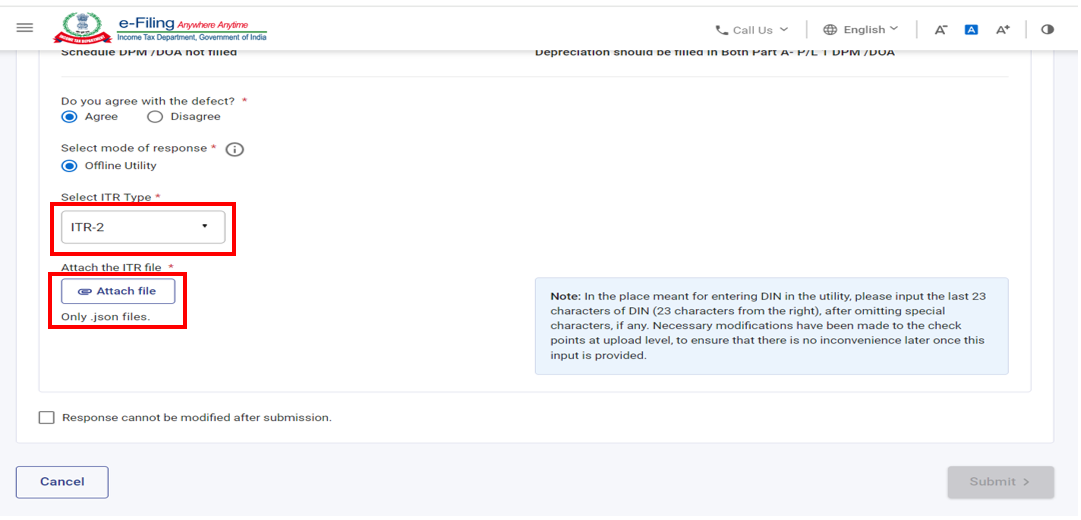
Step 5a: If you select Agree, then select Mode of Response (offline) , Select ITR Type and upload the correct JSON file as applicable and click Submit.
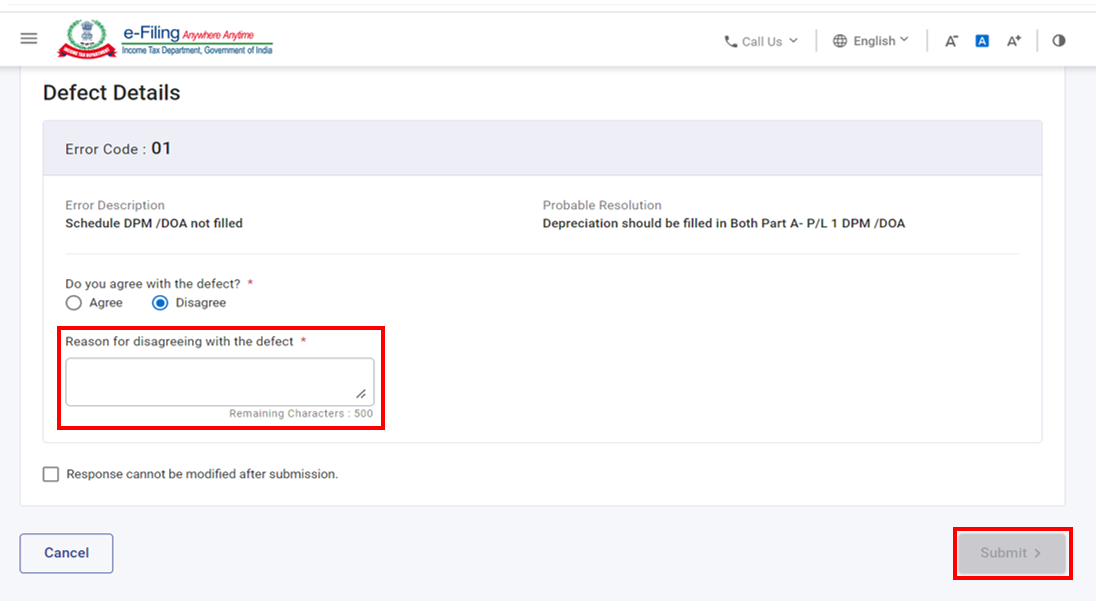
Step 5b: If you select Disagree, write the reason of disagree with the defect and click Submit.
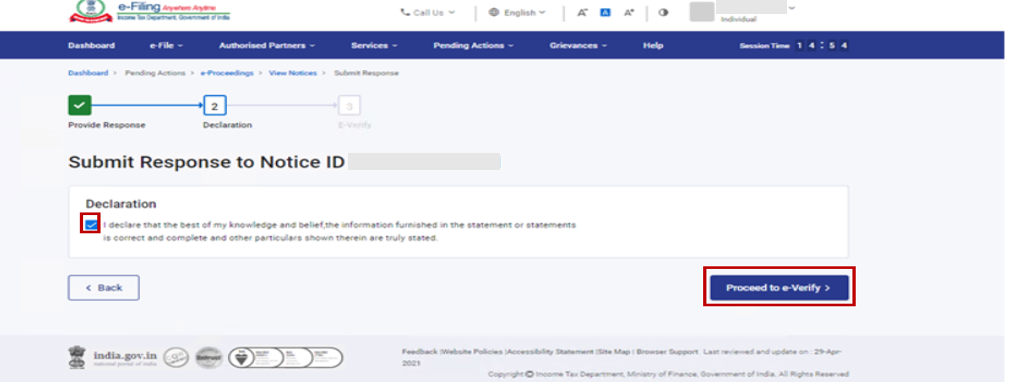
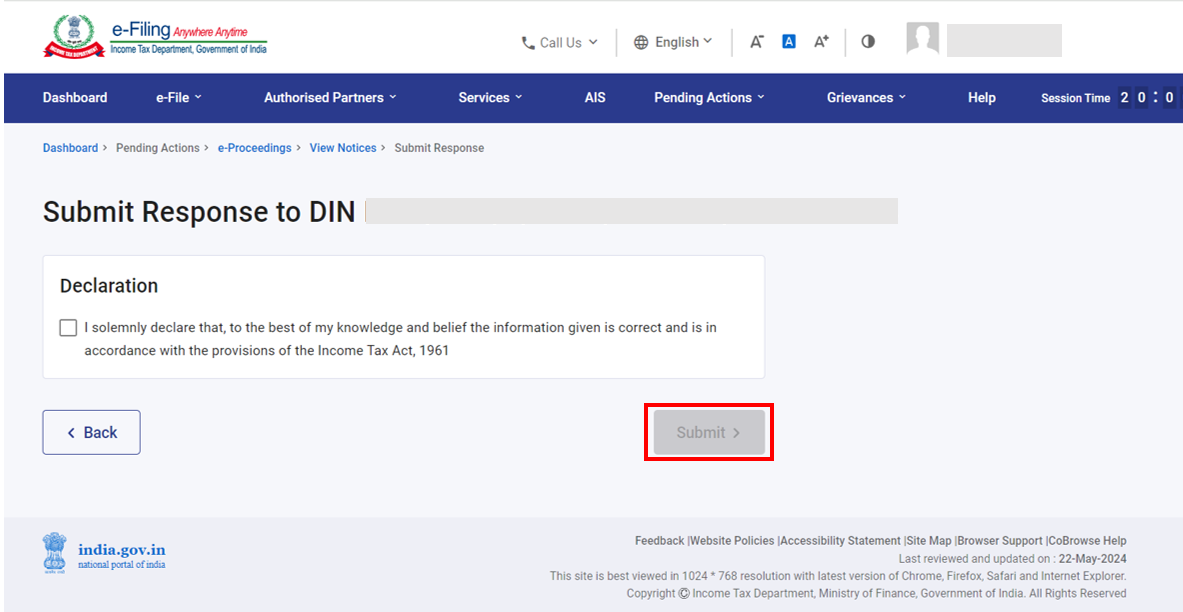
Step 6: Select the Declaration checkbox.
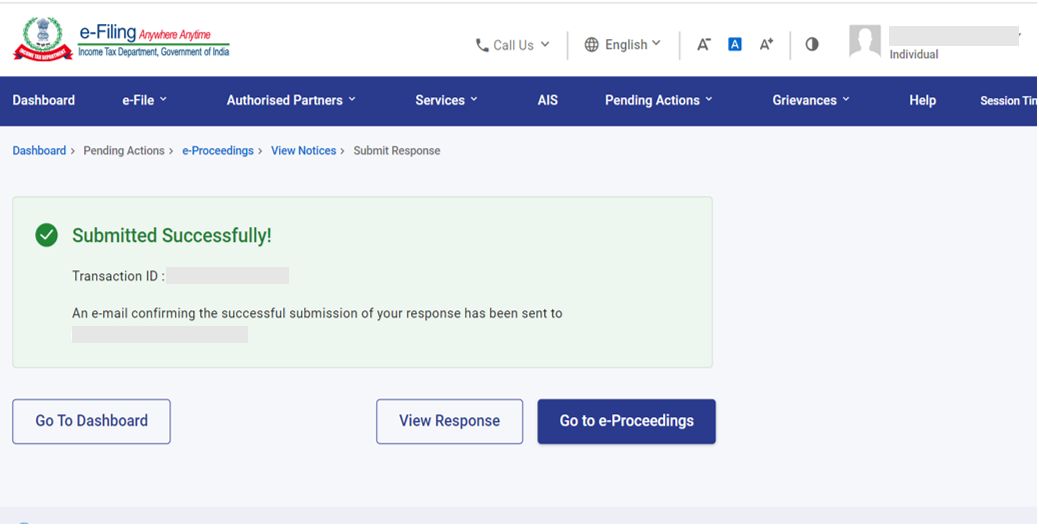
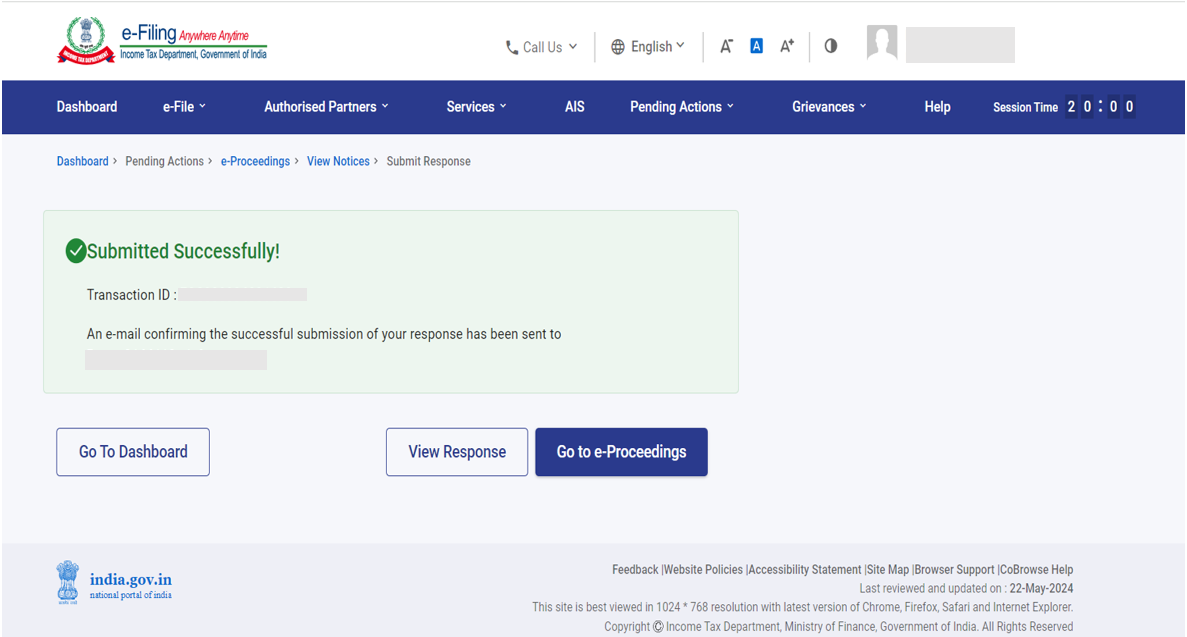
After successful submission, a success message is displayed along with a Transaction ID. Please keep a note of the Transaction ID for future reference. You will also receive a confirmation message on your email ID registered on the e-Filing portal.
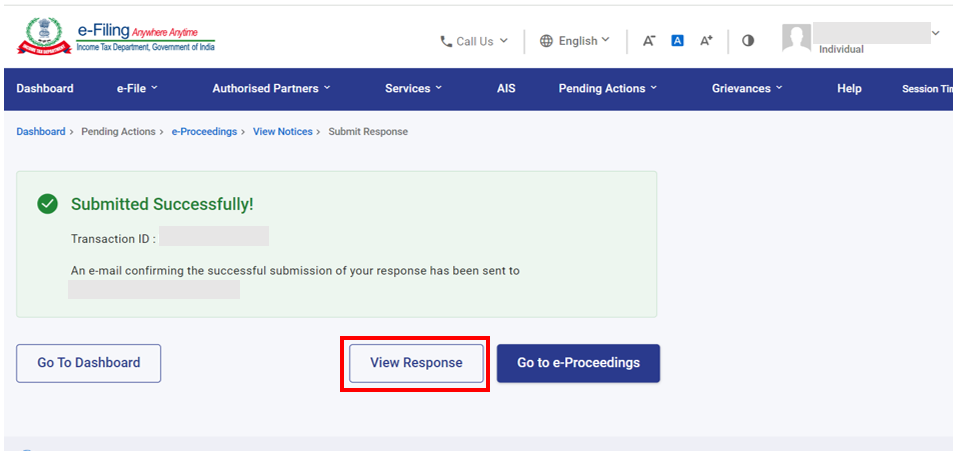
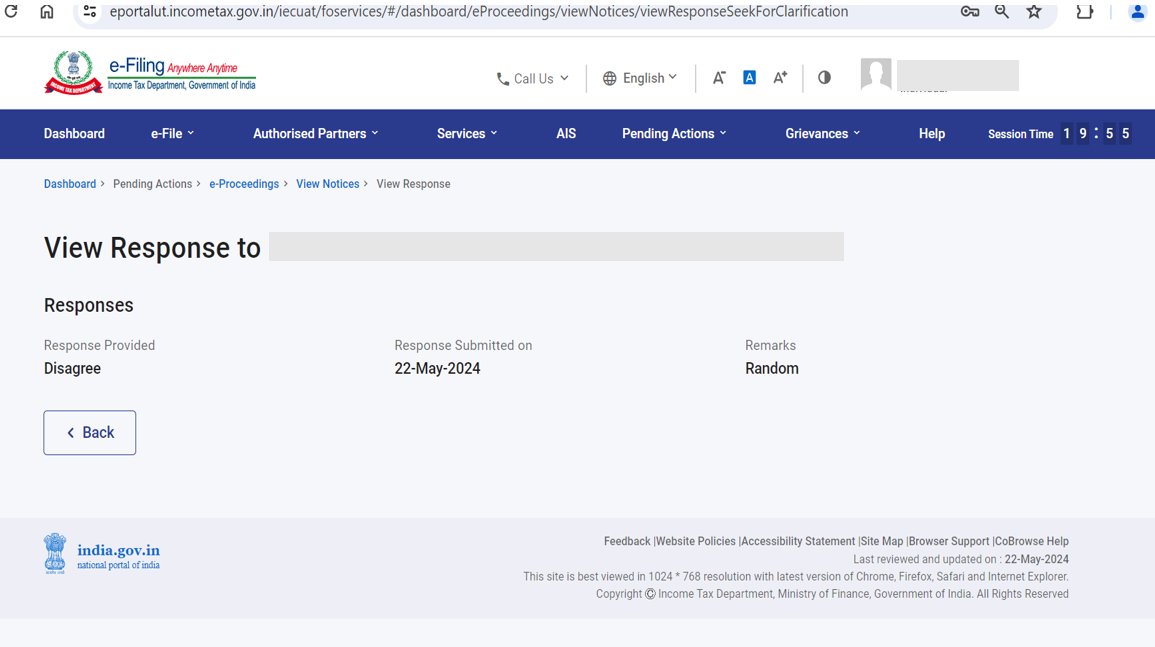
Step 7: If you wish to view the response submitted, click View Response on the Successful Submission page. You will be able to view the details of notices, response / remarks provided.
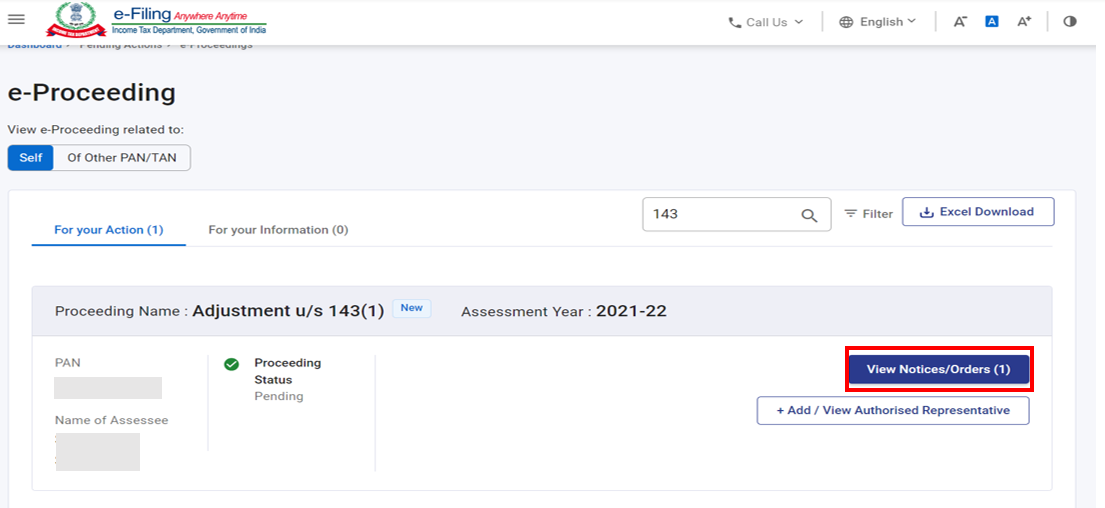
3.2. To view and submit response to Prima Facie Adjustment u/s 143(1)(a)
Step 1: Click View Notice corresponding to Adjustment u/s 245 and you can:
| View and Download Notice | Follow Step 2 and Step 3 |
| Submit Response | Follow Step 4 to Step 11 |
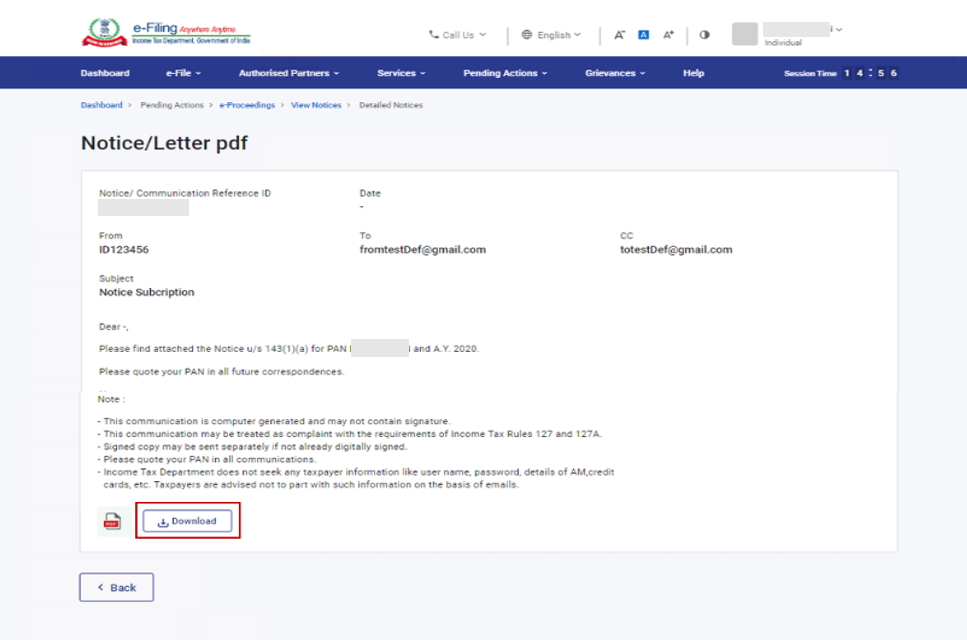
Step 2: Click Notice/Letter pdf.
Step 3: You will be able to view the notice issued to you. If you wish to download the notice, click Download.
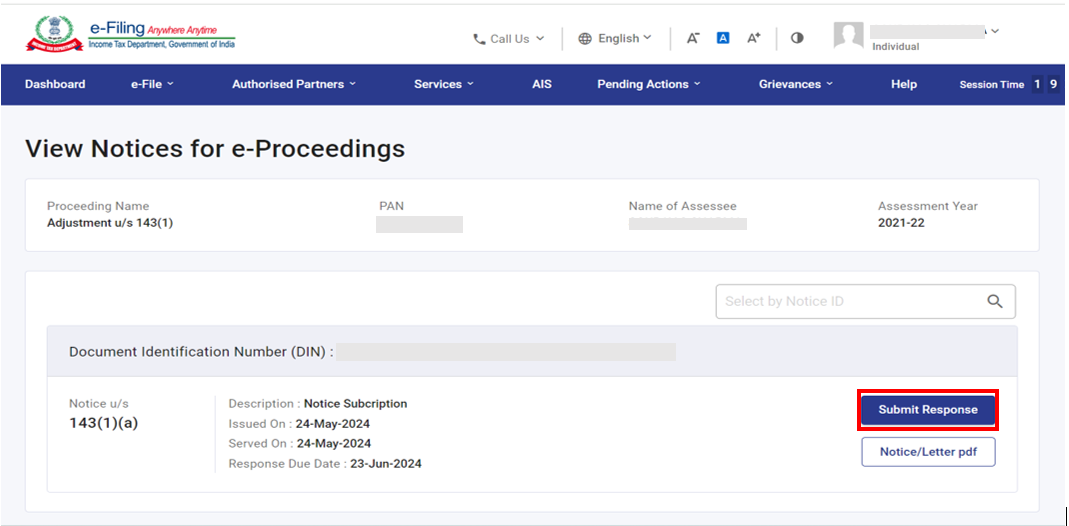
To Submit Response
Step 4: Click Submit Response.
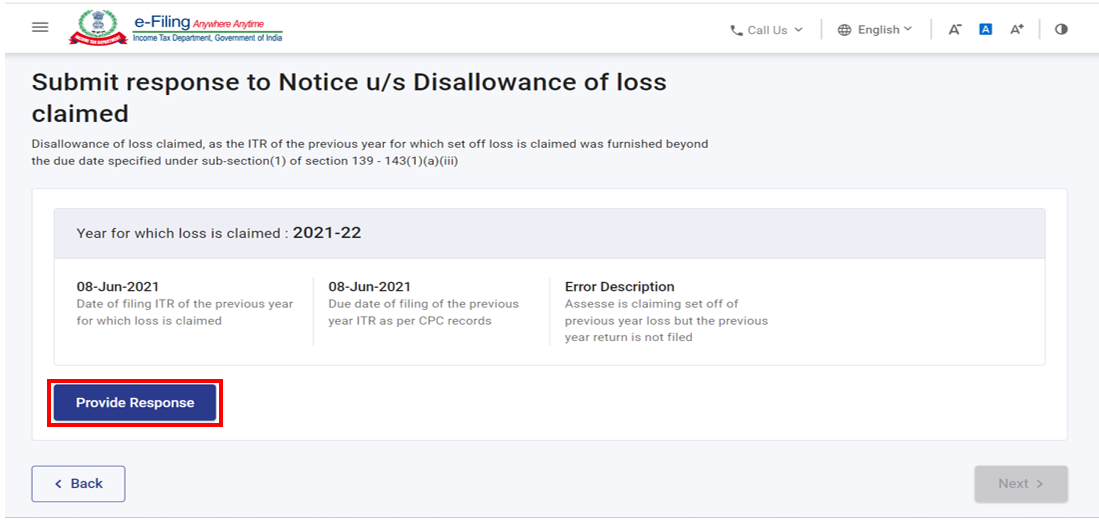
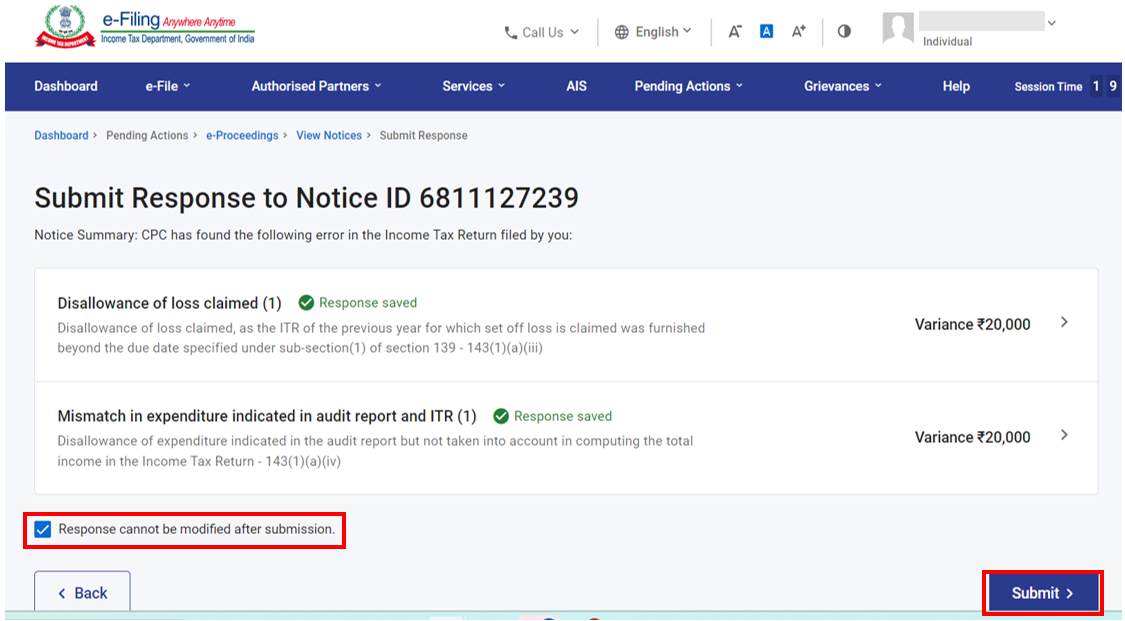
Step 5: : You will be able to view the details of the Prima Facie Adjustments found by CPC in your filed ITR. Click on each variance to provide responses.
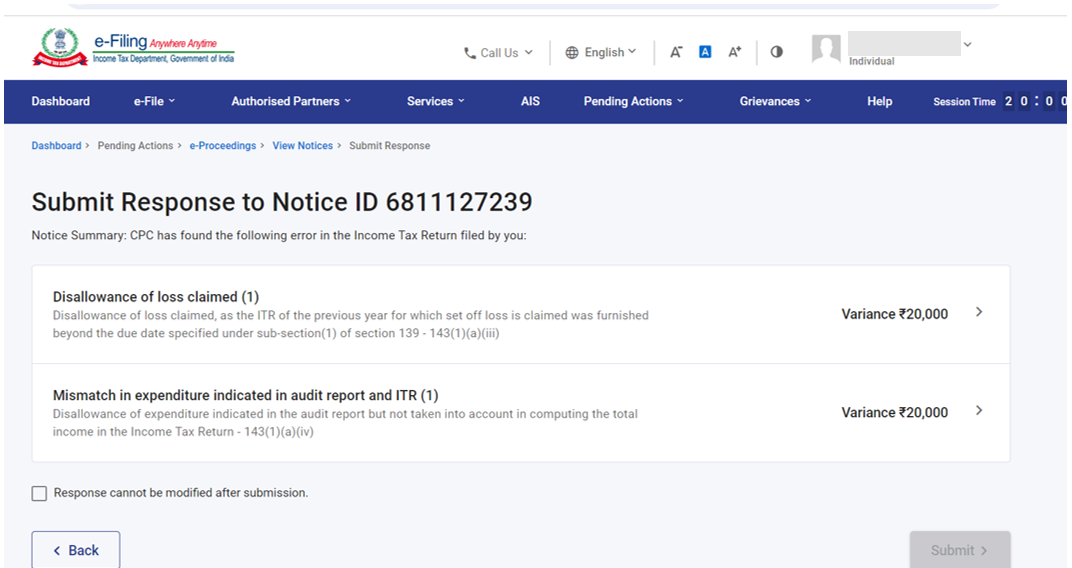
Step 6: On clicking the variance, details of the variance will be displayed. To provide response for the particular variance, click Provide Response.
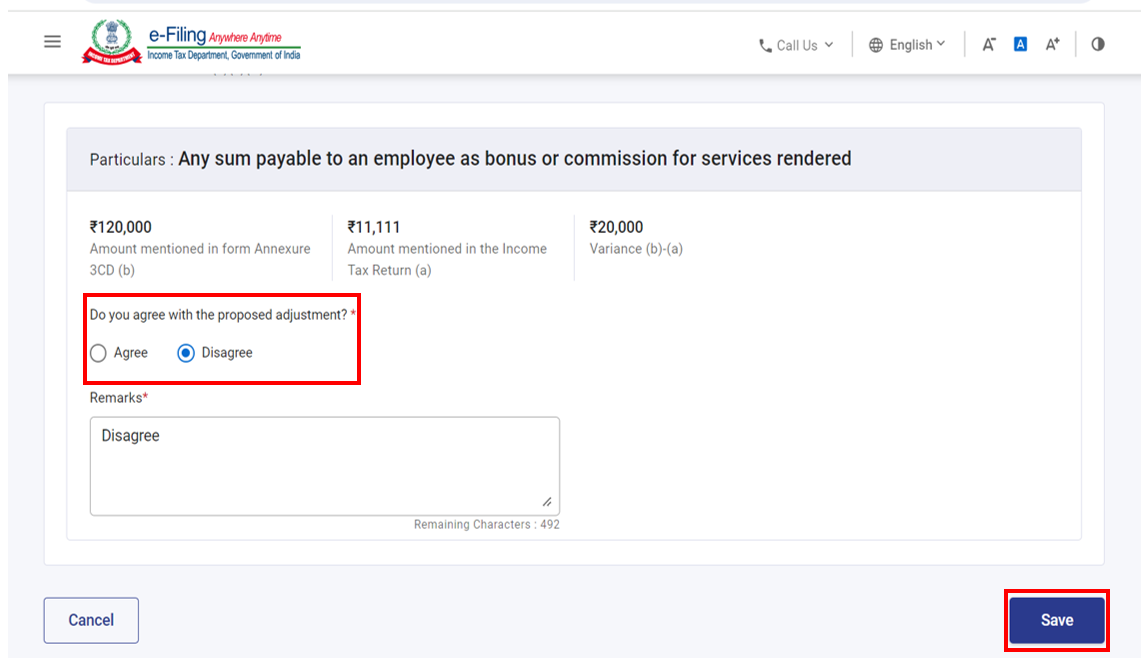
Step 7: Select the Agree or Disagree for the Proposed adjustment and click Save after responding to each Prima Facie Adjustment.
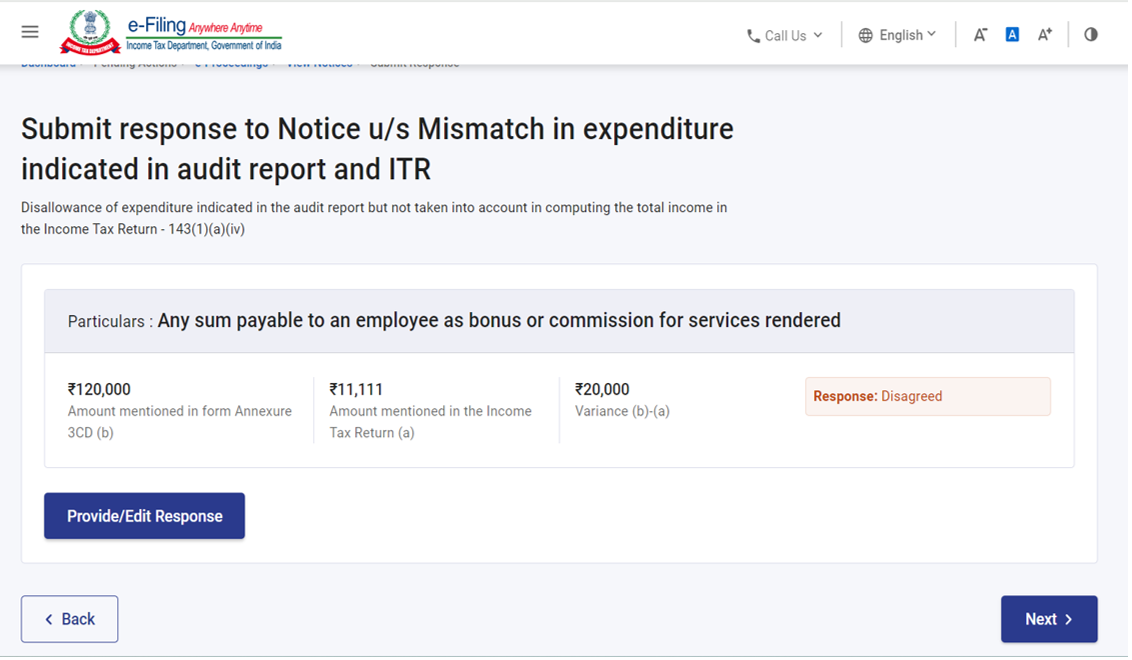
Step 8:Once all the responses have been provided, click Back.
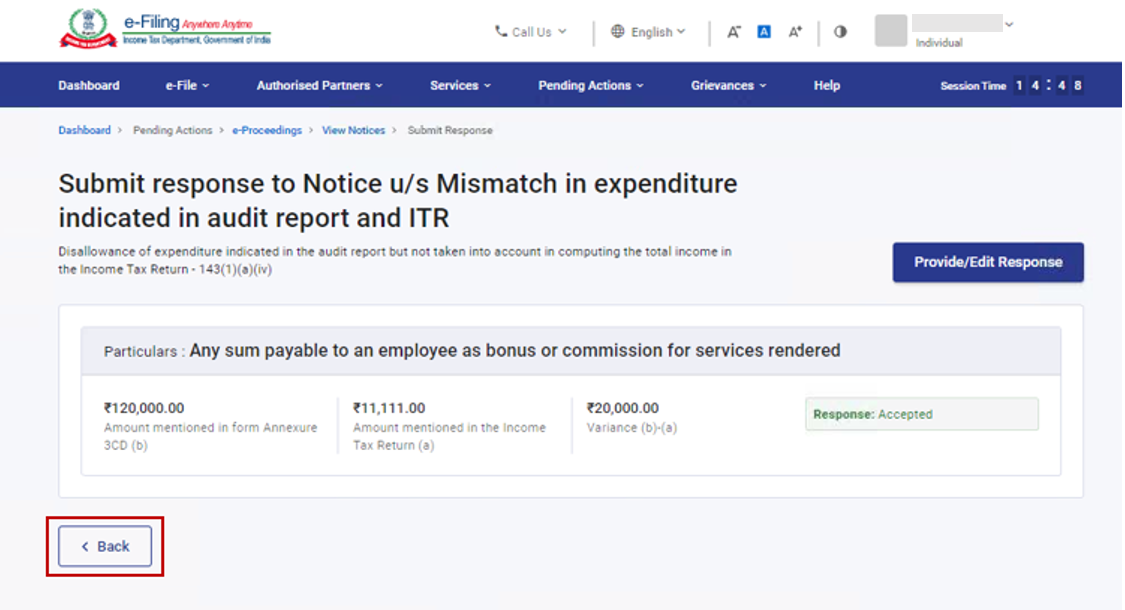
Step 9:On clicking Back, you will be taken back to the details of Prima Facie Adjustment found by CPC in your filed ITR. After responding to each variance, Select the Declaration checkbox and click submit
Step 10: On successful submission, a success message is displayed along with a Transaction ID. Please keep a note of the Transaction ID for future reference. You will also receive a confirmation message on your email ID registered on the E-Filing portal.
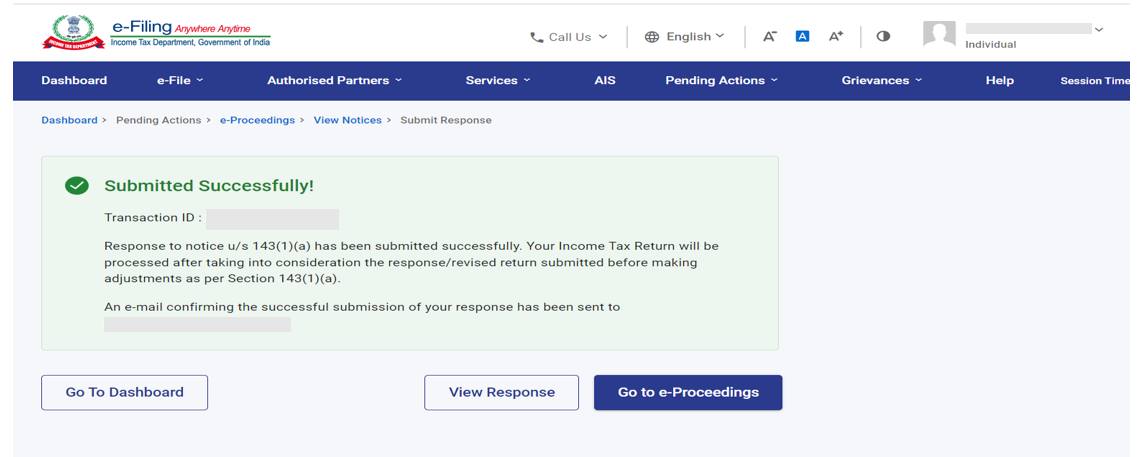
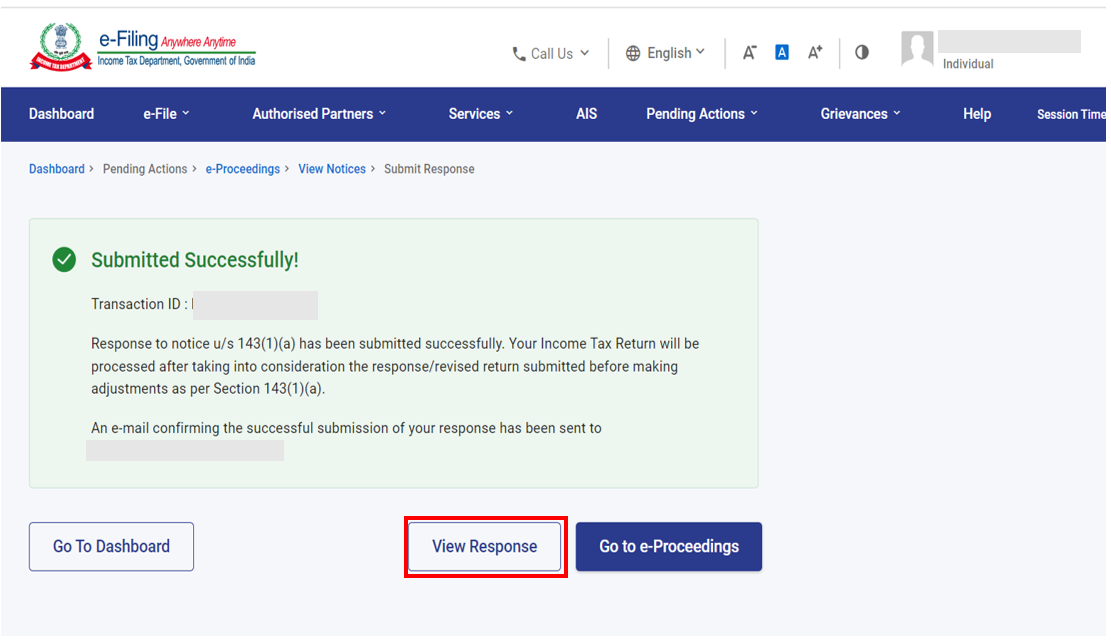
Step 11: If you wish to view the response submitted, click View Response on the Successful Submission page. You will be able to view the details of notices, response / remarks provided.
3.3. To view and submit response to Suo-moto Rectification u/s 154(a)
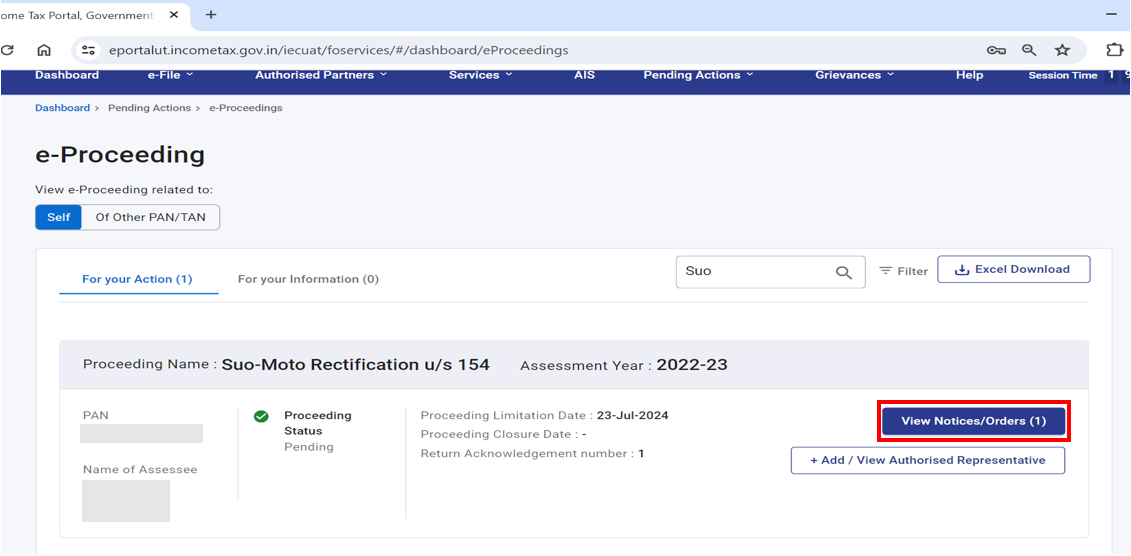
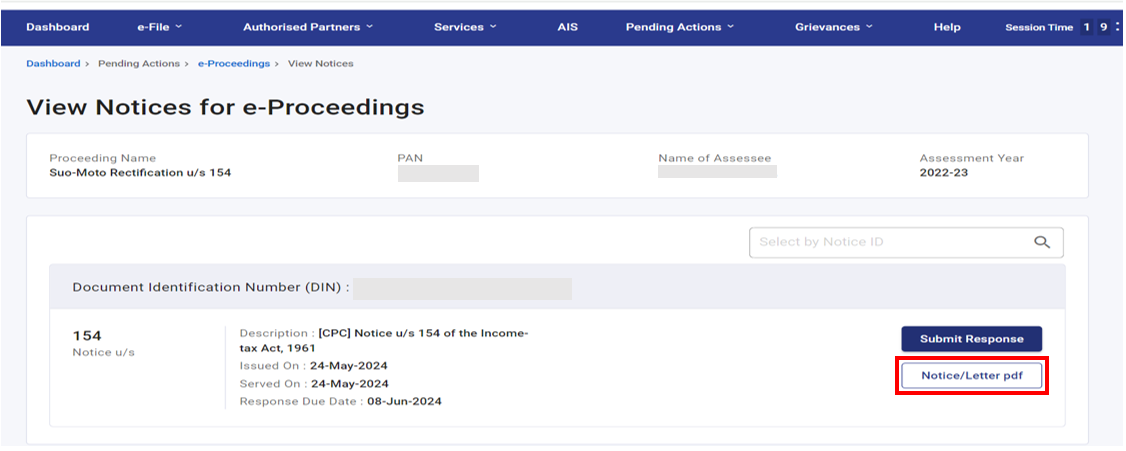
Step 1: Click View Notice corresponding to Adjustment u/s 143(1)(a) and you can:
| View and Download Notice | Follow Step 2 and Step 3 |
| Submit Response | Follow Step 4 to Step 7 |
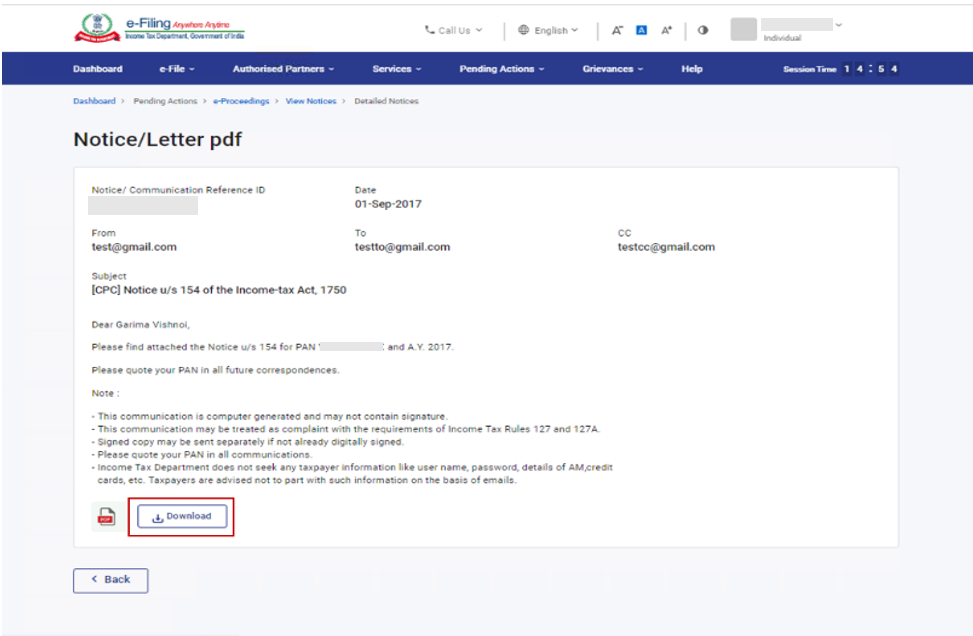
Step 2: Click Notice/Letter pdf.
Step 3: You will be able to view the notice issued to you. If you wish to download the notice, click Download.
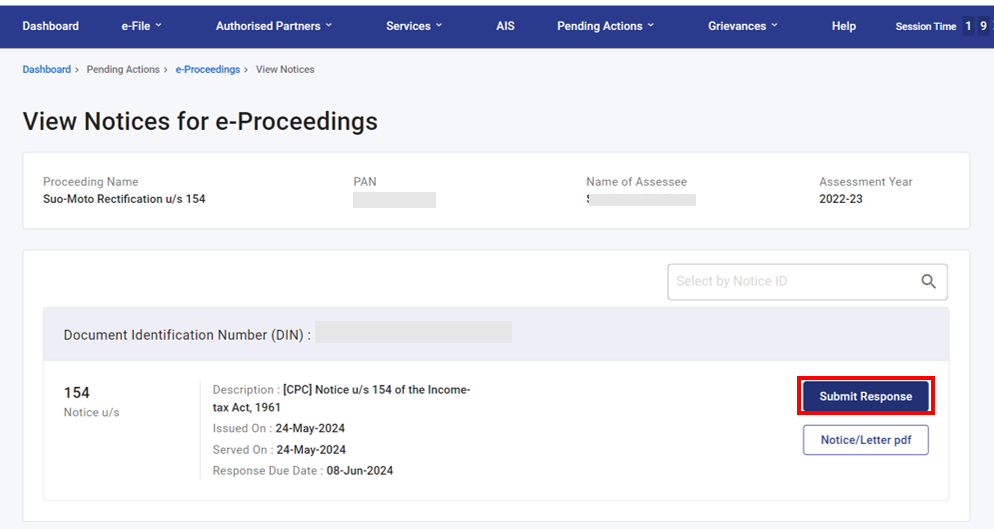
To Submit Response
Step 4: Click Submit Response.
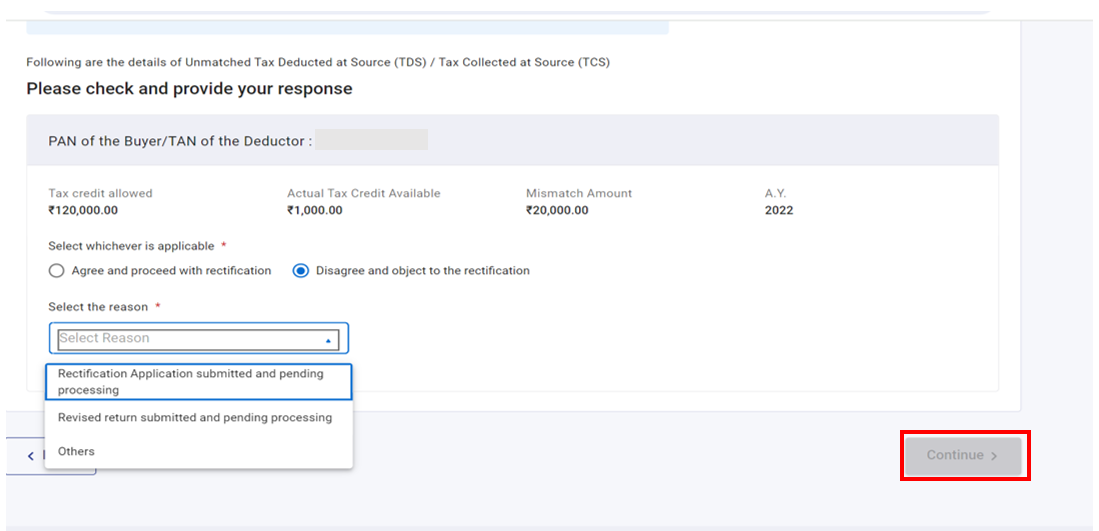
Step 5: Details of the mistakes proposed to be rectified will be displayed. Select the response for each mistake proposed to be rectified. You can either select Agree and proceed with rectification or Disagree and object to the rectification.
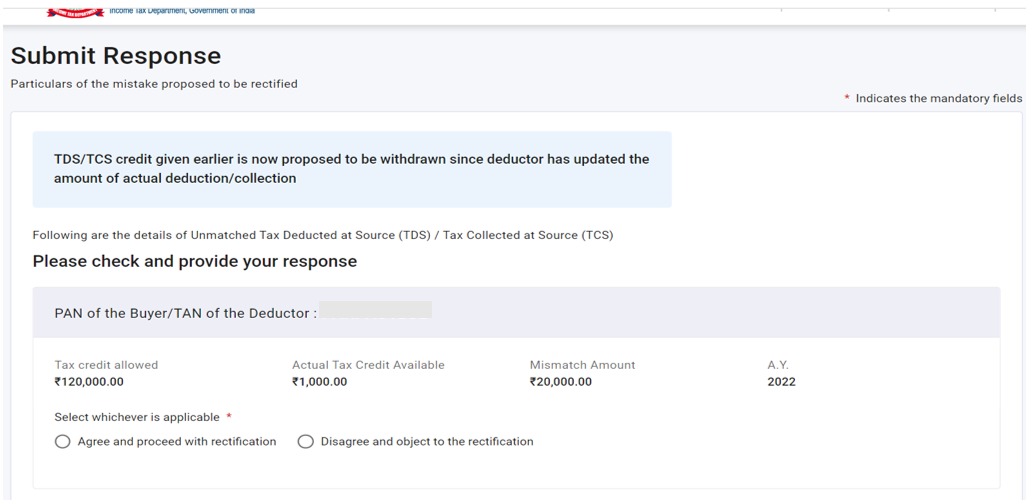
Step 5a: If you agree with the proposed rectification, select Agree and proceed with rectification and click Continue.

Step 5b: If you disagree with the proposed rectification, select Disagree and object to the rectification, select the reason from the dropdown and click Continue.
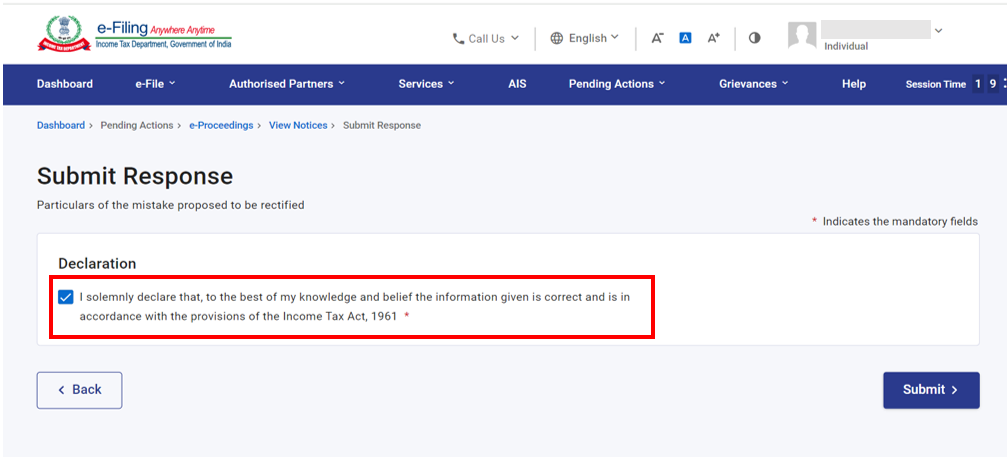
Step 6: Select the Declaration checkbox.
On successful Submission, a success message is displayed along with a Transaction ID. Please keep a note of the Transaction ID for future reference. You will also receive a confirmation message on your email ID registered on the E-Filing portal.
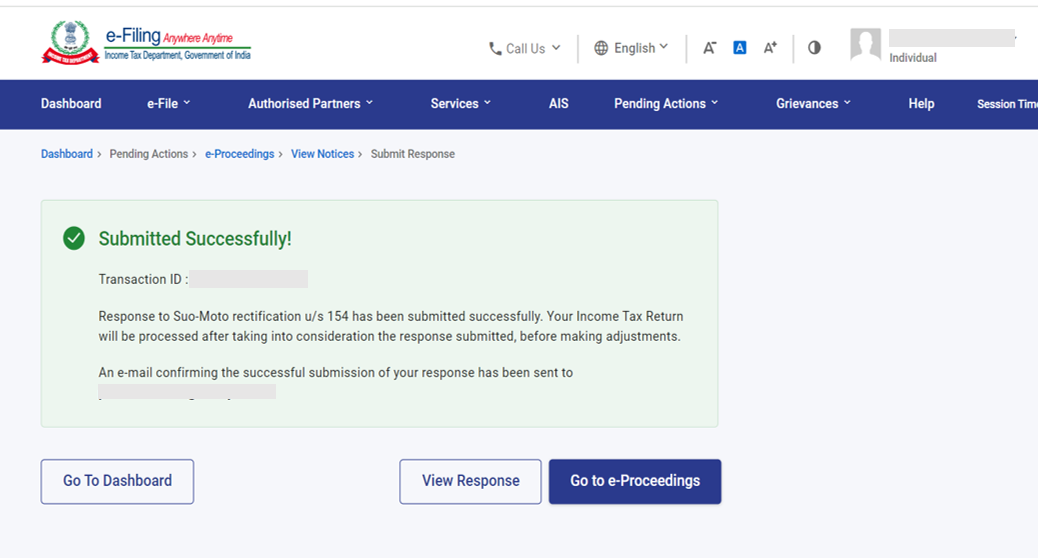
Step 7: If you wish to view the response submitted, click View Response on the Successful Submission page. You will be able to view the details of notices, response / remarks provided.

3.4. To view/submit response or seek adjournment of response due date to notice issued by Assessing Officer or any other Income Tax Authority (including respond as part of compliance related to other PAN/TAN)
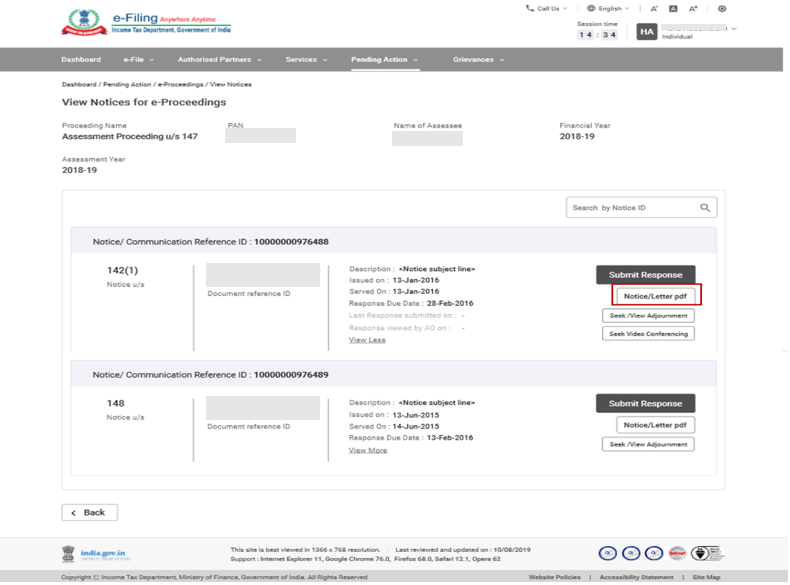
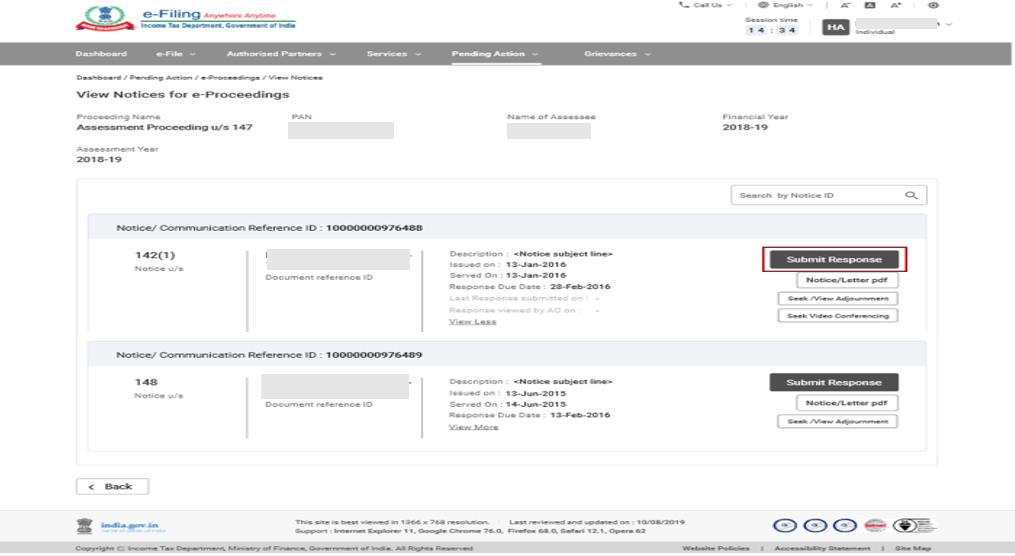
Step 1: Click View Notice corresponding to the notice issued by Income Tax Official and you can:
| View and Download Notice | Follow Step 2 and Step 3 |
| Submit Response | Follow Step 4 to Step 10 |
| Respond as part of compliance - Of other PAN / TAN | Follow Step 4 to Step 10 |

Step 2: Click Notice/Letter pdf.
Step 3: You will be able to view the notice issued to you. If you wish to download the notice, click Download.
To Submit Response
Step 4: Click Submit Response.
Step 5: Read the instructions for attaching documents and click Continue.
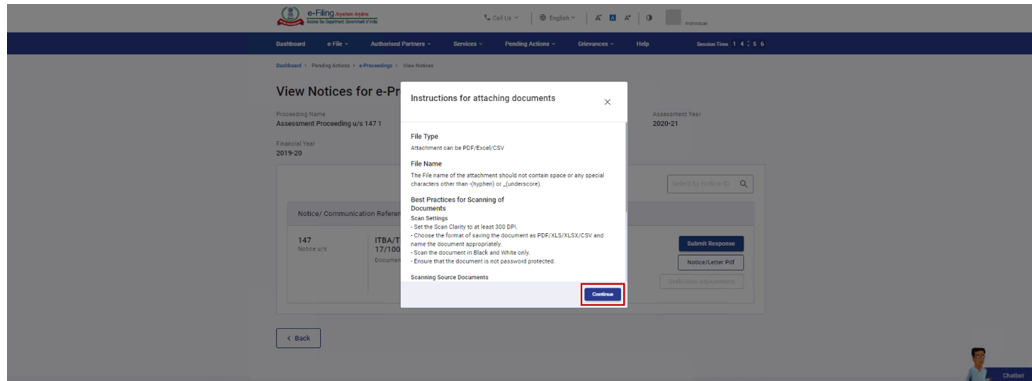
Note: If you are responding to a notice which requires you to submit the ITR, a message will be displayed for filing the ITR. Click Proceed and select the ITR type from the dropdown and click Continue.
Step 6: You can select Partial Response (if you wish to submit response in more than one submission, or if the number of categories exceed 10) or Full Response (if you wish to submit response in single submission, or if the number of categories is less than 10).
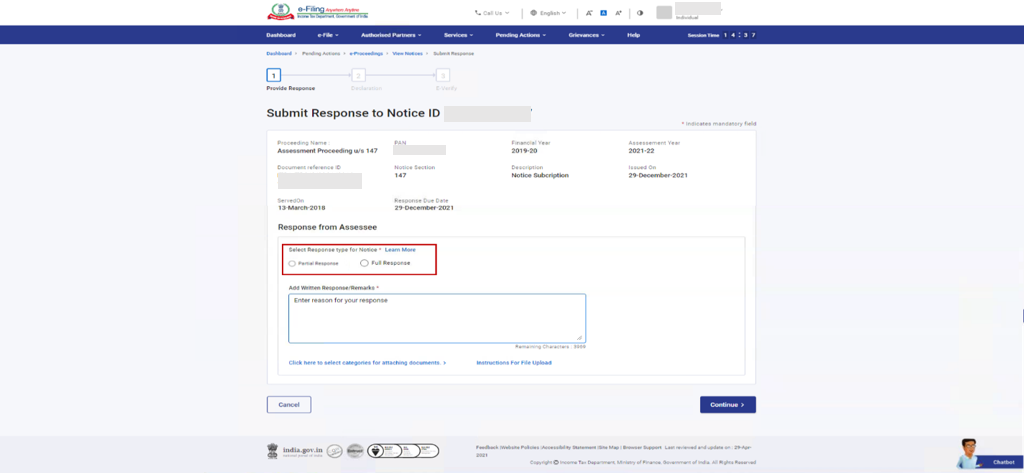
Step 7: Enter Add Written Response/Remarks (up to 4000 characters), select the categories for attaching the documents and click Add Document to upload the required attachment. Click Continue.
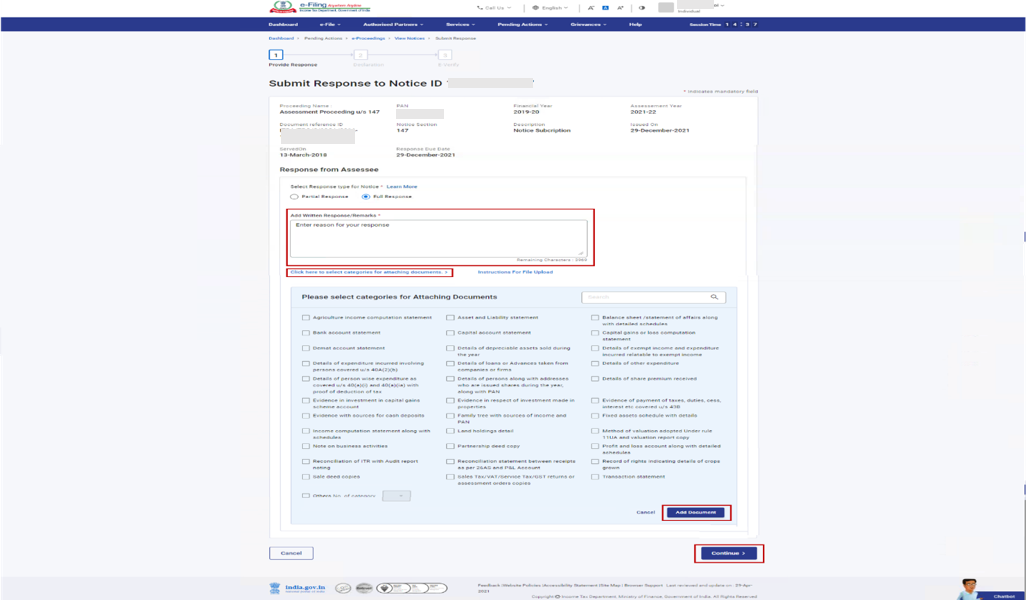
Note:
- You will be required to attach the required document for each category selected.
- The maximum size of a single attachment should be 5 MB.
On successful Submission, a success message is displayed along with a Transaction ID and Acknowledgment Number. Please keep a note of the Transaction ID and Acknowledgment Number will be displayed, and you will receive a confirmation message on the email ID registered on the e-Filing portal.
Step 9: If you wish to view the response submitted, click View Response on the Successful Submission page. You will be able to view the details of notices, response / remarks provided.
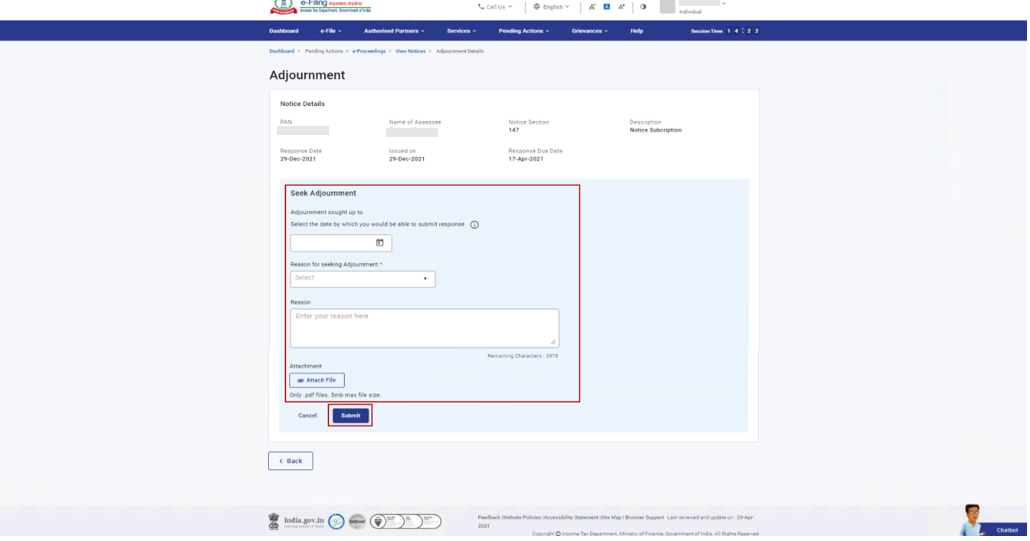
To View / Seek Adjournment
Step 1: If you wish to seek or view adjournment, click Seek/View Adjournment.

Step 2: Select Adjourned date sought up to, Reason for seeking Adjournment, enter remark/reason, attach file (if any) and click Submit.
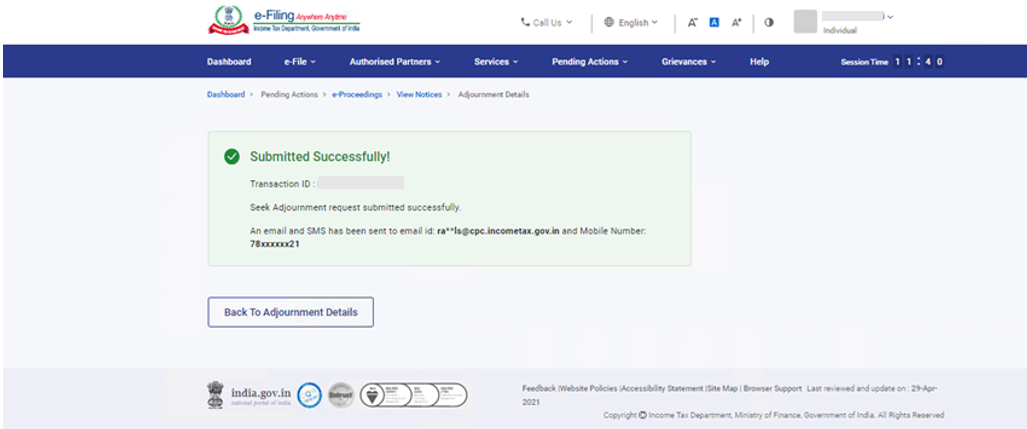
On successful submission, a Transaction ID will be displayed. Please keep a note of the Transaction ID for future reference. You will also receive a confirmation message on the email ID registered on the e-Filing portal.
To Seek Video Conferencing
Step 1: If you want to request for video conferencing, click Seek Video Conferencing.
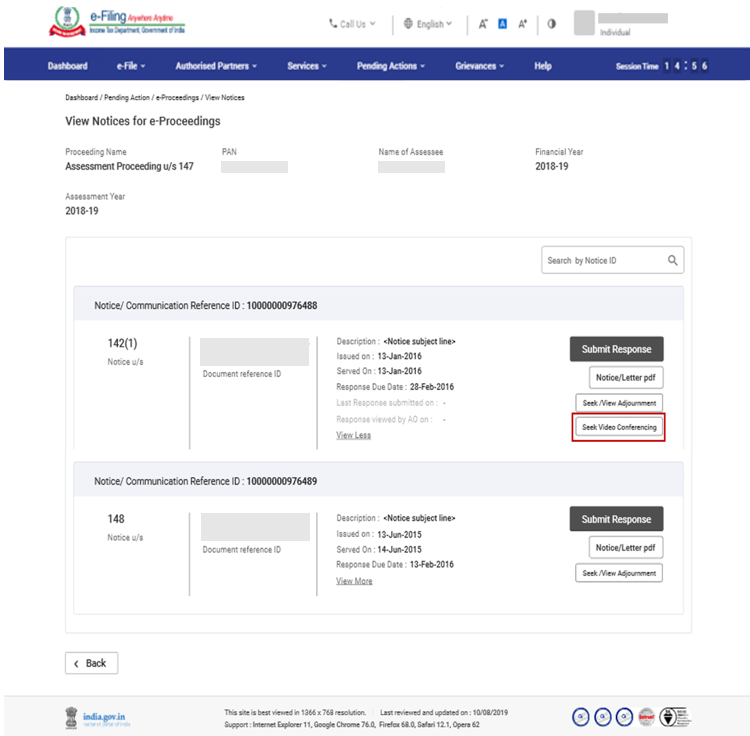
Note: This will be available only if Assessing Officer has flagged the notice for raising a video conferencing request.
Step 2: Select the Reason for Seeking Video Conferencing, enter Reason/Remarks, Attach File (if any) and click Submit.
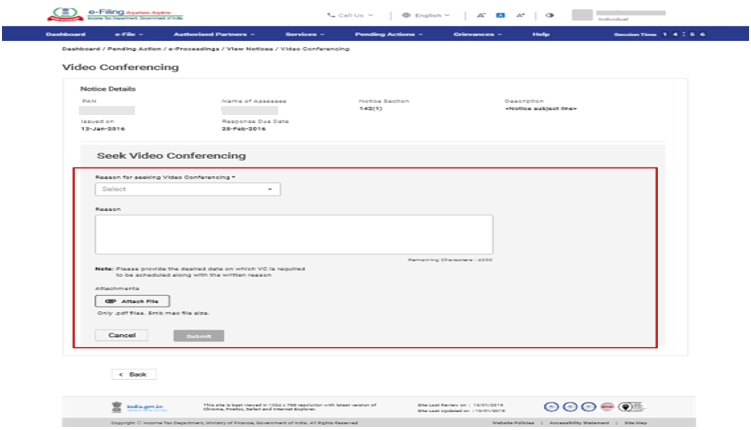
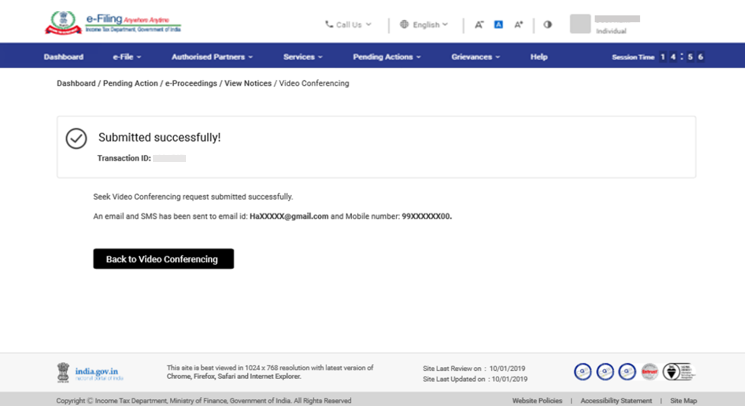
On successful submission, a Transaction ID will be displayed. Please keep a note of the Transaction ID for future reference. You will receive a confirmation message on the email ID registered on the e-Filing portal.
3.5. To view and submit response to Seek for Clarification Communication
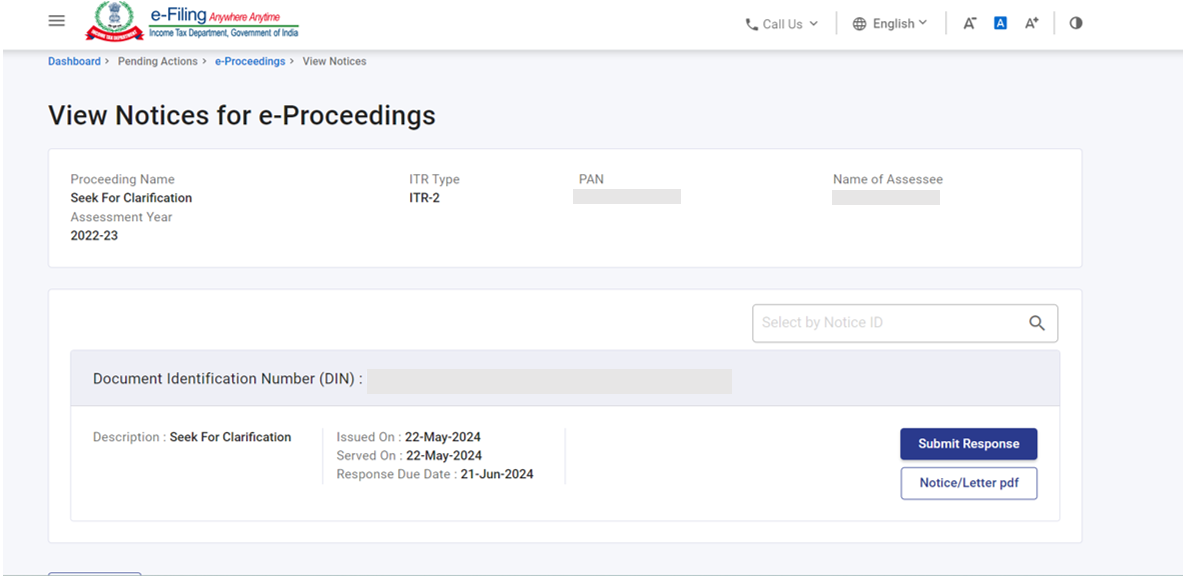
Step 1: Click View Notice corresponding to Seek for Clarification and you can:
| View and Download Notice | Follow Step 2 and Step 3 |
| Submit Response | Follow Step 4 to Step 6 |

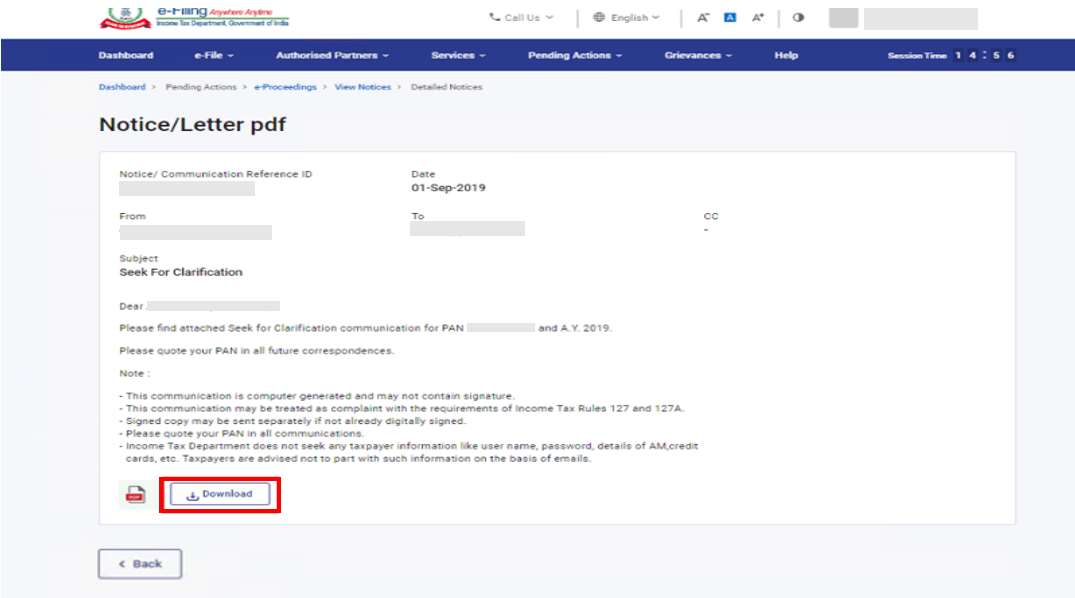
Step 2: Click Notice/Letter pdf.
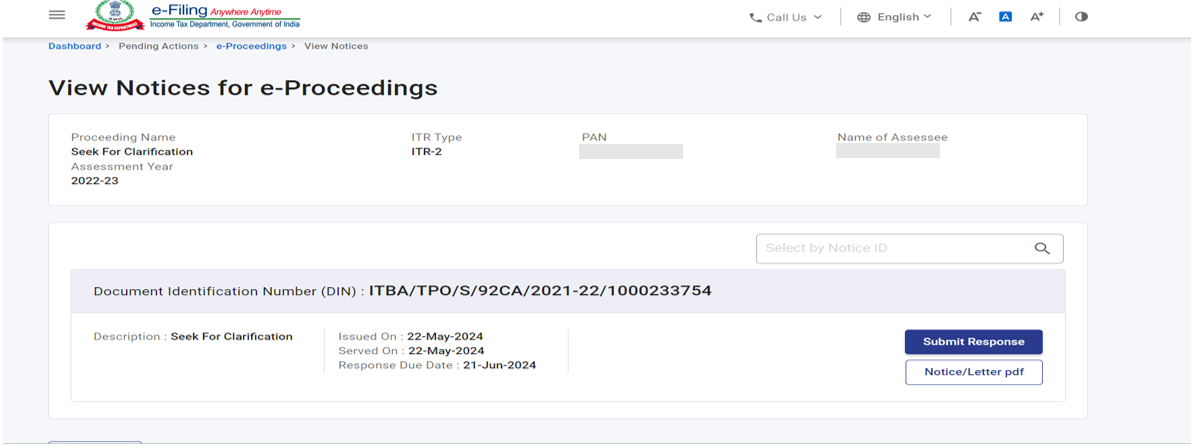
Step 3: You will be able to view the notice issued to you. If you wish to download the notice, click Download.
To Submit Response
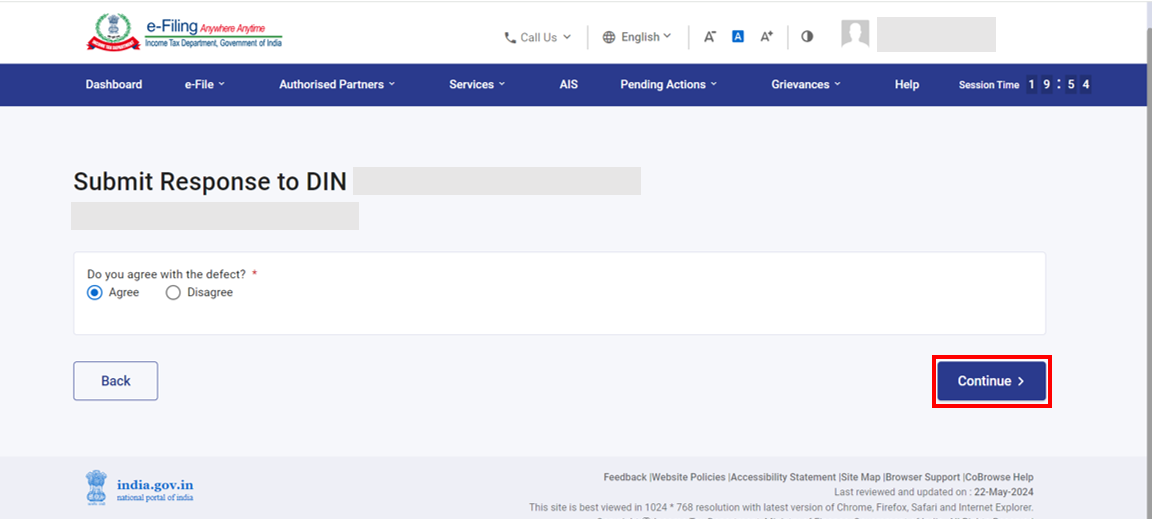
Step 4: Click Submit Response.
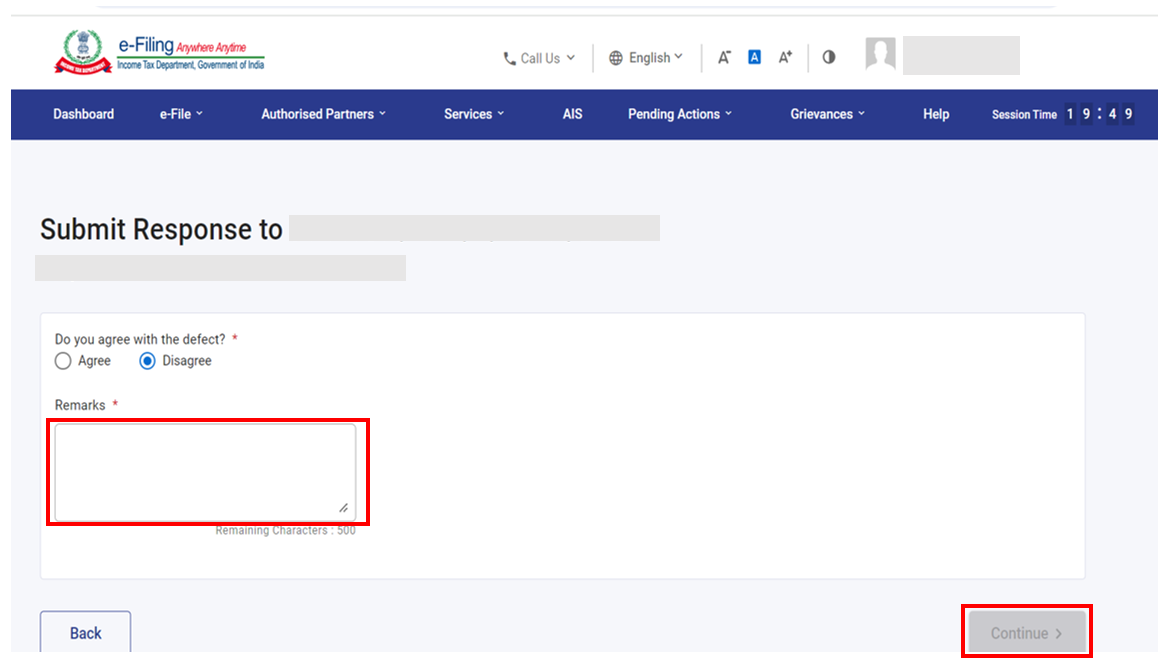
Step 5: On the Submit Response page, Select Agree or Disagree and click Continue.
If you are disagreed, you have to provide the remarks.
Step 6: Select the Declaration checkbox and click submit
On successful submission, a success message along with a Transaction ID will be displayed. Please keep a note of the Transaction ID for future reference. You will also receive a confirmation message on your email ID registered on the e-Filing portal.

Step 7: In case you want to view the response submitted by you, click View Response on Successful Submission page and your response will be displayed..
3.6. To Add / Withdraw Authorized Representative to respond to a notice
(You can add an Authorized Representative for responding to various kinds of e-Proceedings on your behalf)
Step 1: Log in to the e-Filing portal using your valid user ID and password.
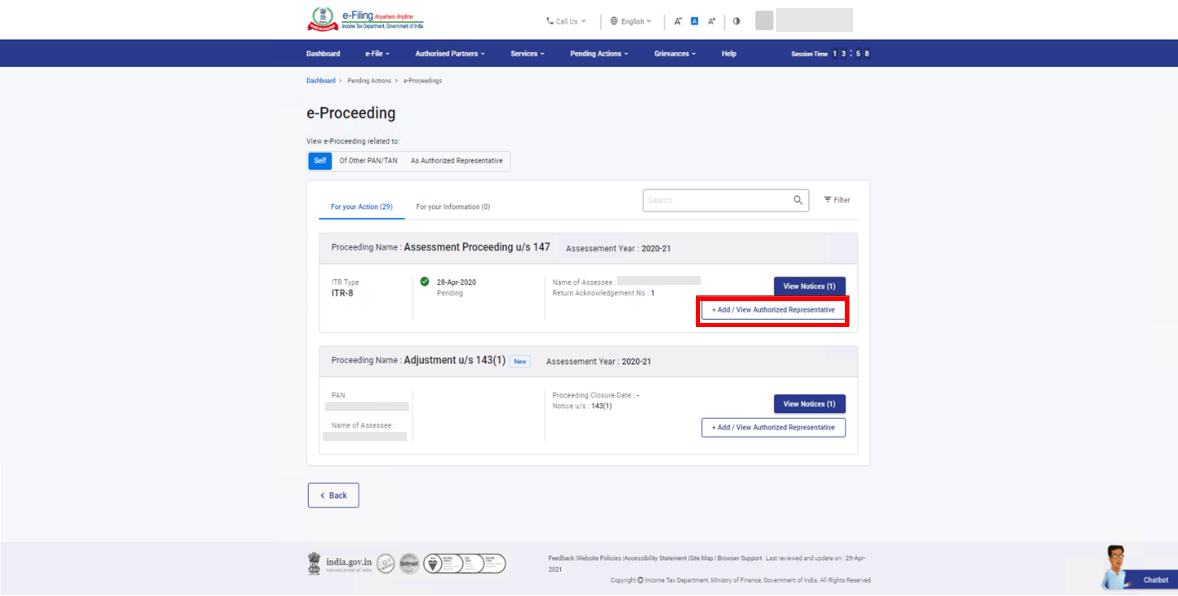
Step 2: On your Dashboard, click Pending Actions > e-Proceedings.
Step 3: Select the notice / intimation / letter and click Add / View Authorized Representative.
| View and Download Notice | Refer to Section 3.6.1 |
| Submit Response | Refer to Section 3.6.2 |
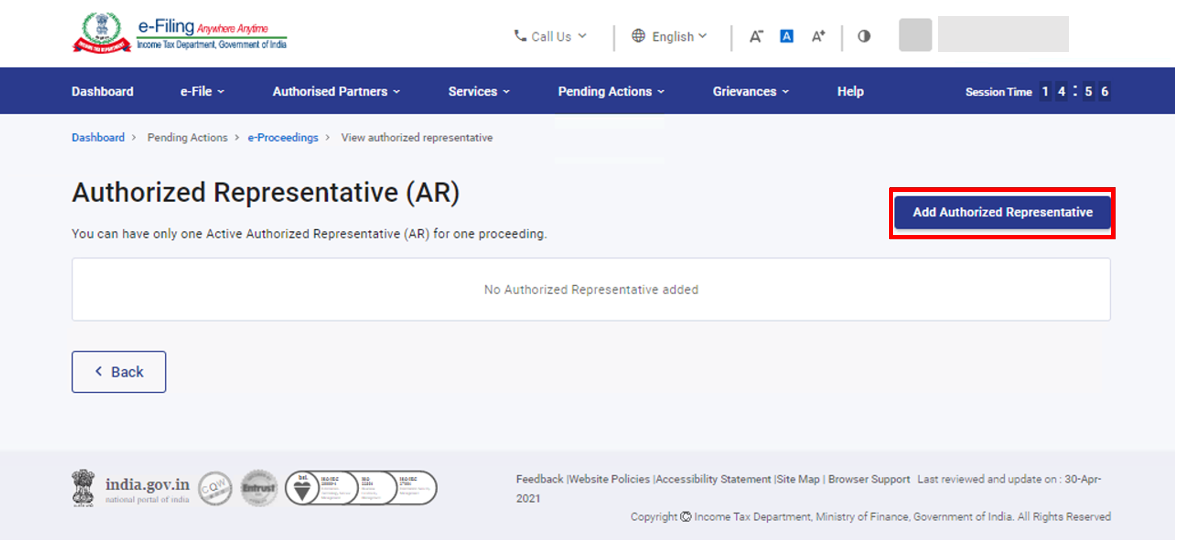
3.6.1 To add an Authorized Representative to respond to a notice:
Step 1: If there are no Authorized Representatives added previously, click Add Authorized Representative.
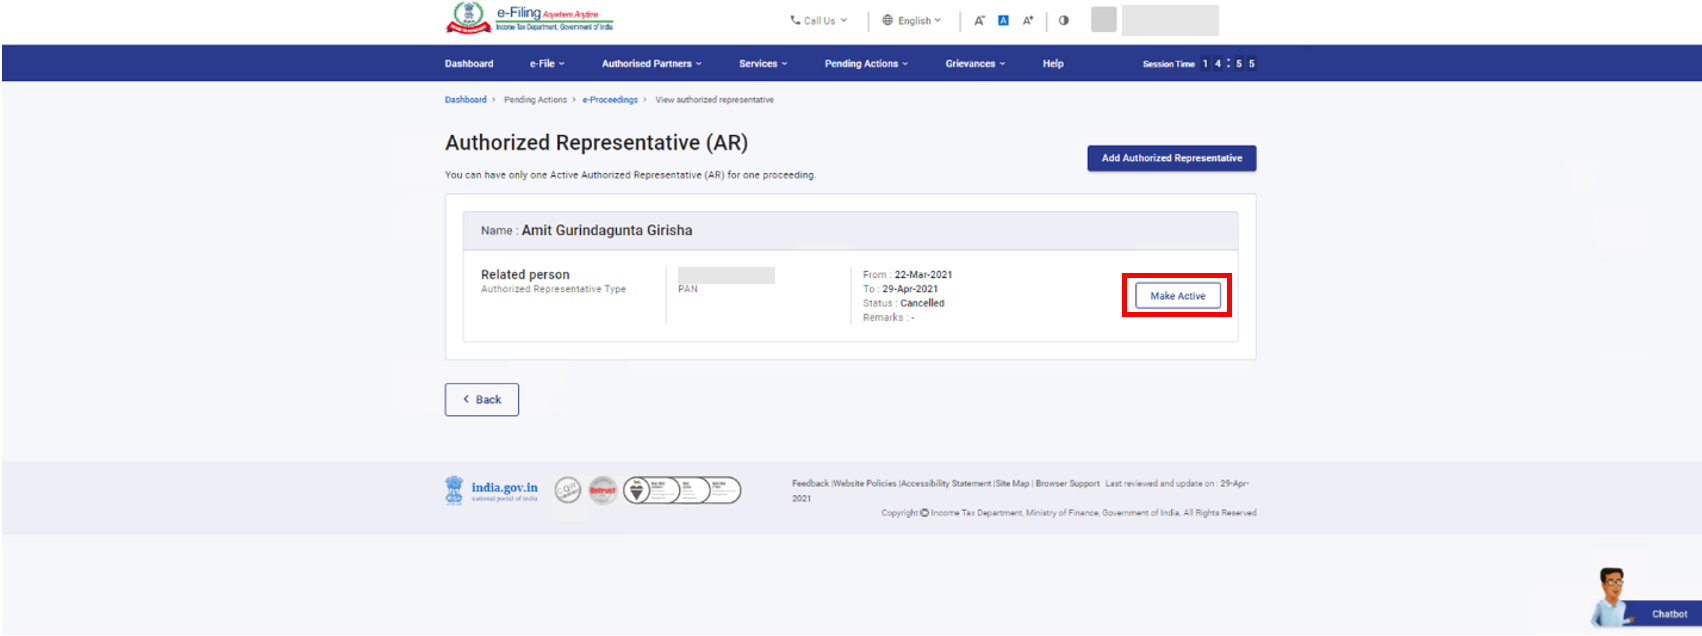
Note: In case you already have an Authorized Representative added of your choice, select Make Active and click Confirm.
Step 3: A 6-digit OTP is sent on your primary mobile number and email ID registered on the e-Filing portal. Enter the 6-digit mobile or email OTP and click Submit.
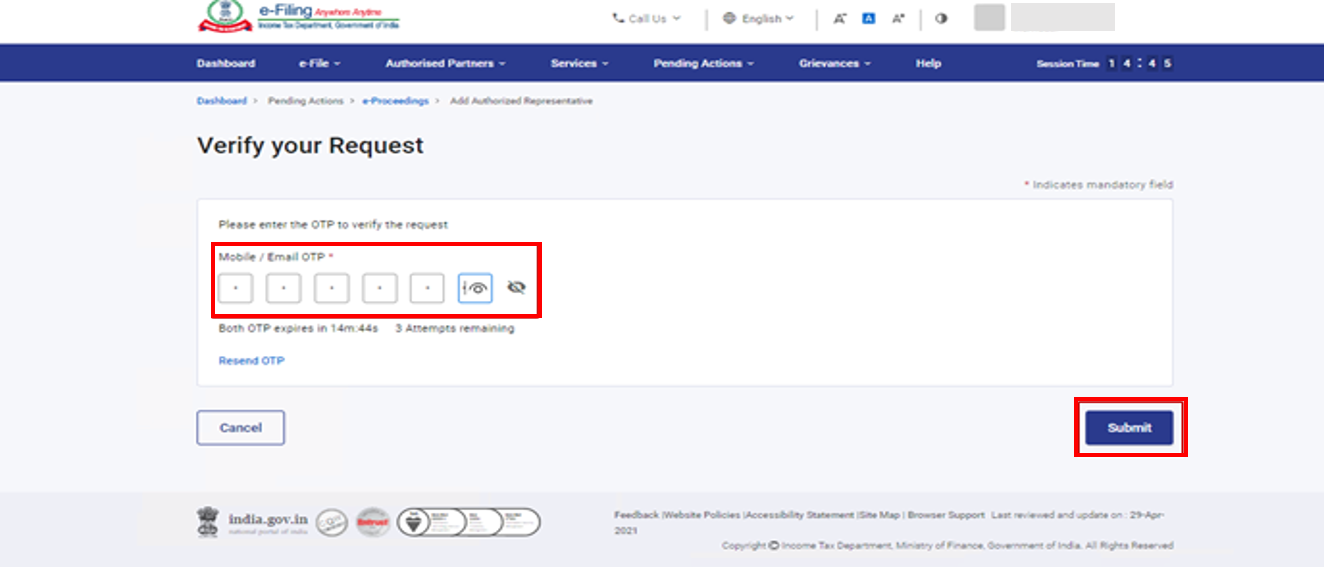
Note:
- OTPs will be valid for 15 minutes only.
- You have 3 attempts to enter the correct OTP.
- The OTP expiry countdown timer on screen tells you when the OTP will expire.
- On clicking Resend OTP, a new OTP will be generated and sent.
After successful validation, a success message is displayed along with a Transaction ID. Please keep a note of the Transaction ID for future reference. You will also receive a confirmation message on your email ID and mobile number registered on the e-Filing portal.
3.6.2. To withdraw Authorized Representative
Step 1: Click Withdraw against the details of the respective authorized representative and the status will change to Cancelled.
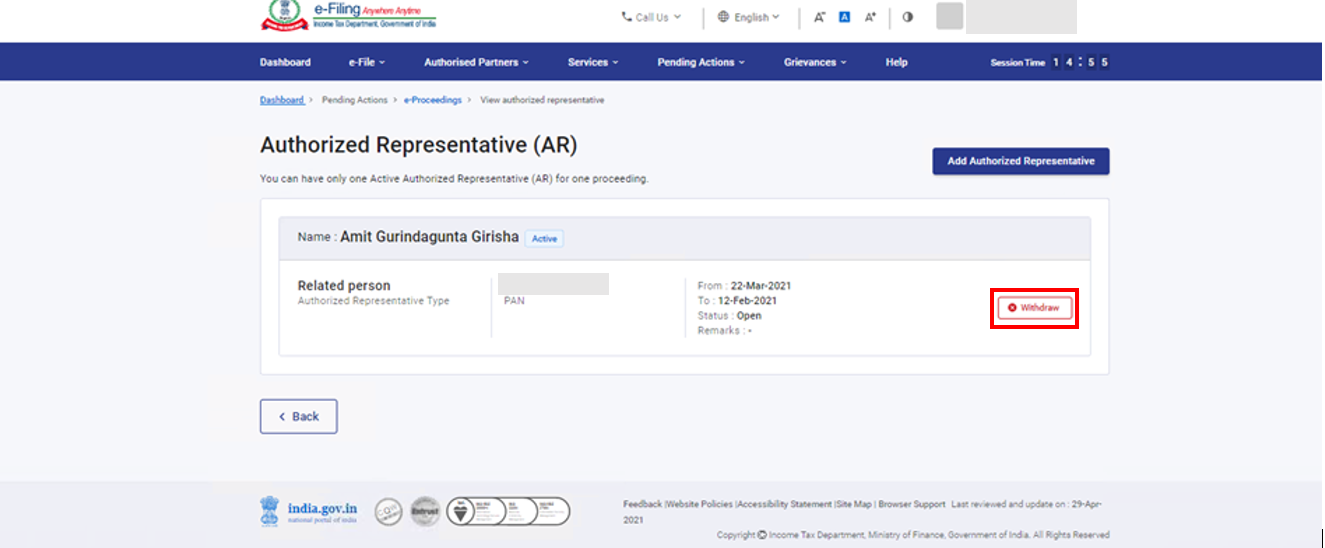
Note: You will only be able to withdraw an active Authorized Representative. In case the status is changed to Request Accepted, you will be required to provide the reason and the Authorized Representative will be removed.

