

1. Overview
The e-Verify service is available to both registered and unregistered users on the e-Filing portal.
You can e-Verify your Income Tax Return using any of the several modes available. Additionally, you can also e-Verify any other Income Tax related submissions / services / responses / requests on the e-Filing portal to complete the respective processes successfully. You can choose any one of the following modes available for e-Verification:
- Digital Signature Certificate
- Aadhaar OTP
- Electronic Verification Code (using bank account / demat account)
- Electronic Verification Code (using Bank ATM - offline method)
- Net Banking
2. Prerequisites for availing this service
- Registered user on the e-Filing portal with valid user ID and password
- Acknowledgement Number (to e-Verify ITR without logging into the e-Filing portal)
- You have filed a return or an ERI has filed the return on your behalf (to e-Verify ITR)
| e-Verification Method | Prerequisite |
| Digital Signature Certificate |
|
| OTP on mobile number registered with Aadhaar |
|
| Bank Account EVC / Demat Account EVC |
|
| Net Banking |
|
3. Step-by-Step Guide
| Sl. No. | Scenario | Section |
| 1 |
e-Verify your ITR (immediately after filing) or any other Income Tax related submissions / services / responses / requests using the following options: |
|
| a | DSC* | Refer to Section 3.1 |
| b | Generate Aadhaar OTP | Refer to Section 3.2 |
| c | Existing Aadhaar OTP | Refer to Section 3.3 |
| d | Existing EVC | Refer to Section 3.4 |
| e | Generate EVC through Bank Account | Refer to Section 3.5 |
| f | Generate EVC through Demate account | Refer to Section 3.6 |
| g | Net Banking** | Refer to Section 3.7 |
| h | Generate EVC through Bank ATM option (offline method) | Refer to Section 3.8 |
| 2 |
e-Verify your ITR pre-login / post login. Applicable in case of the following:
Important Note: Please note vide Notification No. 5/2022 dated 29.07.2022, w.e.f. 01/08/2022 the time-limit for e-verification or submission of ITR-V shall be 30 days from the date of filing the return of income.
|
Refer to Section 3.9 (pre-login) or Section 3.10 (post-login) |
3.1 e-Verify using Digital Signature Certificate (DSC)
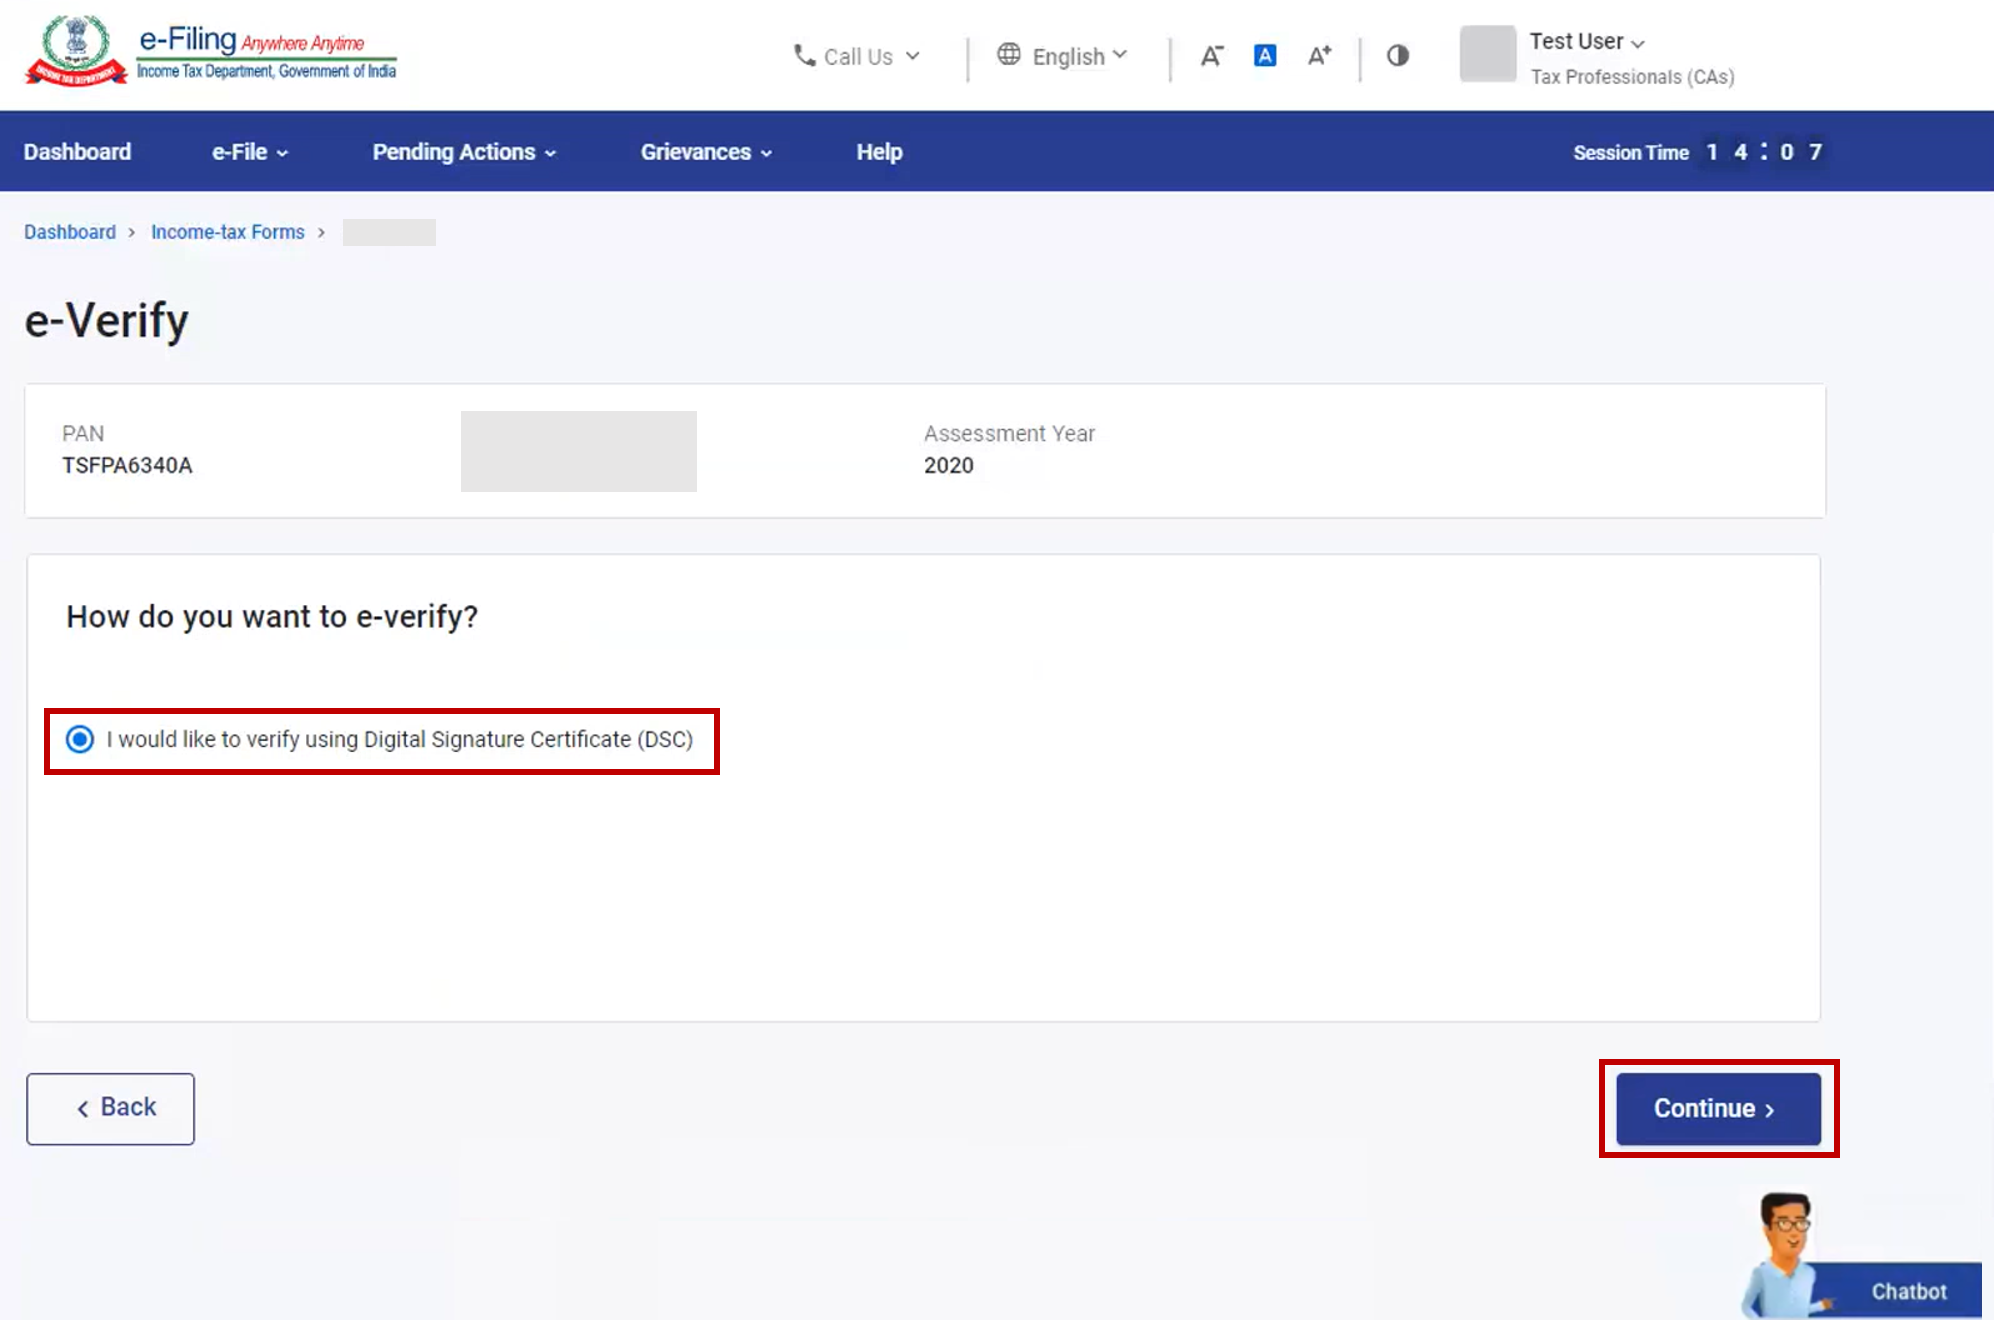
Step 1: On the e-Verify page, select I would like to e-Verify using Digital Signature Certificate (DSC).
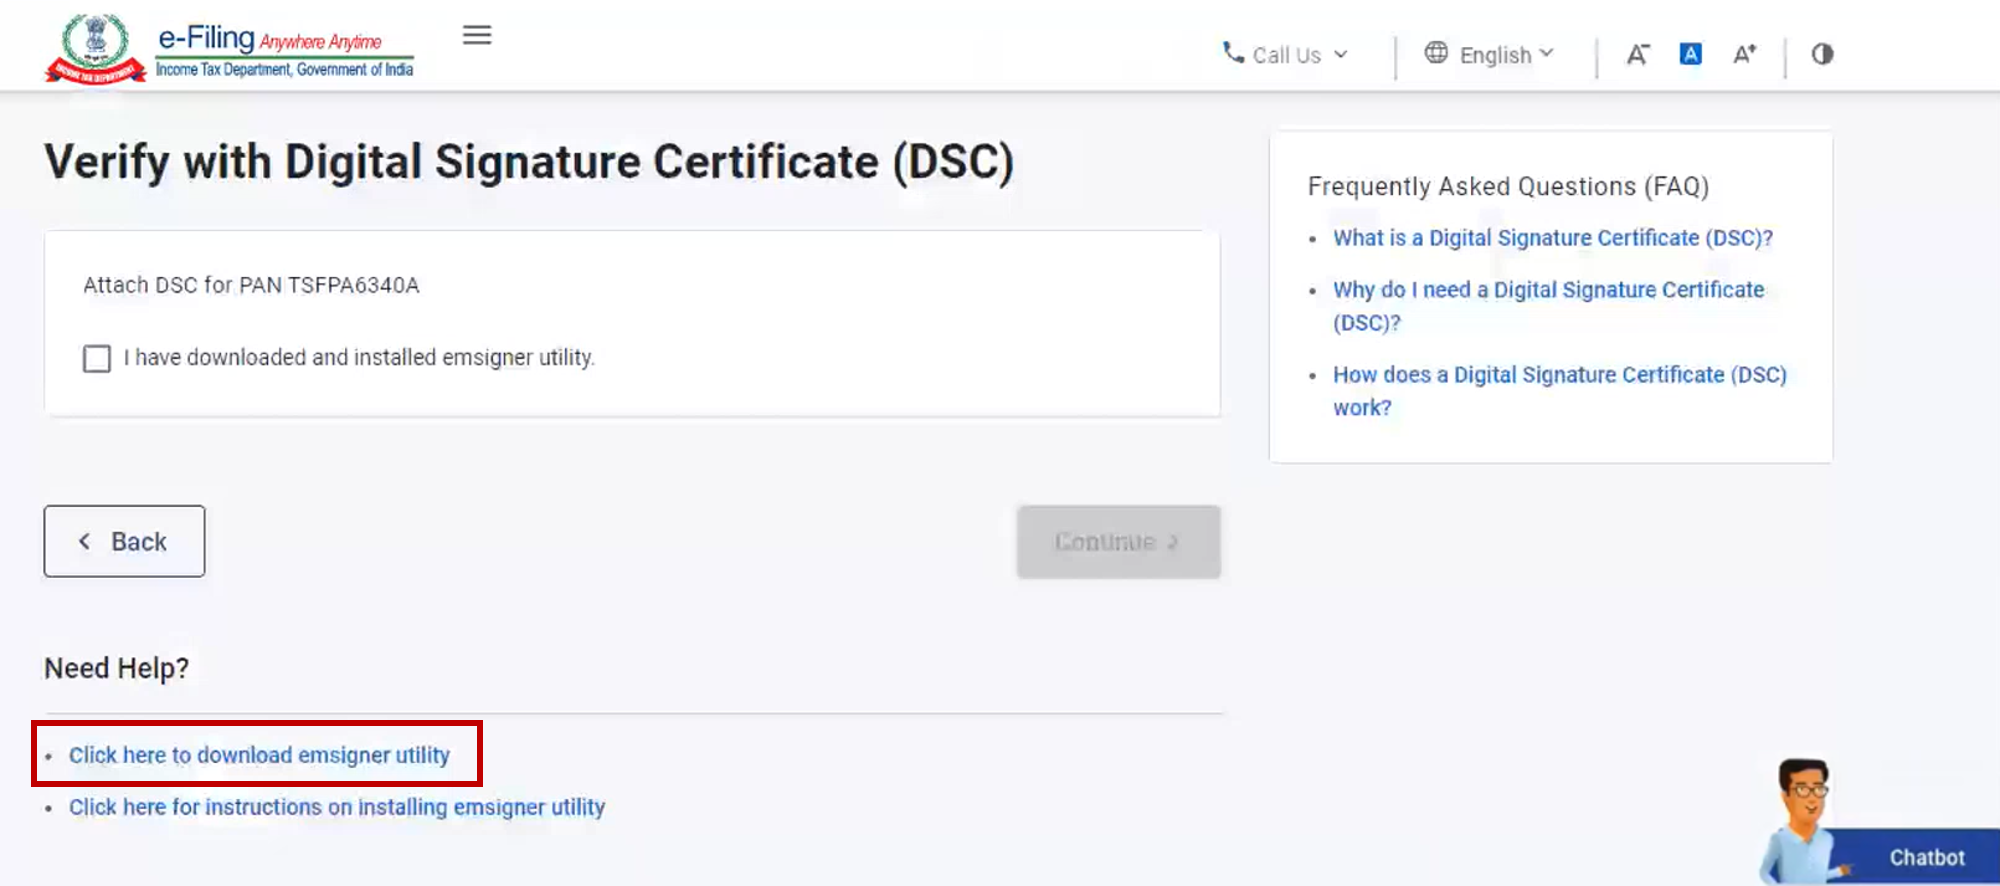
Step 2: On the Verify Your Identity page, select Click here to download emsigner utility.
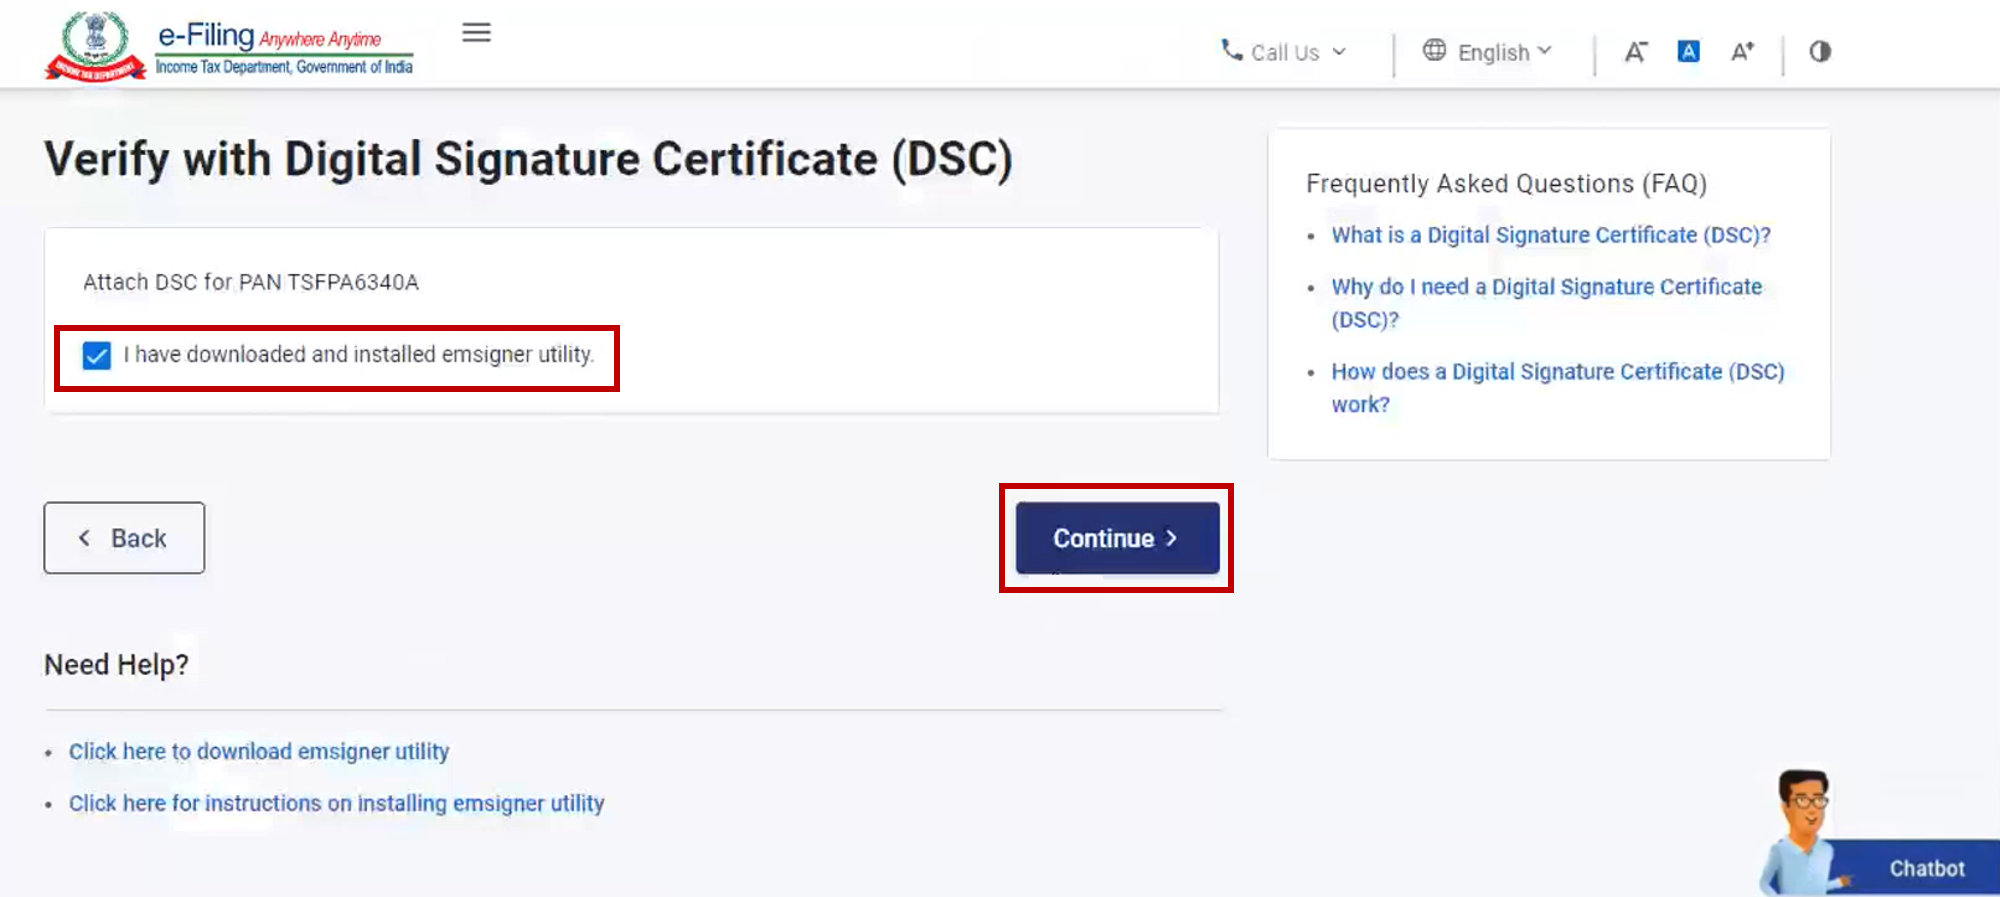
Step 3: After the download and installation of emsigner utility is complete, select I have downloaded and installed emsigner utility on the Verify Your Identity page and click Continue.
Step 4: On the Data Sign page, select your Provider, Certificate and enter the Provider Password. Click Sign.
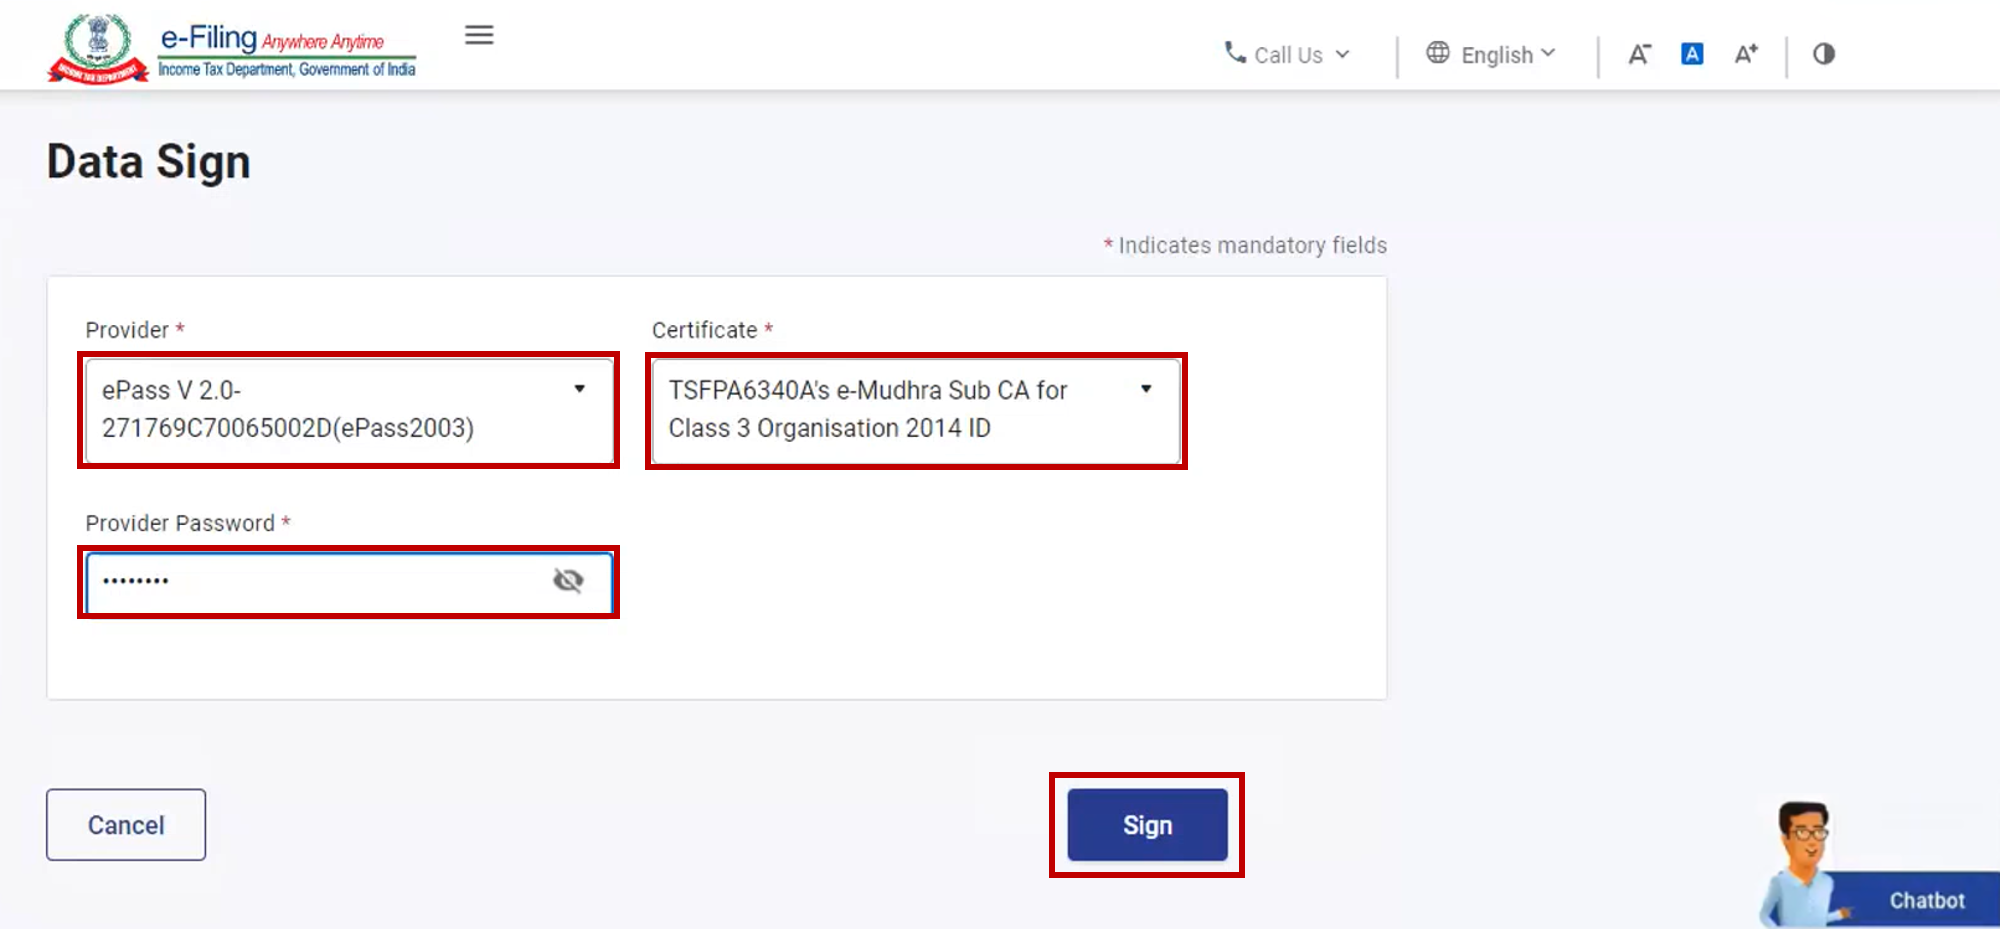
A success message page is displayed along with a Transaction ID. Please keep a note of the Transaction ID for future reference. You will also receive a confirmation message on your email ID and mobile number registered on the e-Filing portal.
3.2 e-Verify after generating Aadhaar OTP
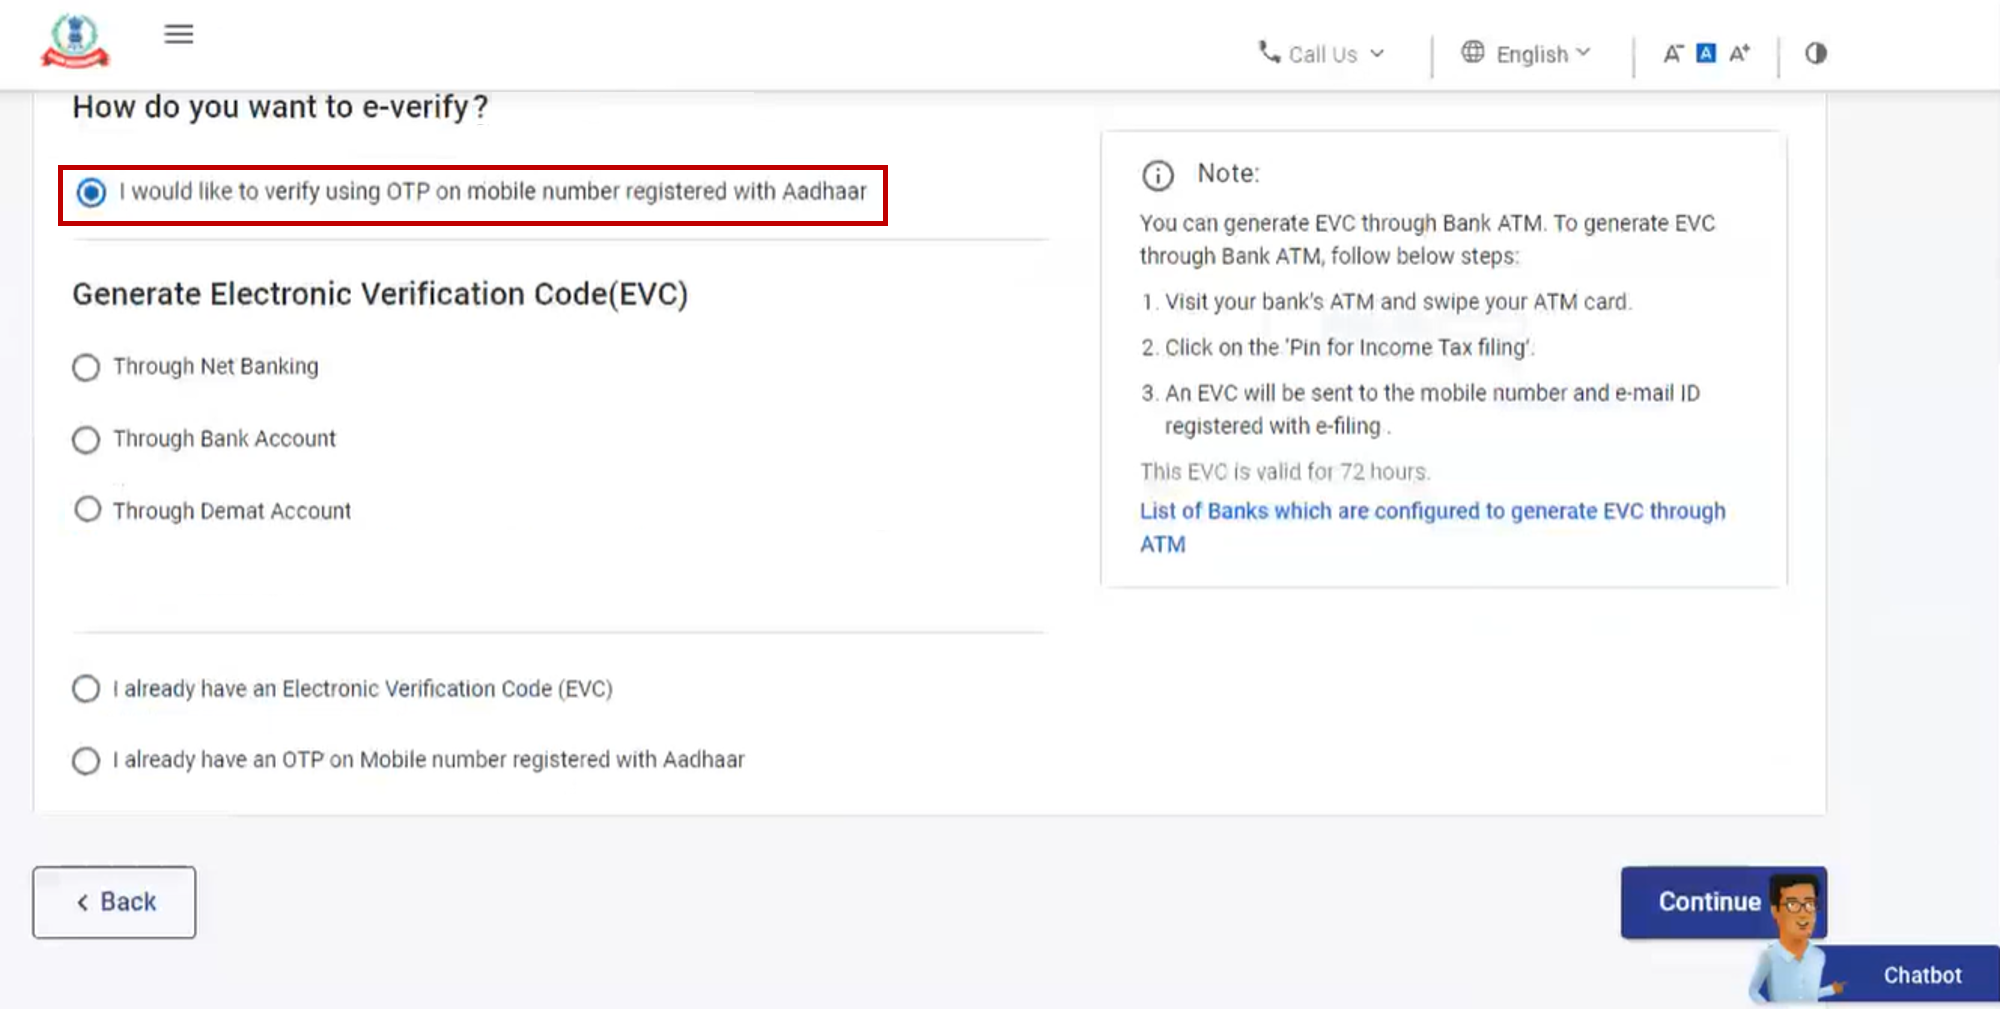
Step 1: On the e-Verify page, select I would like to verify using OTP on mobile number registered with Aadhaar and click Continue.
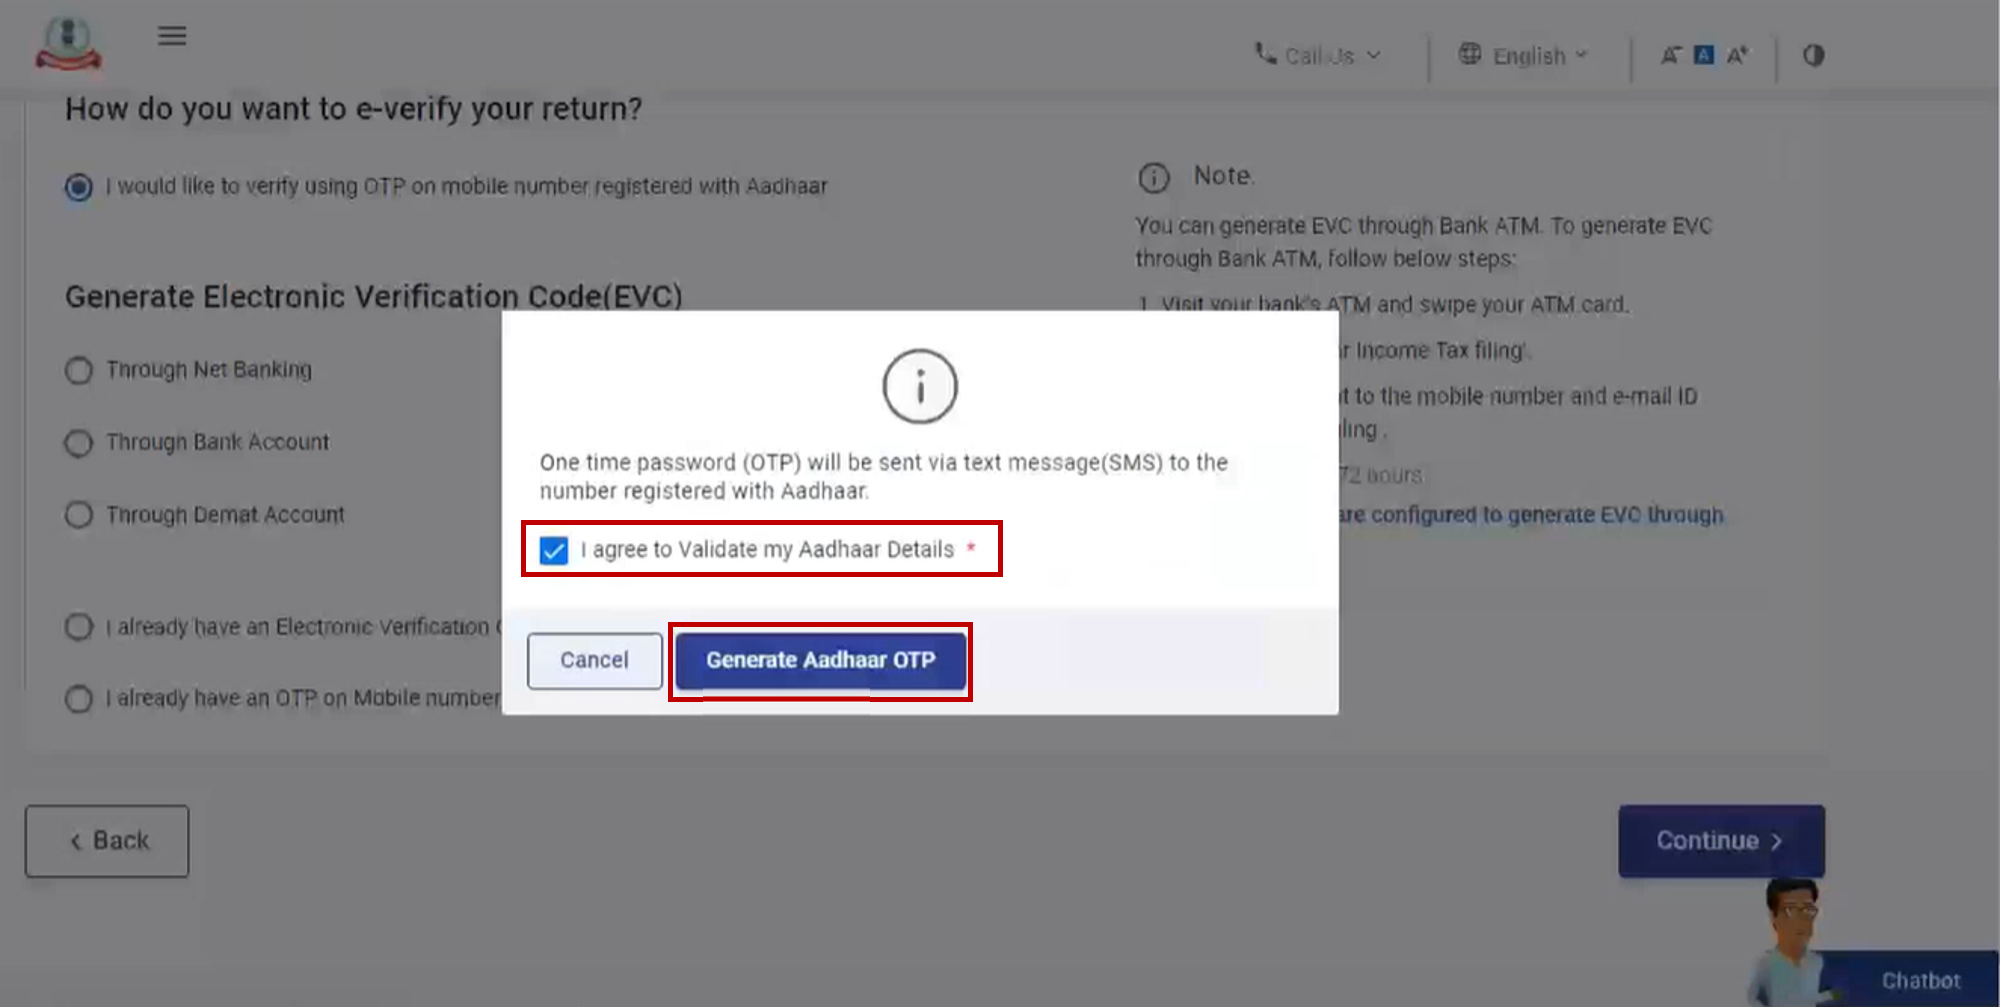
Step 2: On the Aadhaar OTP page, select the I agree to validate my Aadhaar Details checkbox and click Generate Aadhaar OTP.
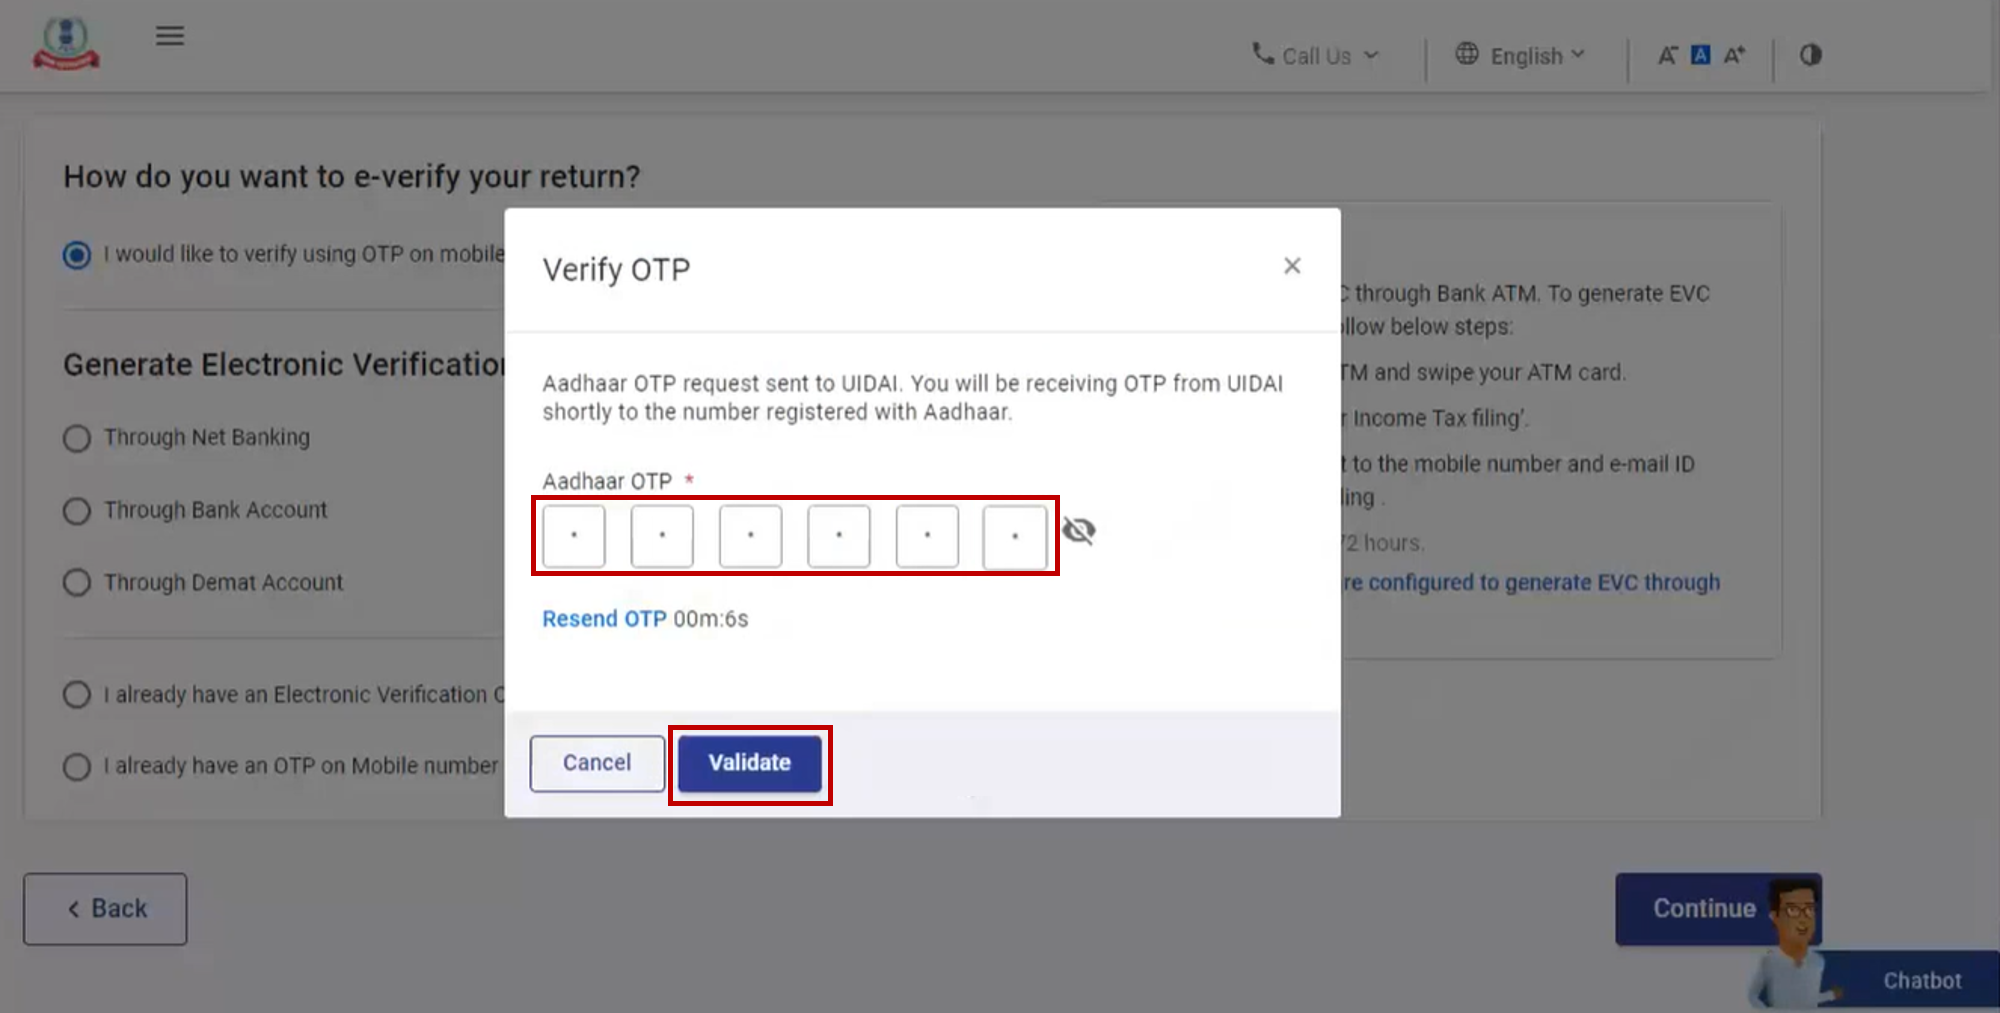
Step 3: Enter the 6-digit OTP received on your mobile number registered with Aadhaar and click Validate.
Note:
- OTP will be valid for 15 minutes only.
- You have 3 attempts to enter the correct OTP.
- The OTP expiry countdown timer on screen tells you when the OTP will expire.
- On clicking Resend OTP, a new OTP will be generated and sent.
A success message page is displayed along with a Transaction ID. Please keep a note of the Transaction ID for future reference. You will also receive a confirmation message on your email ID and mobile number registered on the e-Filing portal.
3.3 e-Verify using existing Aadhaar OTP
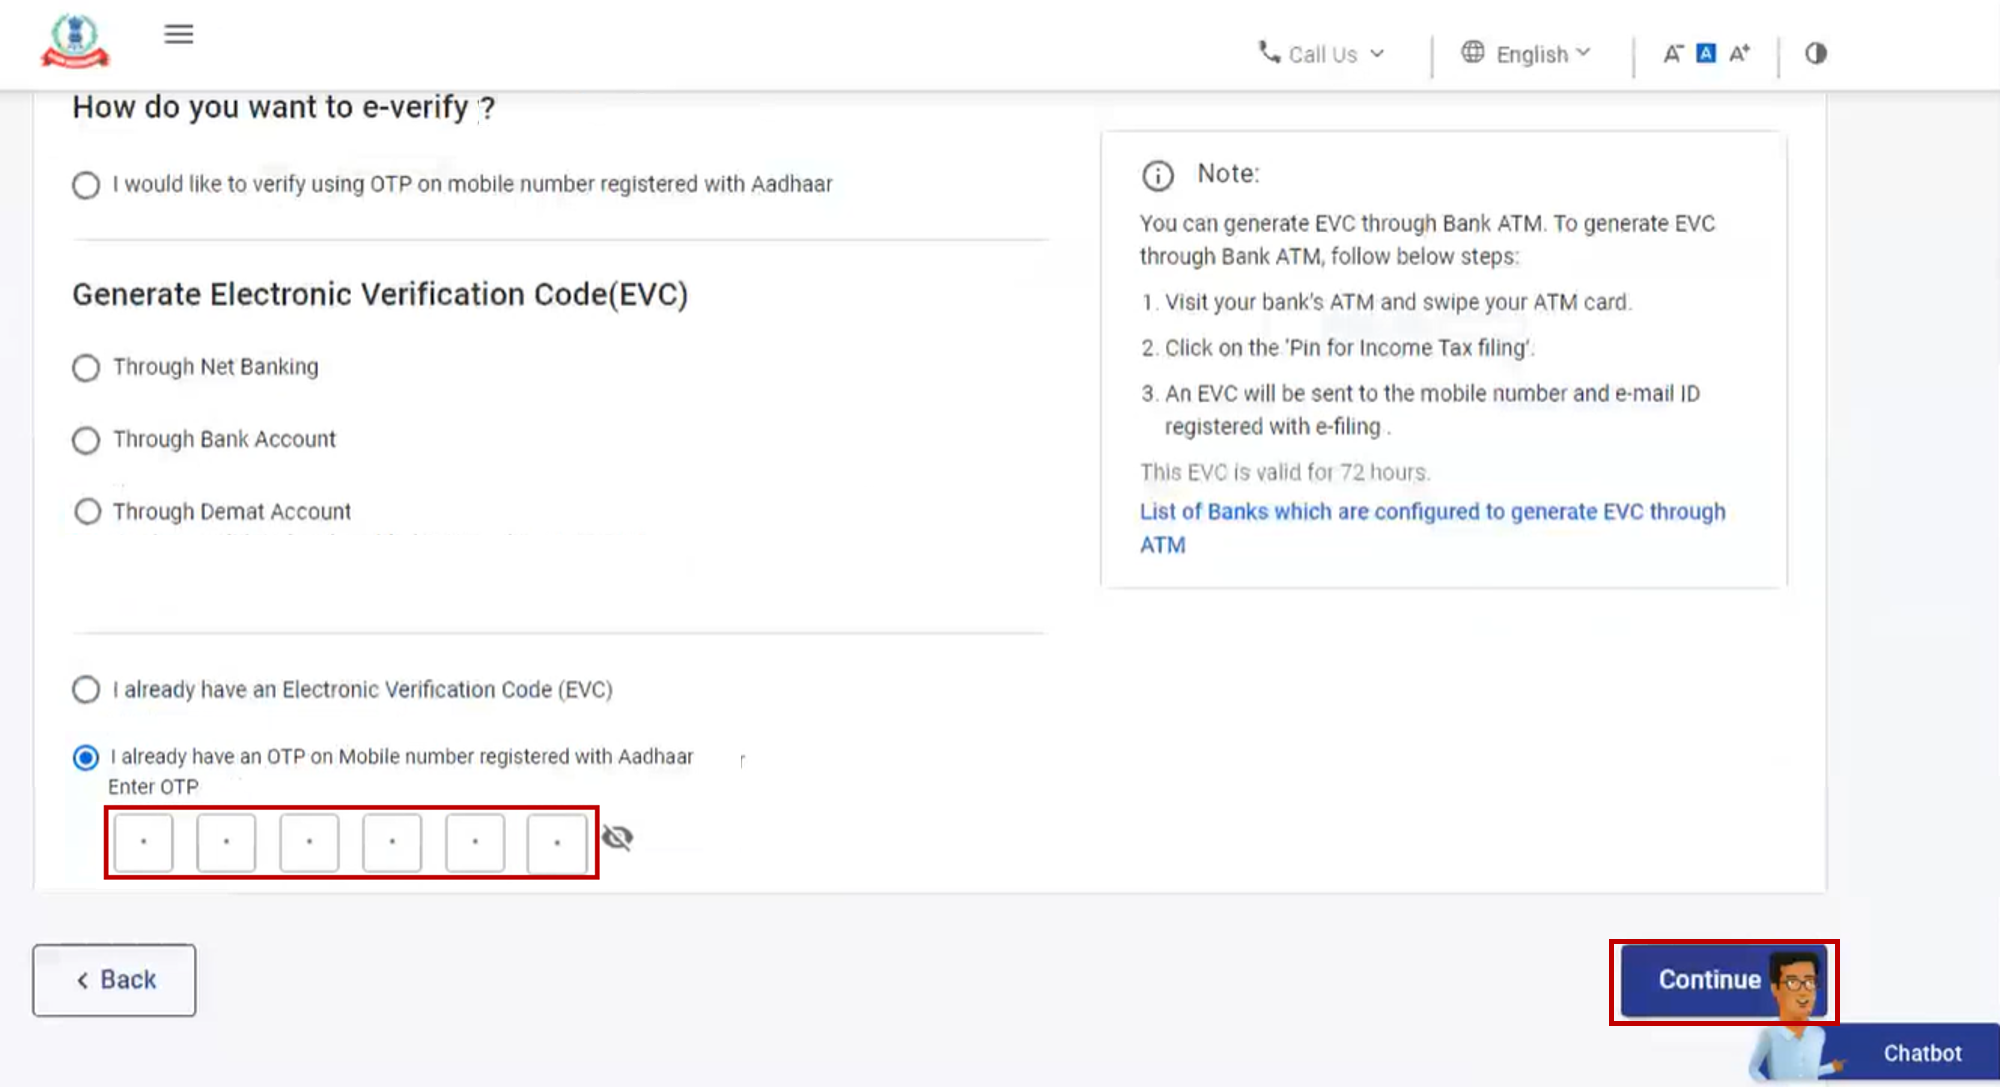
Step 1: On the e-Verify page, select I already have an OTP on Mobile number registered with Aadhaar.
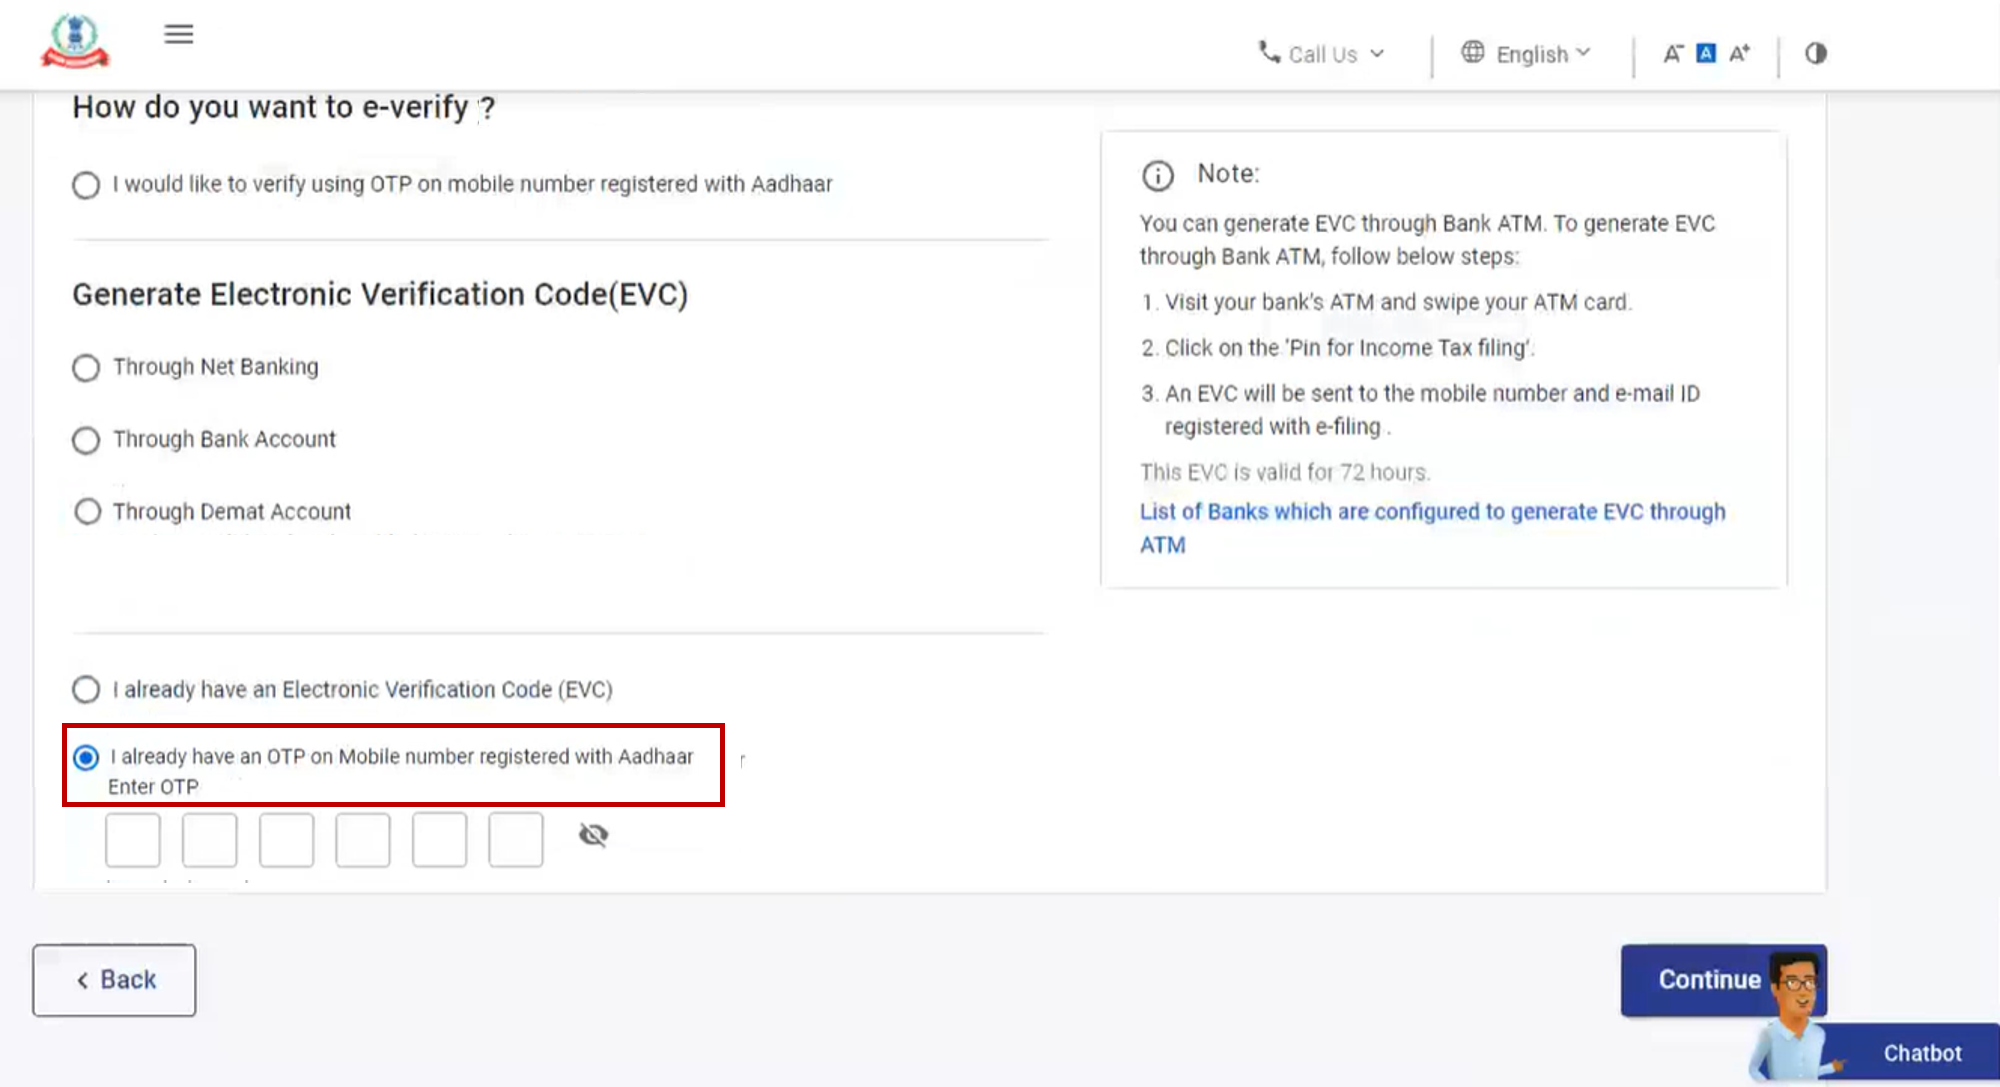
Step 2: Enter the 6-digit OTP available with you and click Continue.
Note:
- OTP will be valid for 15 minutes only.
- You have 3 attempts to enter the correct OTP.
- The OTP expiry countdown timer on screen tells you when the OTP will expire.
- On clicking Resend OTP, a new OTP will be generated and sent.
A success message page is displayed along with a Transaction ID. Please keep a note of the Transaction ID for future reference. You will also receive a confirmation message on your email ID and mobile number registered on the e-Filing portal.
3.4 e-Verify using existing Electronic Verification Code (EVC)
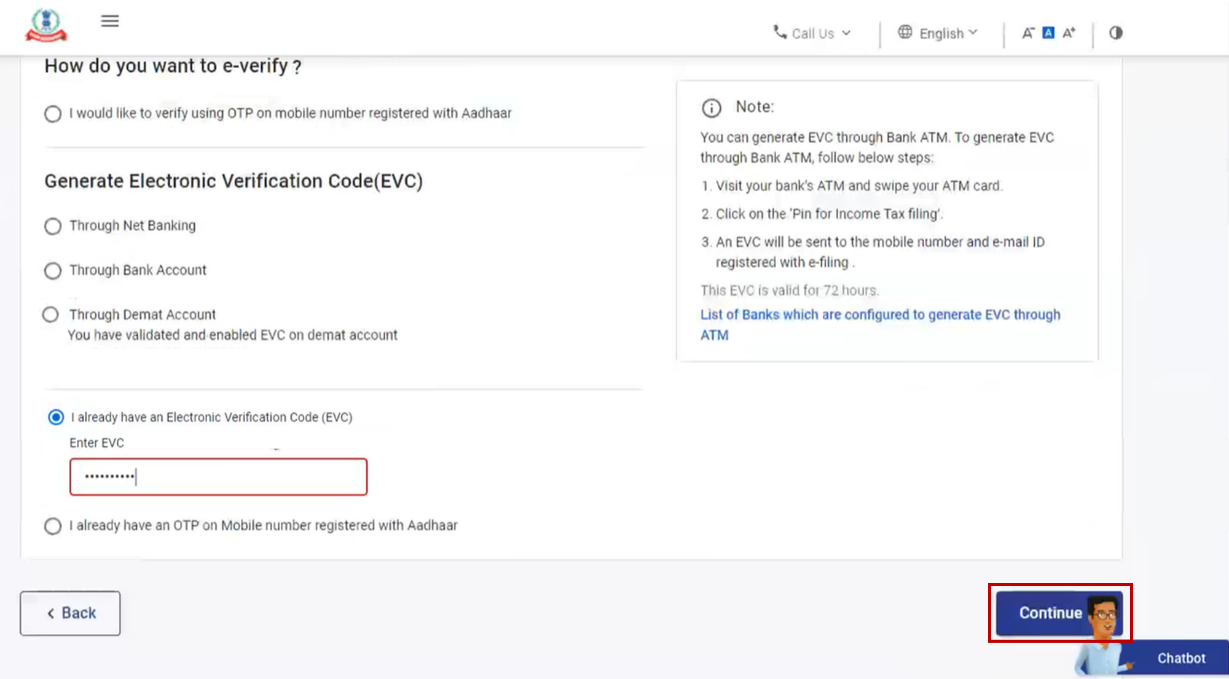
Step 1: On the e-Verify page, select I already have an Electronic Verification Code (EVC).
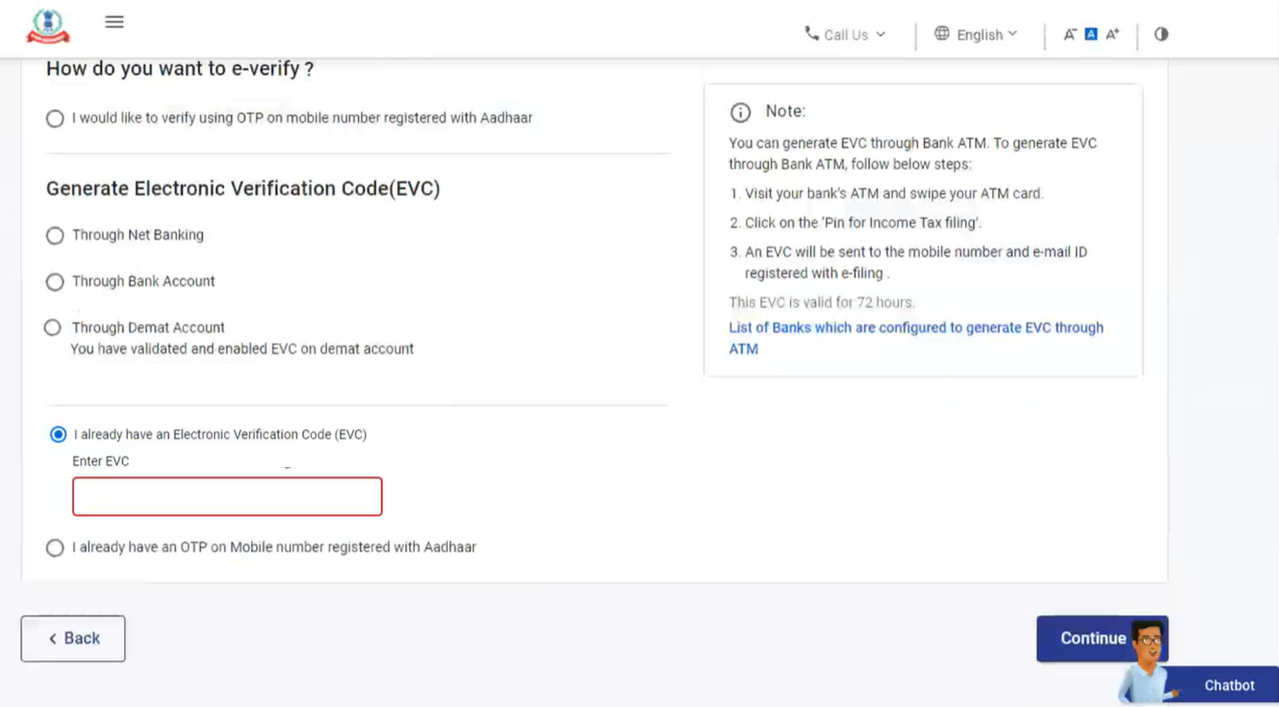
Step 2: Enter EVC in the Enter EVC textbox and click Continue.
A success message page is displayed along with a Transaction ID and EVC. Please keep a note of the Transaction ID and EVC for future reference. You will also receive a confirmation message on your email ID and mobile number registered on the e-Filing portal.
3.5 e-Verify after generating Electronic Verification Code (EVC) through Bank Account
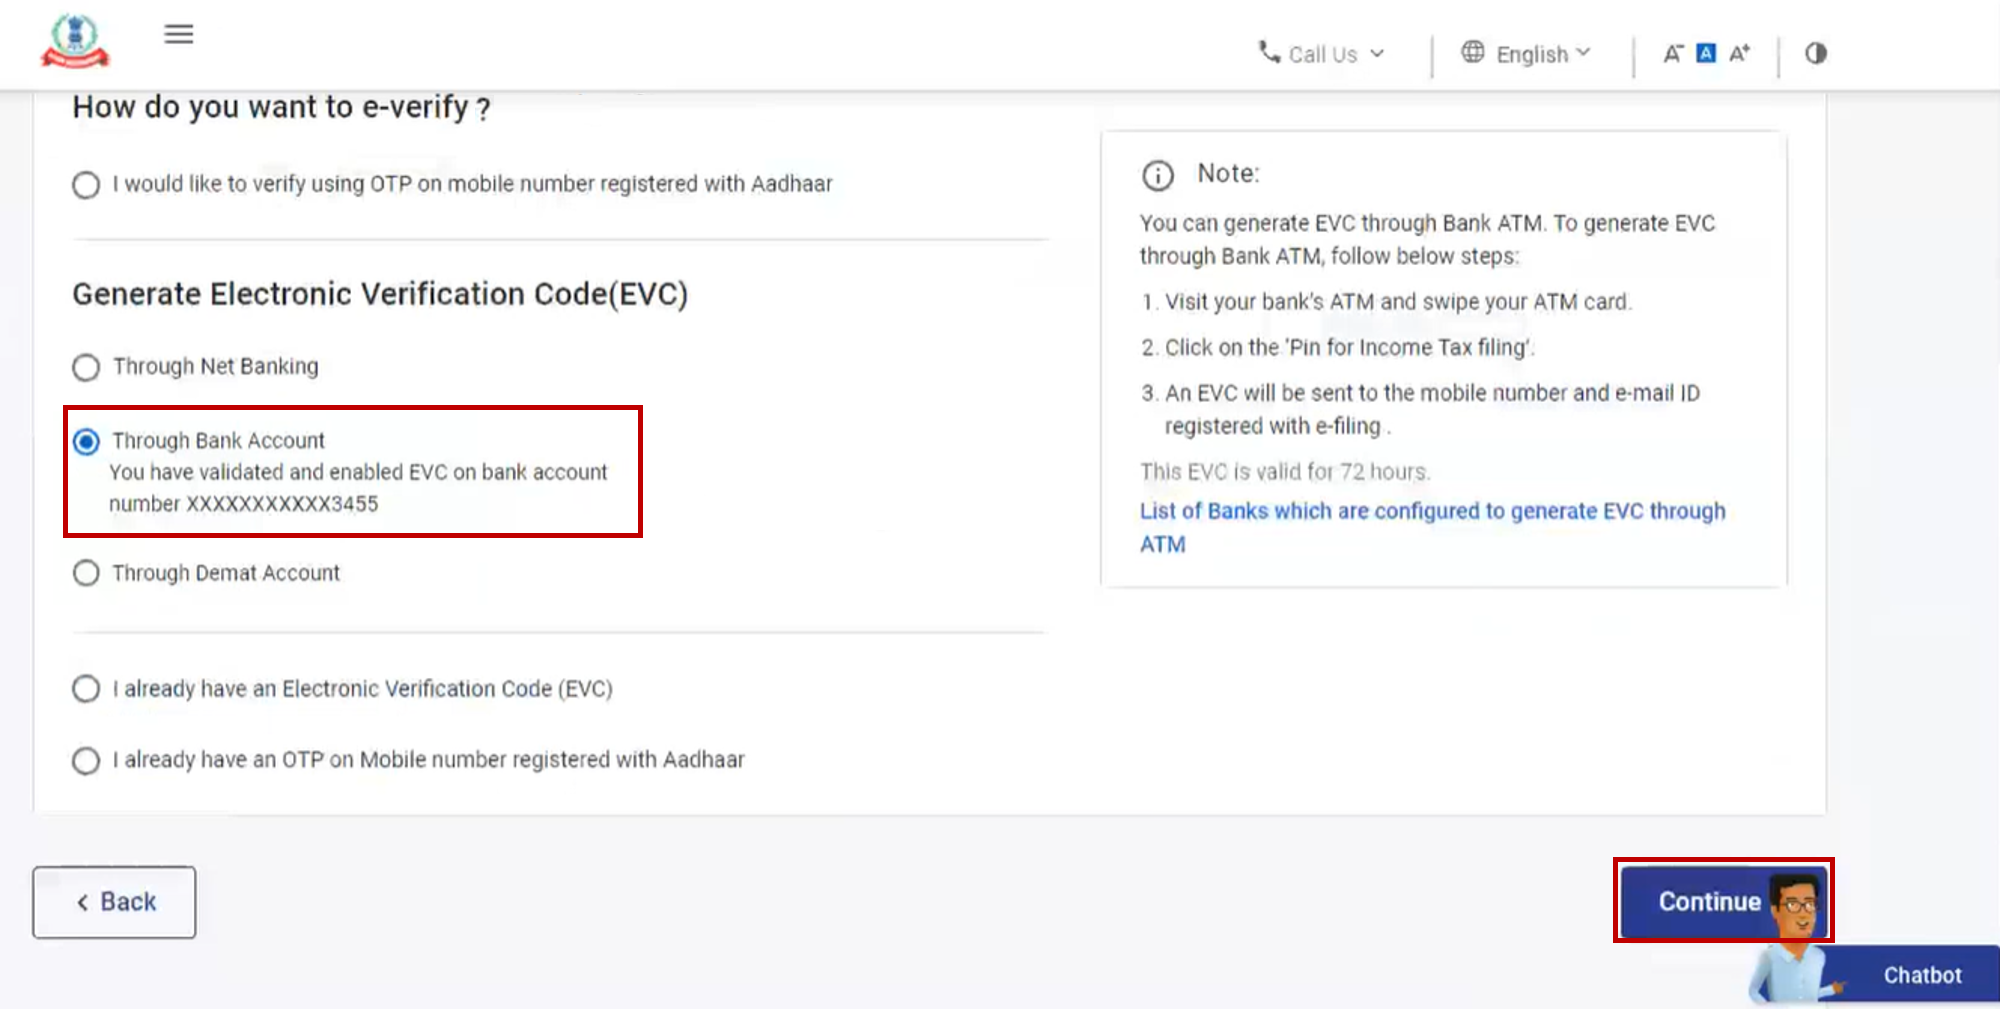
Step 1: On the e-Verify page, select Through Bank Account and click Continue.
Note:
- EVC will be generated and will be sent to your mobile number and email ID registered with your pre-validated and EVC enabled bank account.
- If you have not pre-validated your Bank Account yet, refer to the My Bank Account user manual learn how to pre-validate and EVC-enable your bank account.
Step 2: Enter the EVC received on your mobile number and email ID registered with your bank account in the Enter EVC textbox and click e-Verify.
A success message page is displayed along with a Transaction ID and EVC. Please keep a note of the Transaction ID and EVC for future reference. You will also receive a confirmation message on your email ID and mobile number registered on the e-Filing portal.
3.6 e-Verify after generating Electronic Verification Code (EVC) through Demat Account
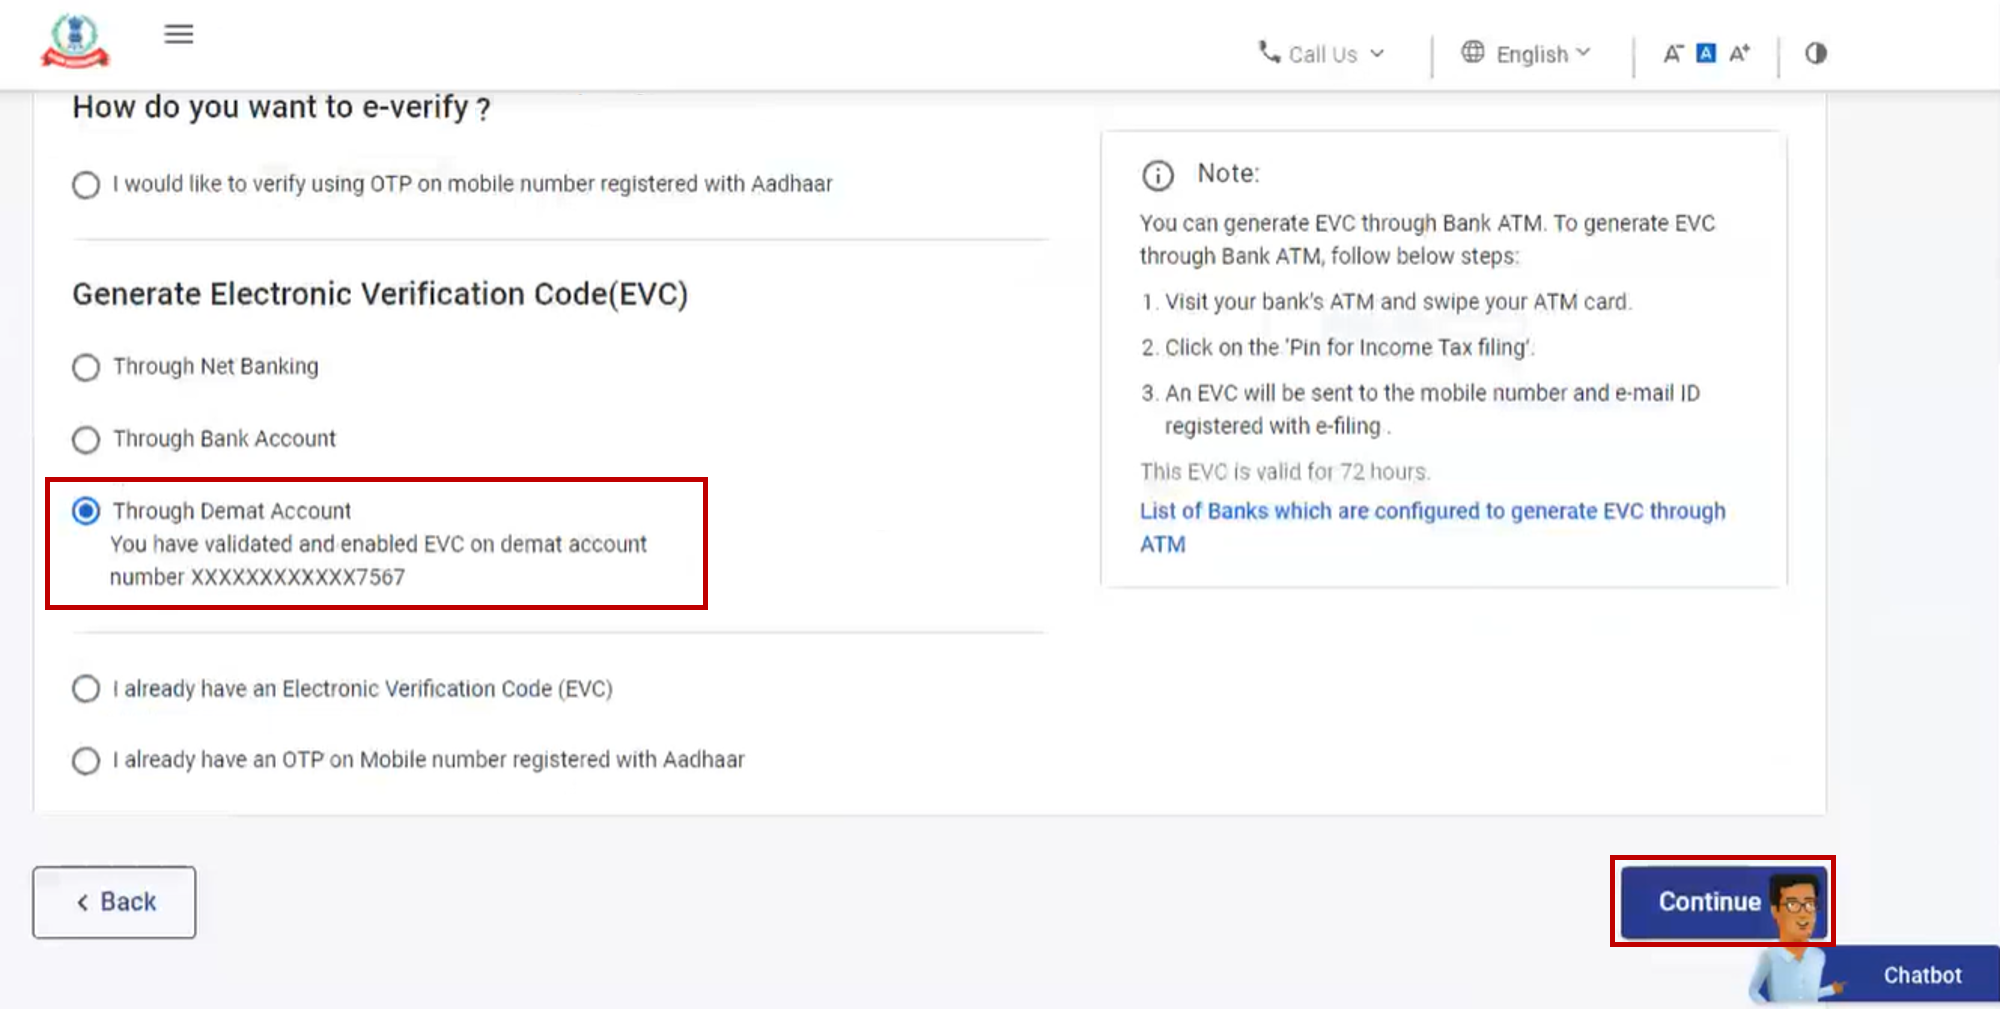
Step 1: On the e-Verify page, select Through Demat Account and click Continue.
Note:
- EVC will be generated and will be sent to your mobile number and email ID registered with your pre-validated and EVC-enabled demat account.
- If you have not pre-validated your demat account yet, refer to the My Demat Account user manual learn how to pre-validate and EVC-enable your demat account.
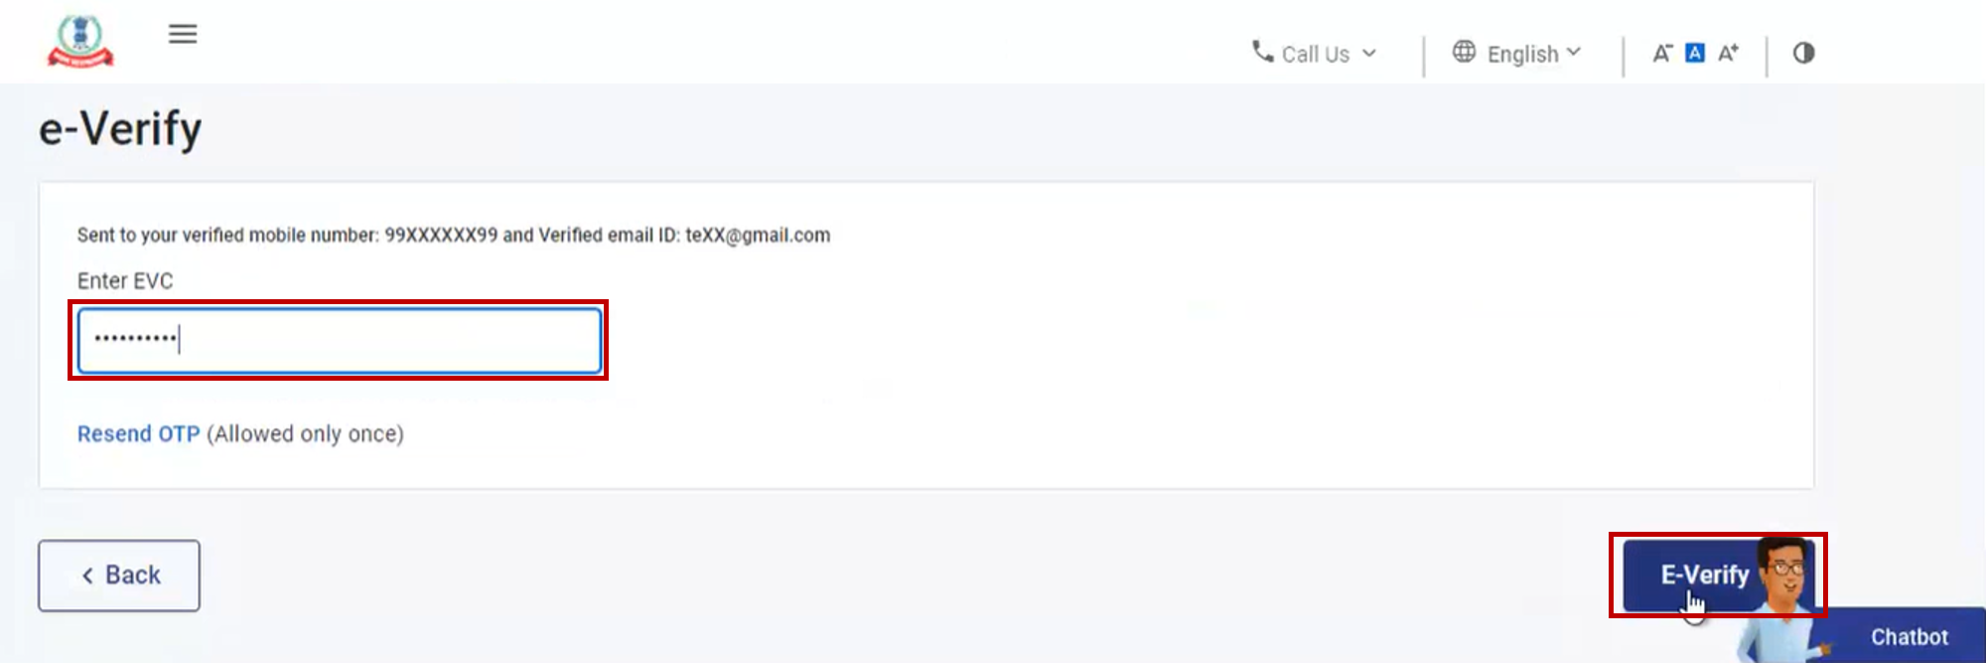
Step 2: Enter the EVC received on your mobile number and email ID registered with your demat account in the Enter EVC textbox and click e-Verify.

A success message page is displayed along with a Transaction ID and EVC. Please keep a note of the Transaction ID and EVC for future reference. You will also receive a confirmation message on your email ID and mobile number registered on the e-Filing portal.
3.7 e-Verify using Net Banking
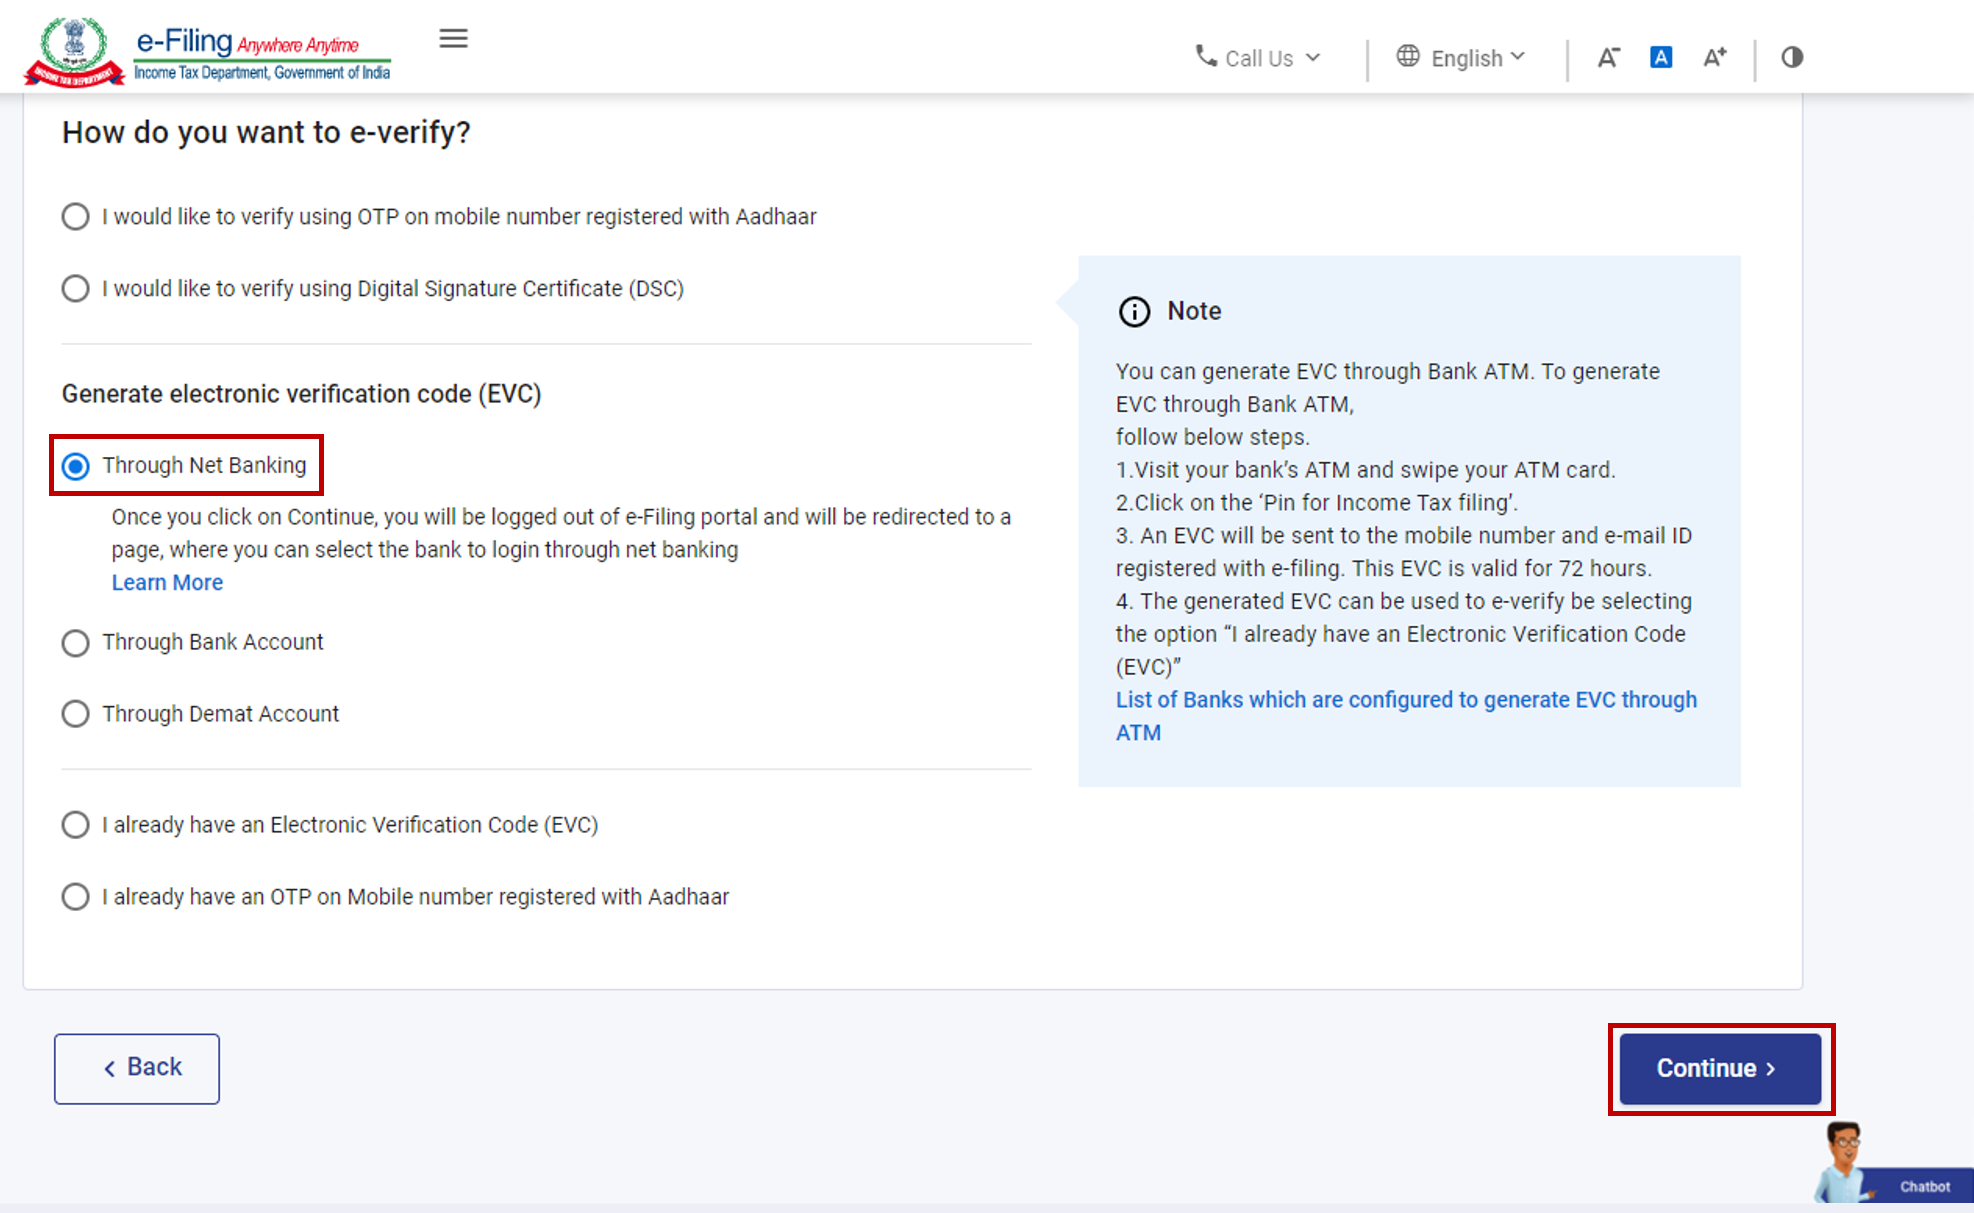
Step 1: On the e-Verify page, select Through Net Banking and click Continue.
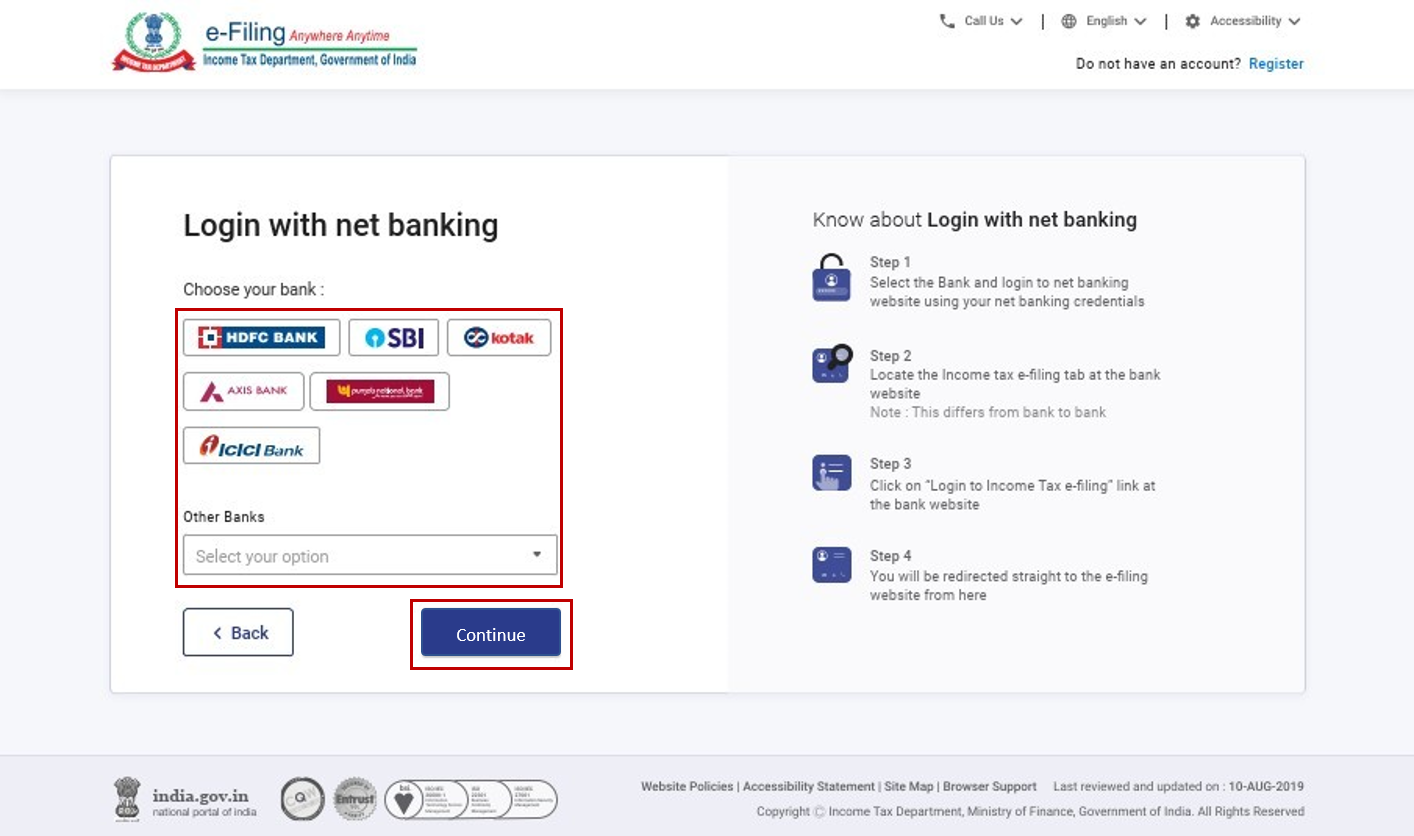
Step 2: Select the bank through which you want to e-Verify and click Continue.
Step 3: Read and understand the disclaimer. Click Continue.
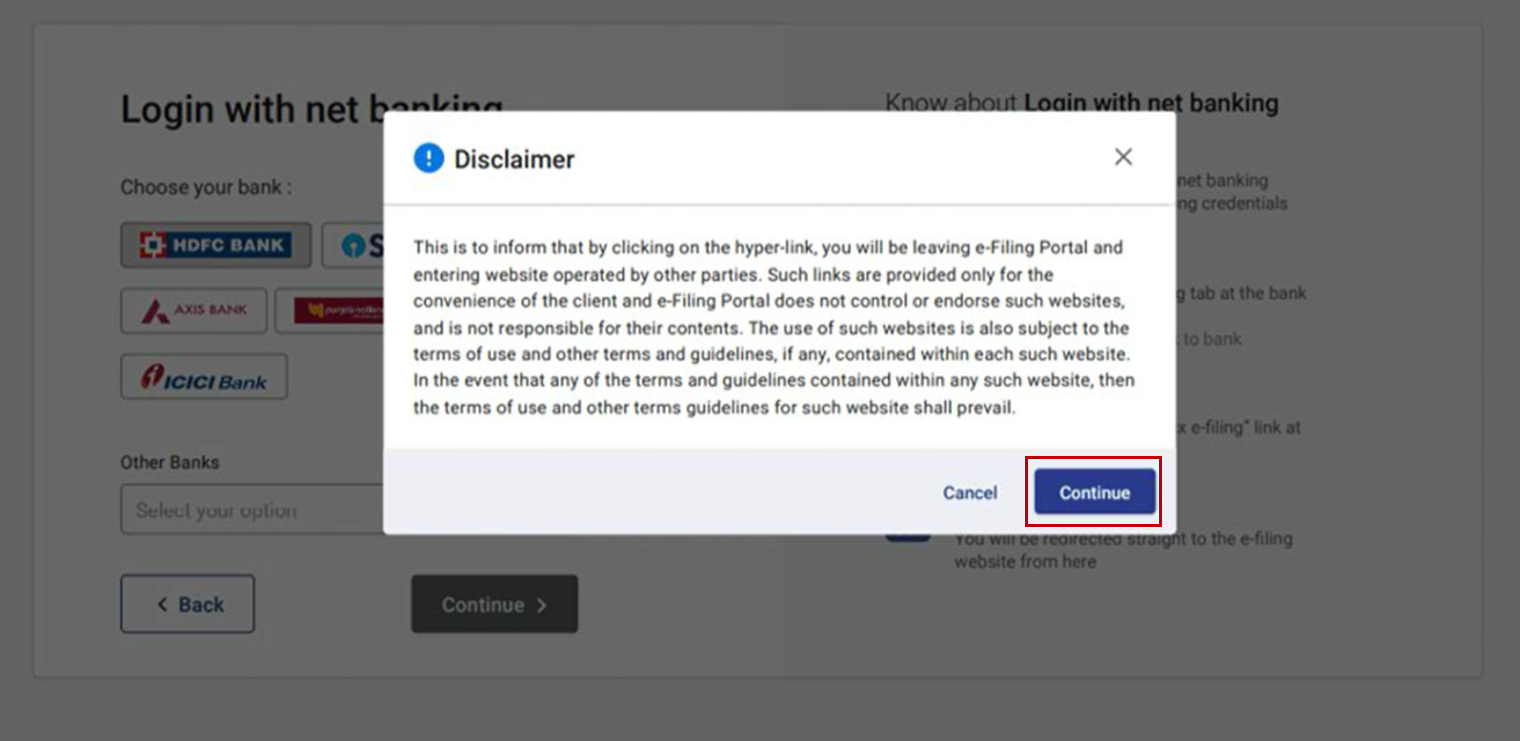
Note: After this, you will be taken to the Net Banking login page of your Bank Account.
Step 4: Log in to your Net Banking using your Net Banking user ID and password.
Step 5: Click the link to log in to e-Filing from your bank's website.
Note: You will be logged out of internet banking, and logged in to the e-Filing portal.
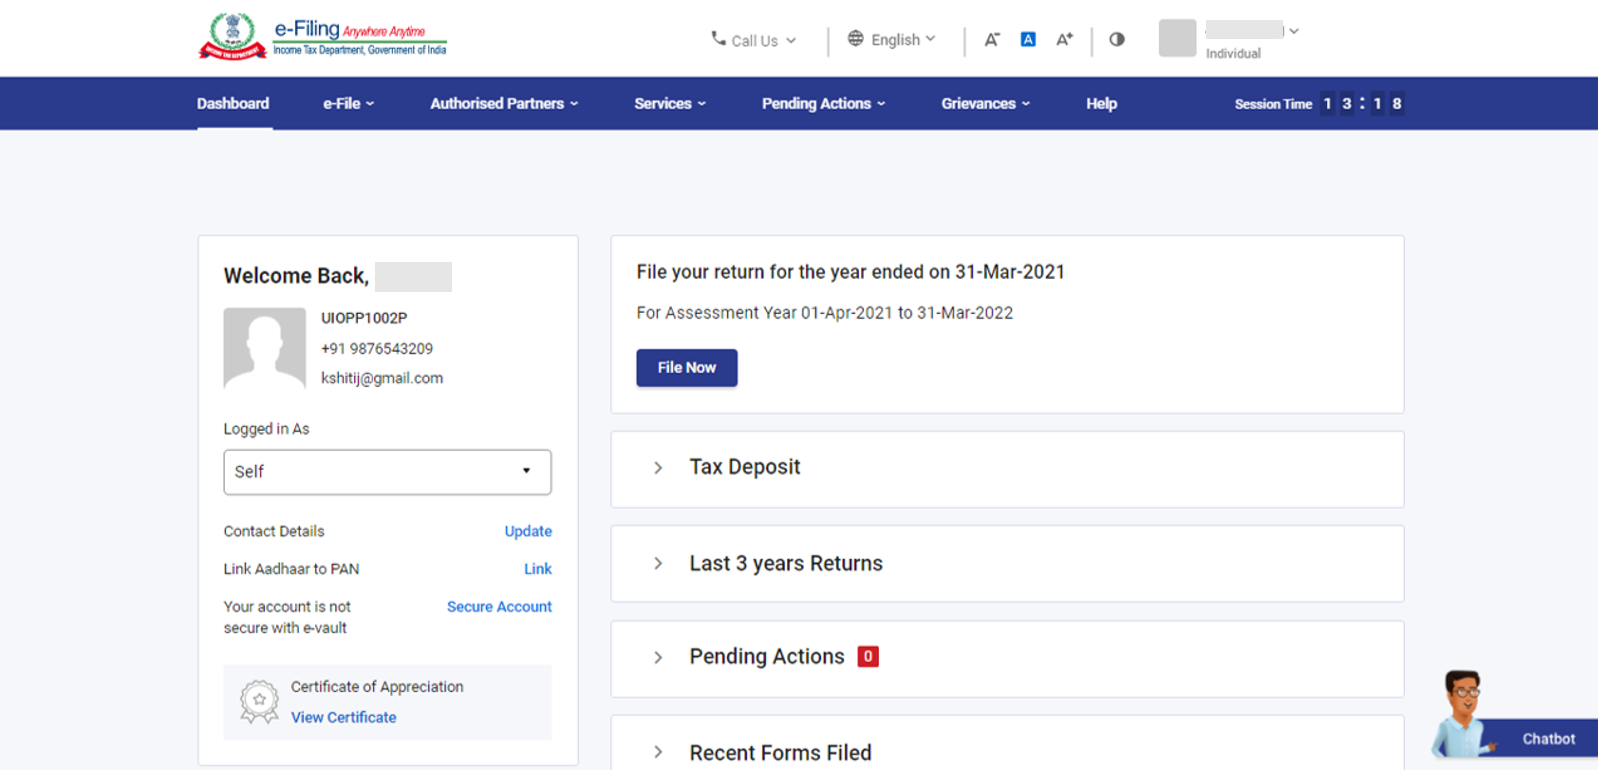
Step 6: On successful login, you will be taken to the e-Filing Dashboard. Go to the respective ITR / Form / service and click e-Verify. Your ITR / Form / Service will be e-Verified successfully.
A success message page is displayed along with a Transaction ID. Please keep a note of the Transaction ID for future reference. You will also receive a confirmation message on your email ID and mobile number registered on the e-Filing portal.
3.8 Generate Electronic Verification Code (EVC) through Bank ATM (Offline Method)
Step 1: Visit your bank’s ATM and swipe your ATM card.
Note: The service to generate EVC through Bank ATM is provided by certain banks only.
Step 2: Enter PIN.
Step 3: Select Generate EVC for Income tax Filing.
An EVC will be sent to your mobile number and email ID registered with the e-Filing portal.
Note:
- You must have linked the PAN with your respective bank account and the same PAN should be registered with e-Filing portal.
- List of Banks through which you can generate EVC through Bank ATM option - Axis Bank Ltd, Canara Bank, Central Bank of India, ICICI Bank, IDBI Bank, Kotak Mahindra Bank and State Bank of India.
Step 4: The generated EVC can be used to e-Verify the return by selecting I already have an Electronic Verification Code (EVC) as a preferred choice of e-Verification. Refer to Section 3.4 Existing EVC in this user manual to complete the process.
3.9 e-Verify Return (Pre-Login)
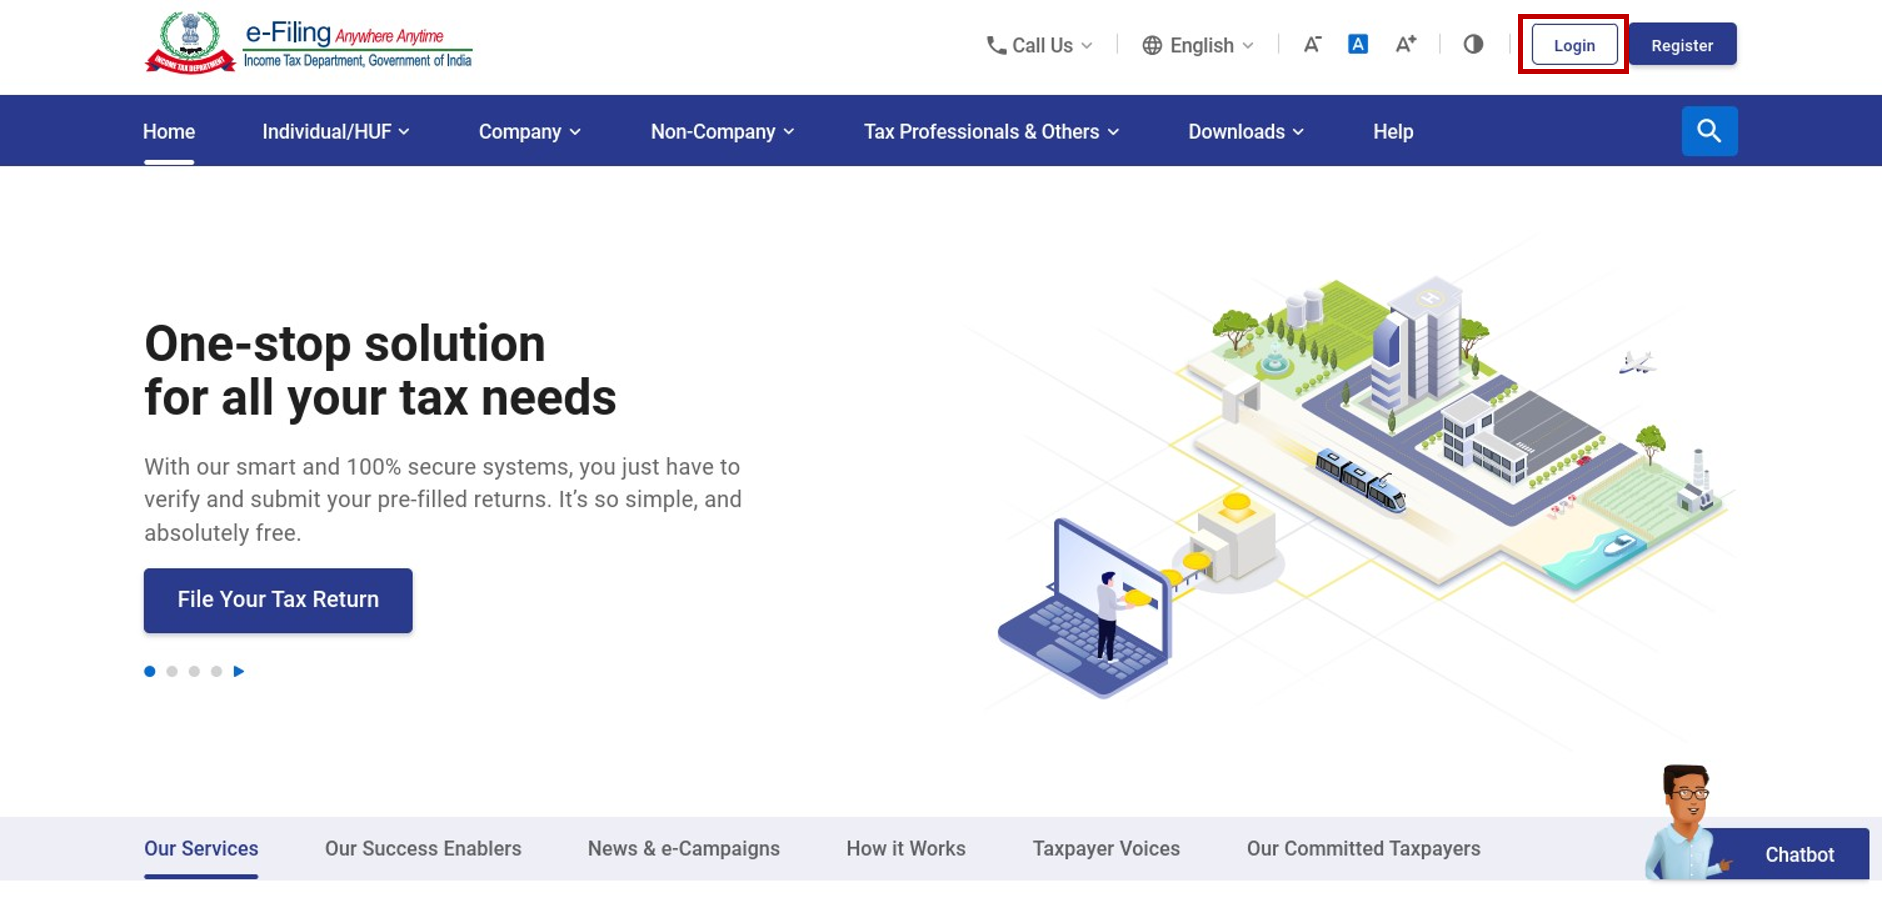
Step 1: Go to the e-Filing portal homepage and click e-Verify Return.

Step 2: On the e-Verify Return page, enter your PAN, select the Assessment Year, enter Acknowledgment Number of the ITR filed and Mobile Number available with you and click Continue.

Step 3: Enter the 6-digit Mobile OTP, received on the mobile number entered in Step 2.
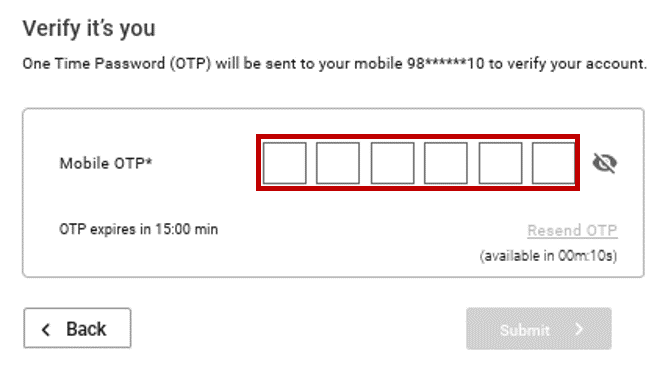
Note:
- OTP will be valid for 15 minutes only.
- You have 3 attempts to enter the correct OTP.
- The OTP expiry countdown timer on screen tells you when the OTP will expire.
- On clicking Resend OTP, a new OTP will be generated and sent.
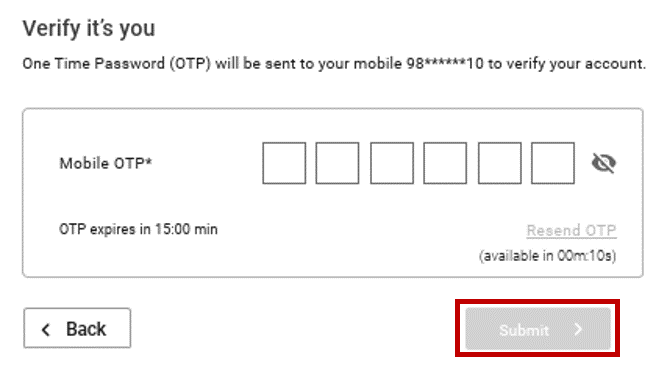
Step 4: Click Submit.
| If you are e-Verifying the return after 120 / 30 days of filing | Go to Step 5 (for submission of Condonation of Delay request) |
| If you are e-Verifying the return within 120 / 30 days of filing | Go to Step 7 directly |
Step 5: If you are e-Verifying the return after 120 / 30 days of filing, click Ok.

Step 6: For submitting condonation delay request, select the Reason of Delay from the dropdown and click Continue.
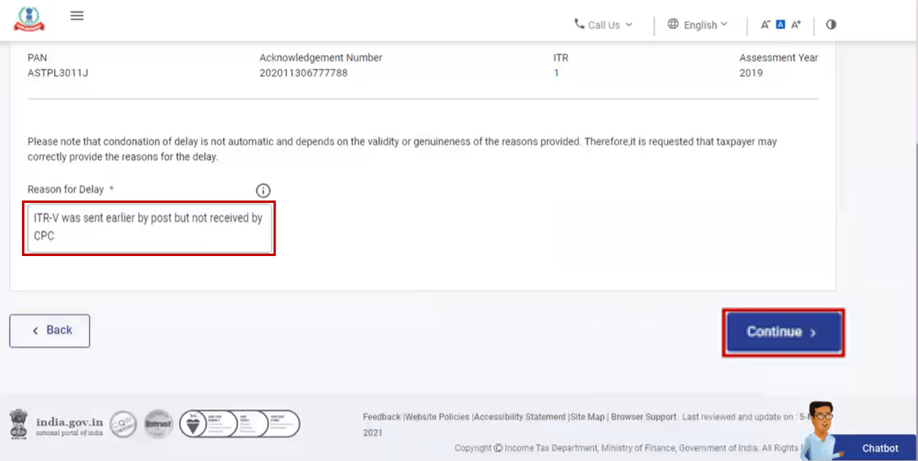
Note: In case you select Others from the dropdown, enter the reason for delay in the Remarks textbox and click Continue.
Step 7: Refer to the tale below to proceed further:
| Mode of e-Verification (choose any one) | Section |
| Generate Aadhaar OTP | Refer to Section 3.2 |
| Existing Aadhaar OTP | Refer to Section 3.3 |
| Existing EVC | Refer to Section 3.4 |
| Generate EVC through Bank Account | Refer to Section 3.5 |
| Generate EVC through Demat Account | Refer to Section 3.6 |
| Generate EVC through Bank ATM option (offline method) | Refer to Section 3.8 |
3.10 e-Verify Return (Post-Login)
Step 1: Log in to the e-Filing portal using your user ID and password.
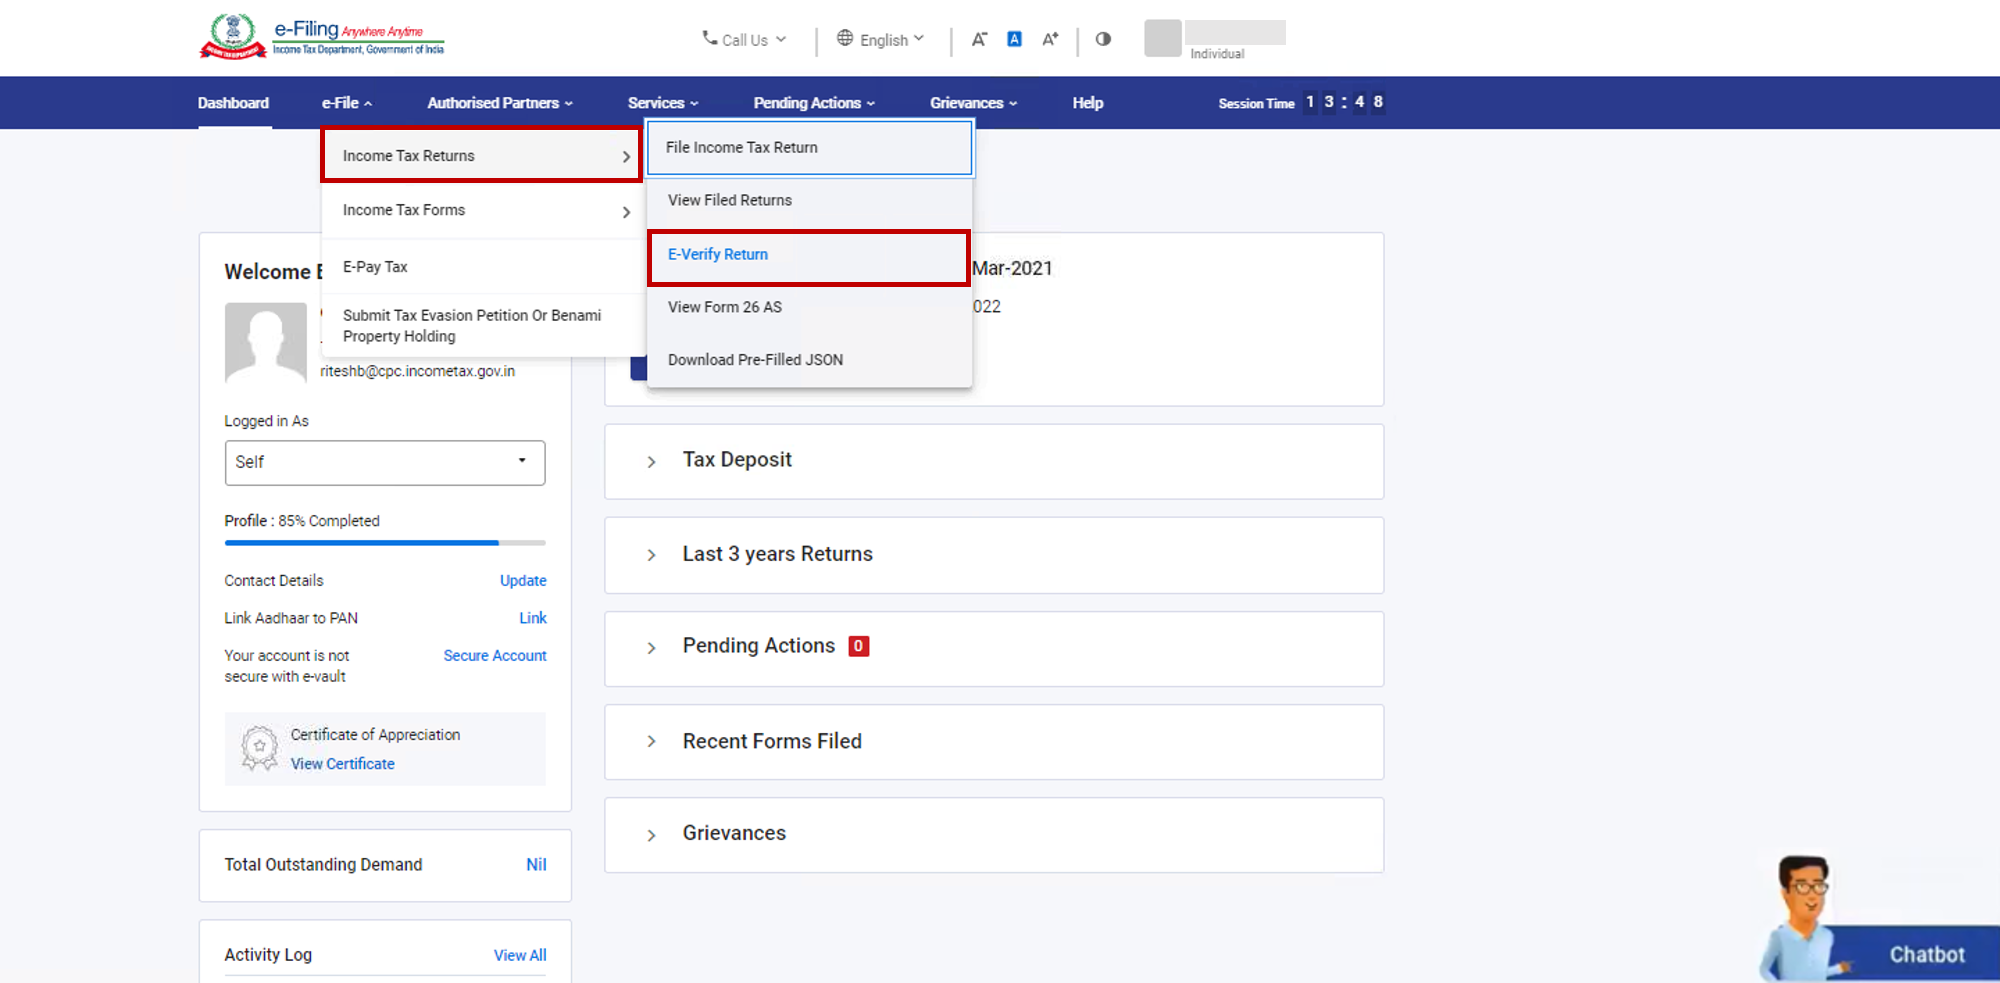
Step 2: Click e-File > Income tax return > e-Verify Return.
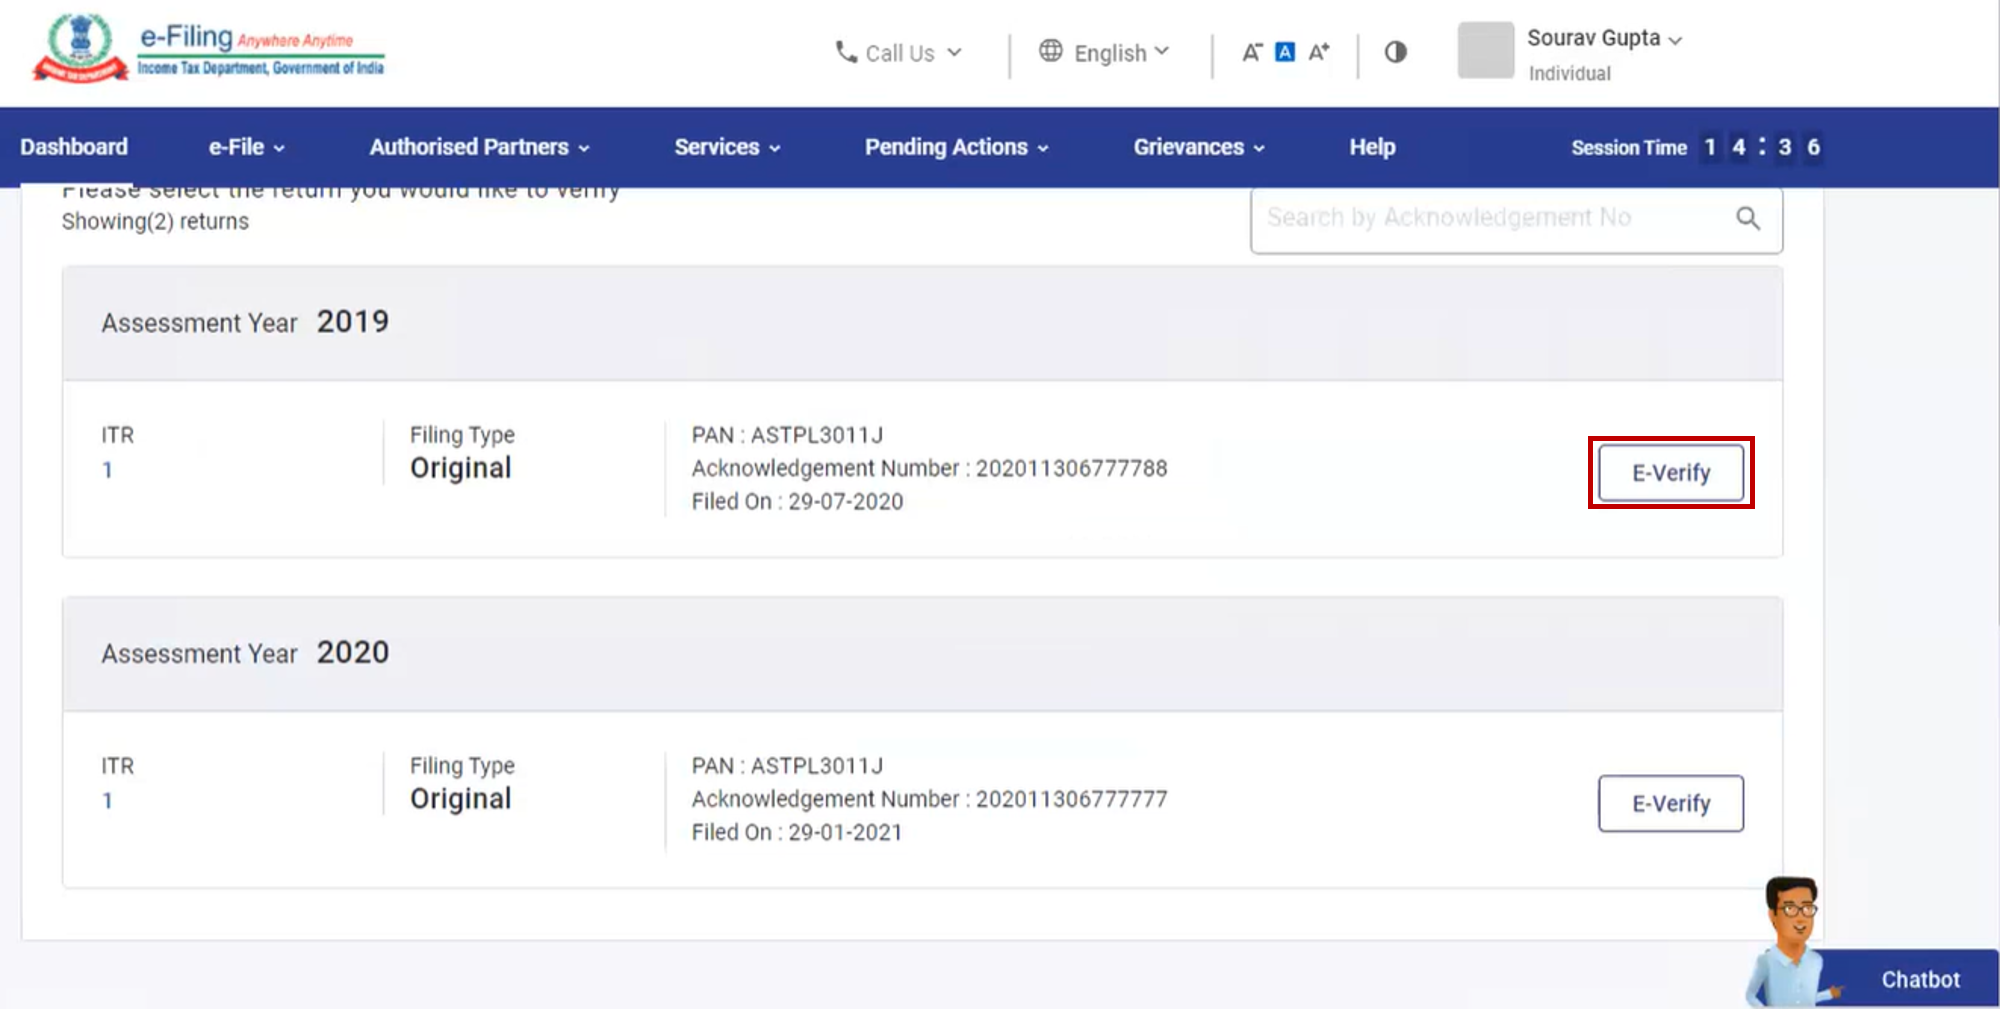
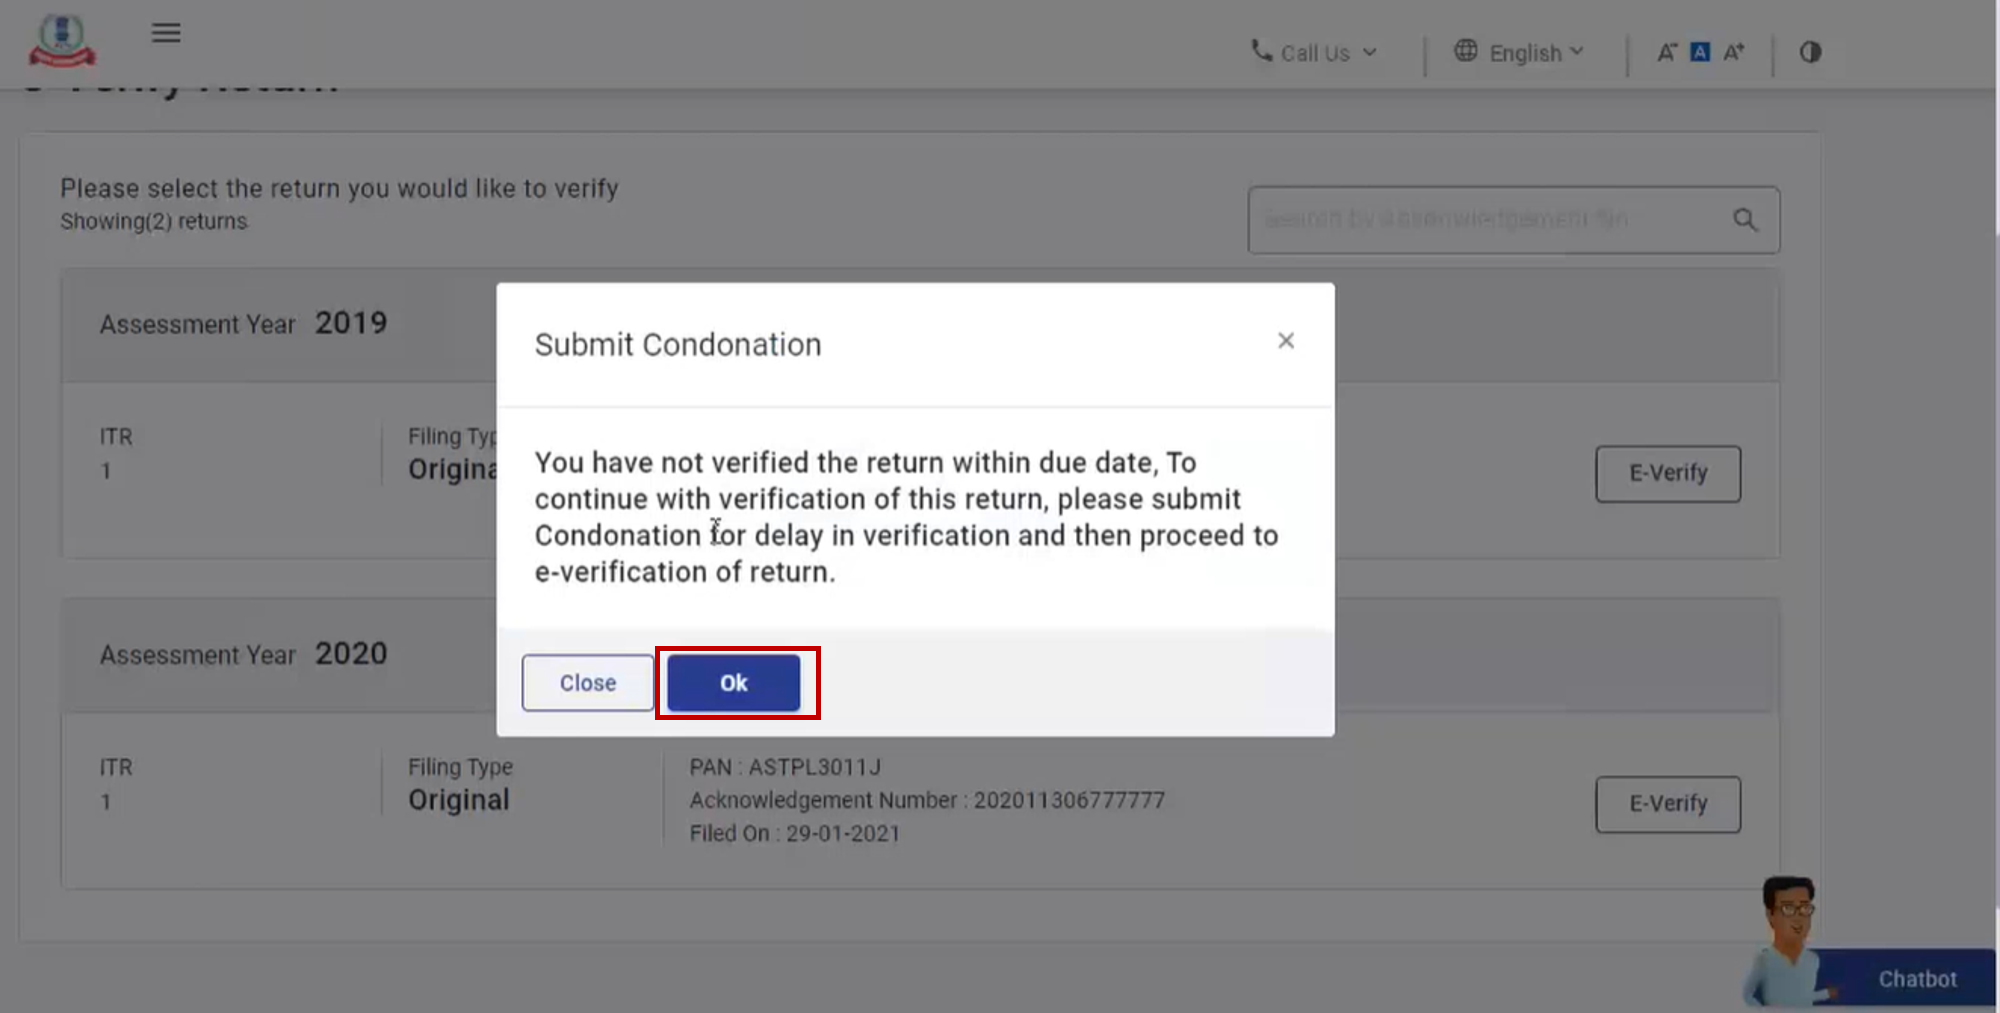
Step 3: On the e-Verify Return page, click e-Verify against the unverified return.
| If you are e-Verifying the return after 120 / 30 days of filing | Go to Step 4 (for submission of Condonation of Delay request) |
| If you are e-Verifying the return within 120 / 30 days of filing | Go to Step 6 directly |
Step 4: If you are e-Verifying the return after 120 / 30 days of filing, click Ok.
Step 5: For submitting condonation delay request, select the Reason of Delay from the dropdown and click Continue.
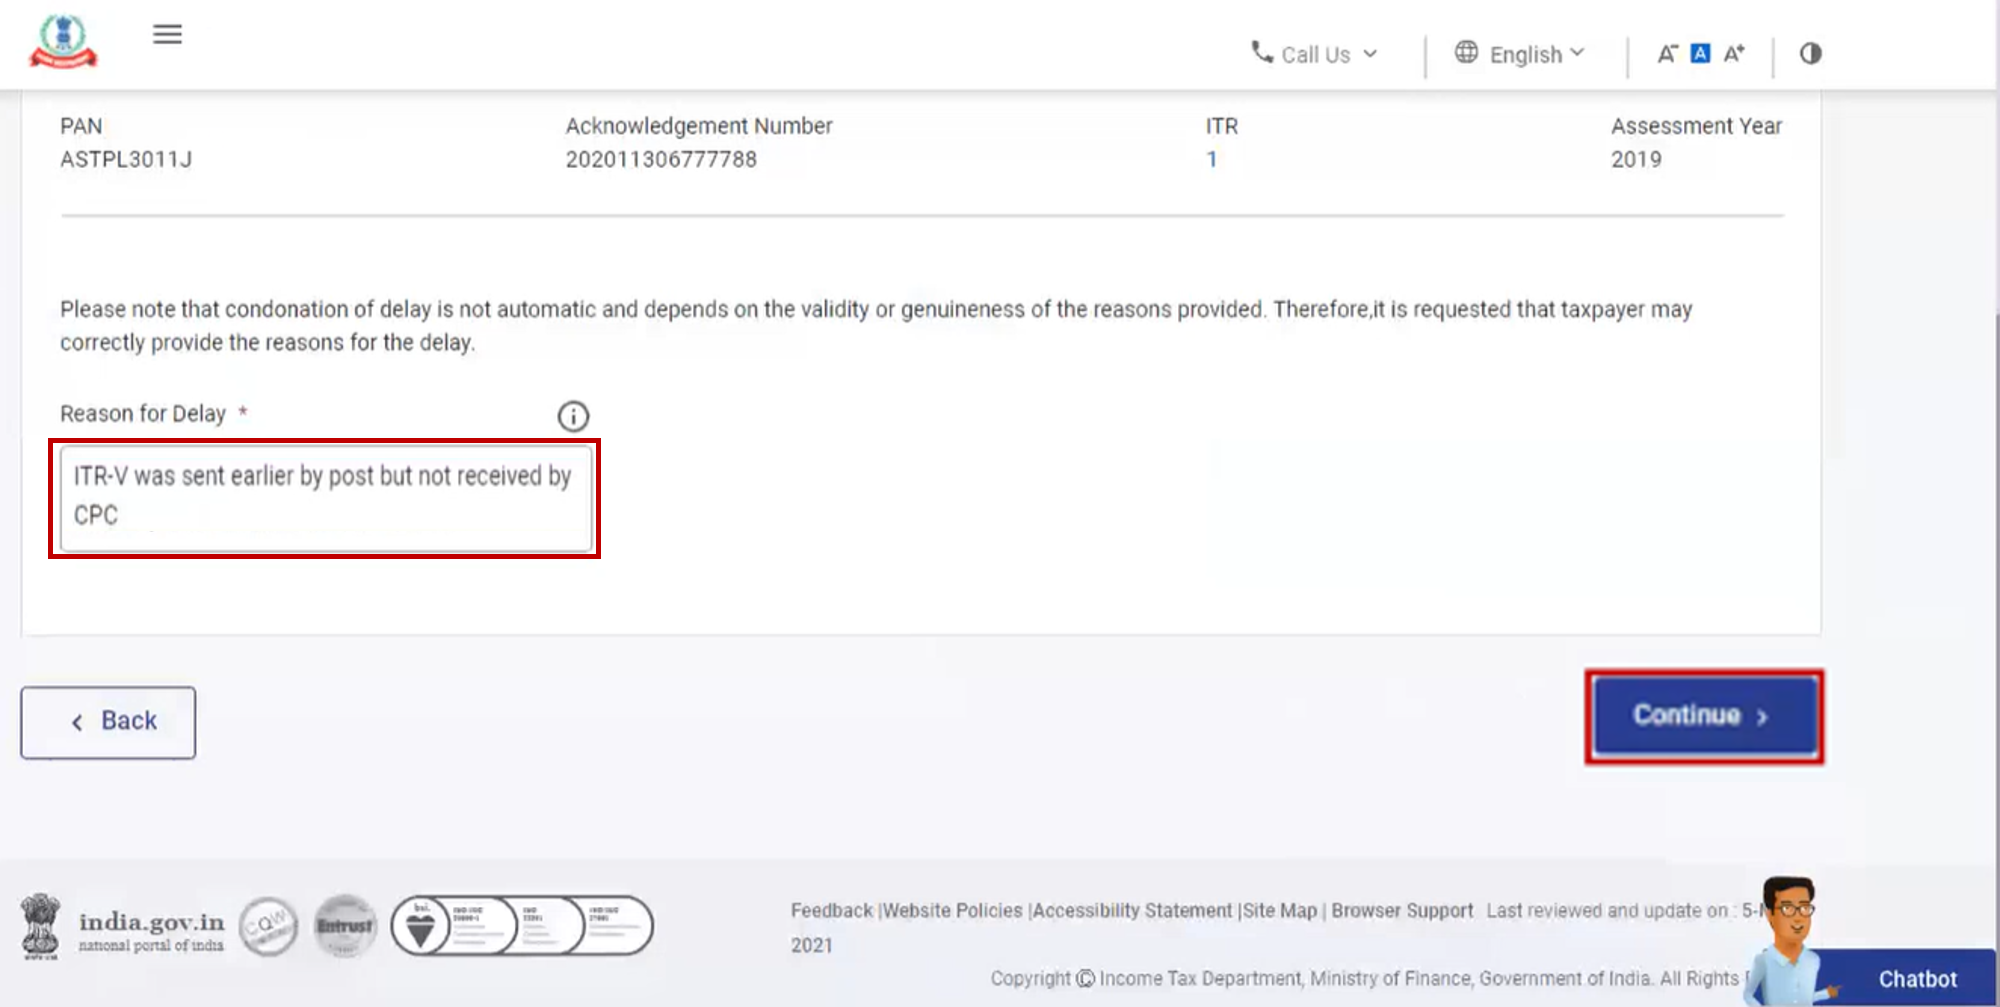
Note: In case you select Others from the dropdown, enter the reason for delay in the Remarks textbox and click Continue.
Step 6: Refer to the table below to proceed further:
| Mode of e-Verification (Choose any one) | Section |
| Generate Aadhaar OTP | Refer to Section 3.2 |
| Existing Aadhaar OTP | Refer to Section 3.3 |
| Existing EVC | Refer to Section 3.4 |
| Generate EVC through Bank Account | Refer to Section 3.5 |
| Generate EVC through Demat Account | Refer to Section 3.6 |
| Net Banking | Refer to Section 3.7 |
| Generate EVC through Bank ATM option (offline method) | Refer to Section 3.8 |

